To set up Confluence integration for Xporter for JIRA Cloud, please follow these steps:
Xporter Connector Installation
- Open the Confluence instance you want to integrate with Xporter for JIRA Cloud and navigate to Settings.
- Under the Atlassian Marketplace menu select Find new apps. Search the Marketplace for Xporter Connector for Confluence and install the add-on. Alternatively, you can install directly from here.
- After the installation, refresh the page. Under CONFIGURATION, you should now see the Xporter Connector Configuration as shown below:
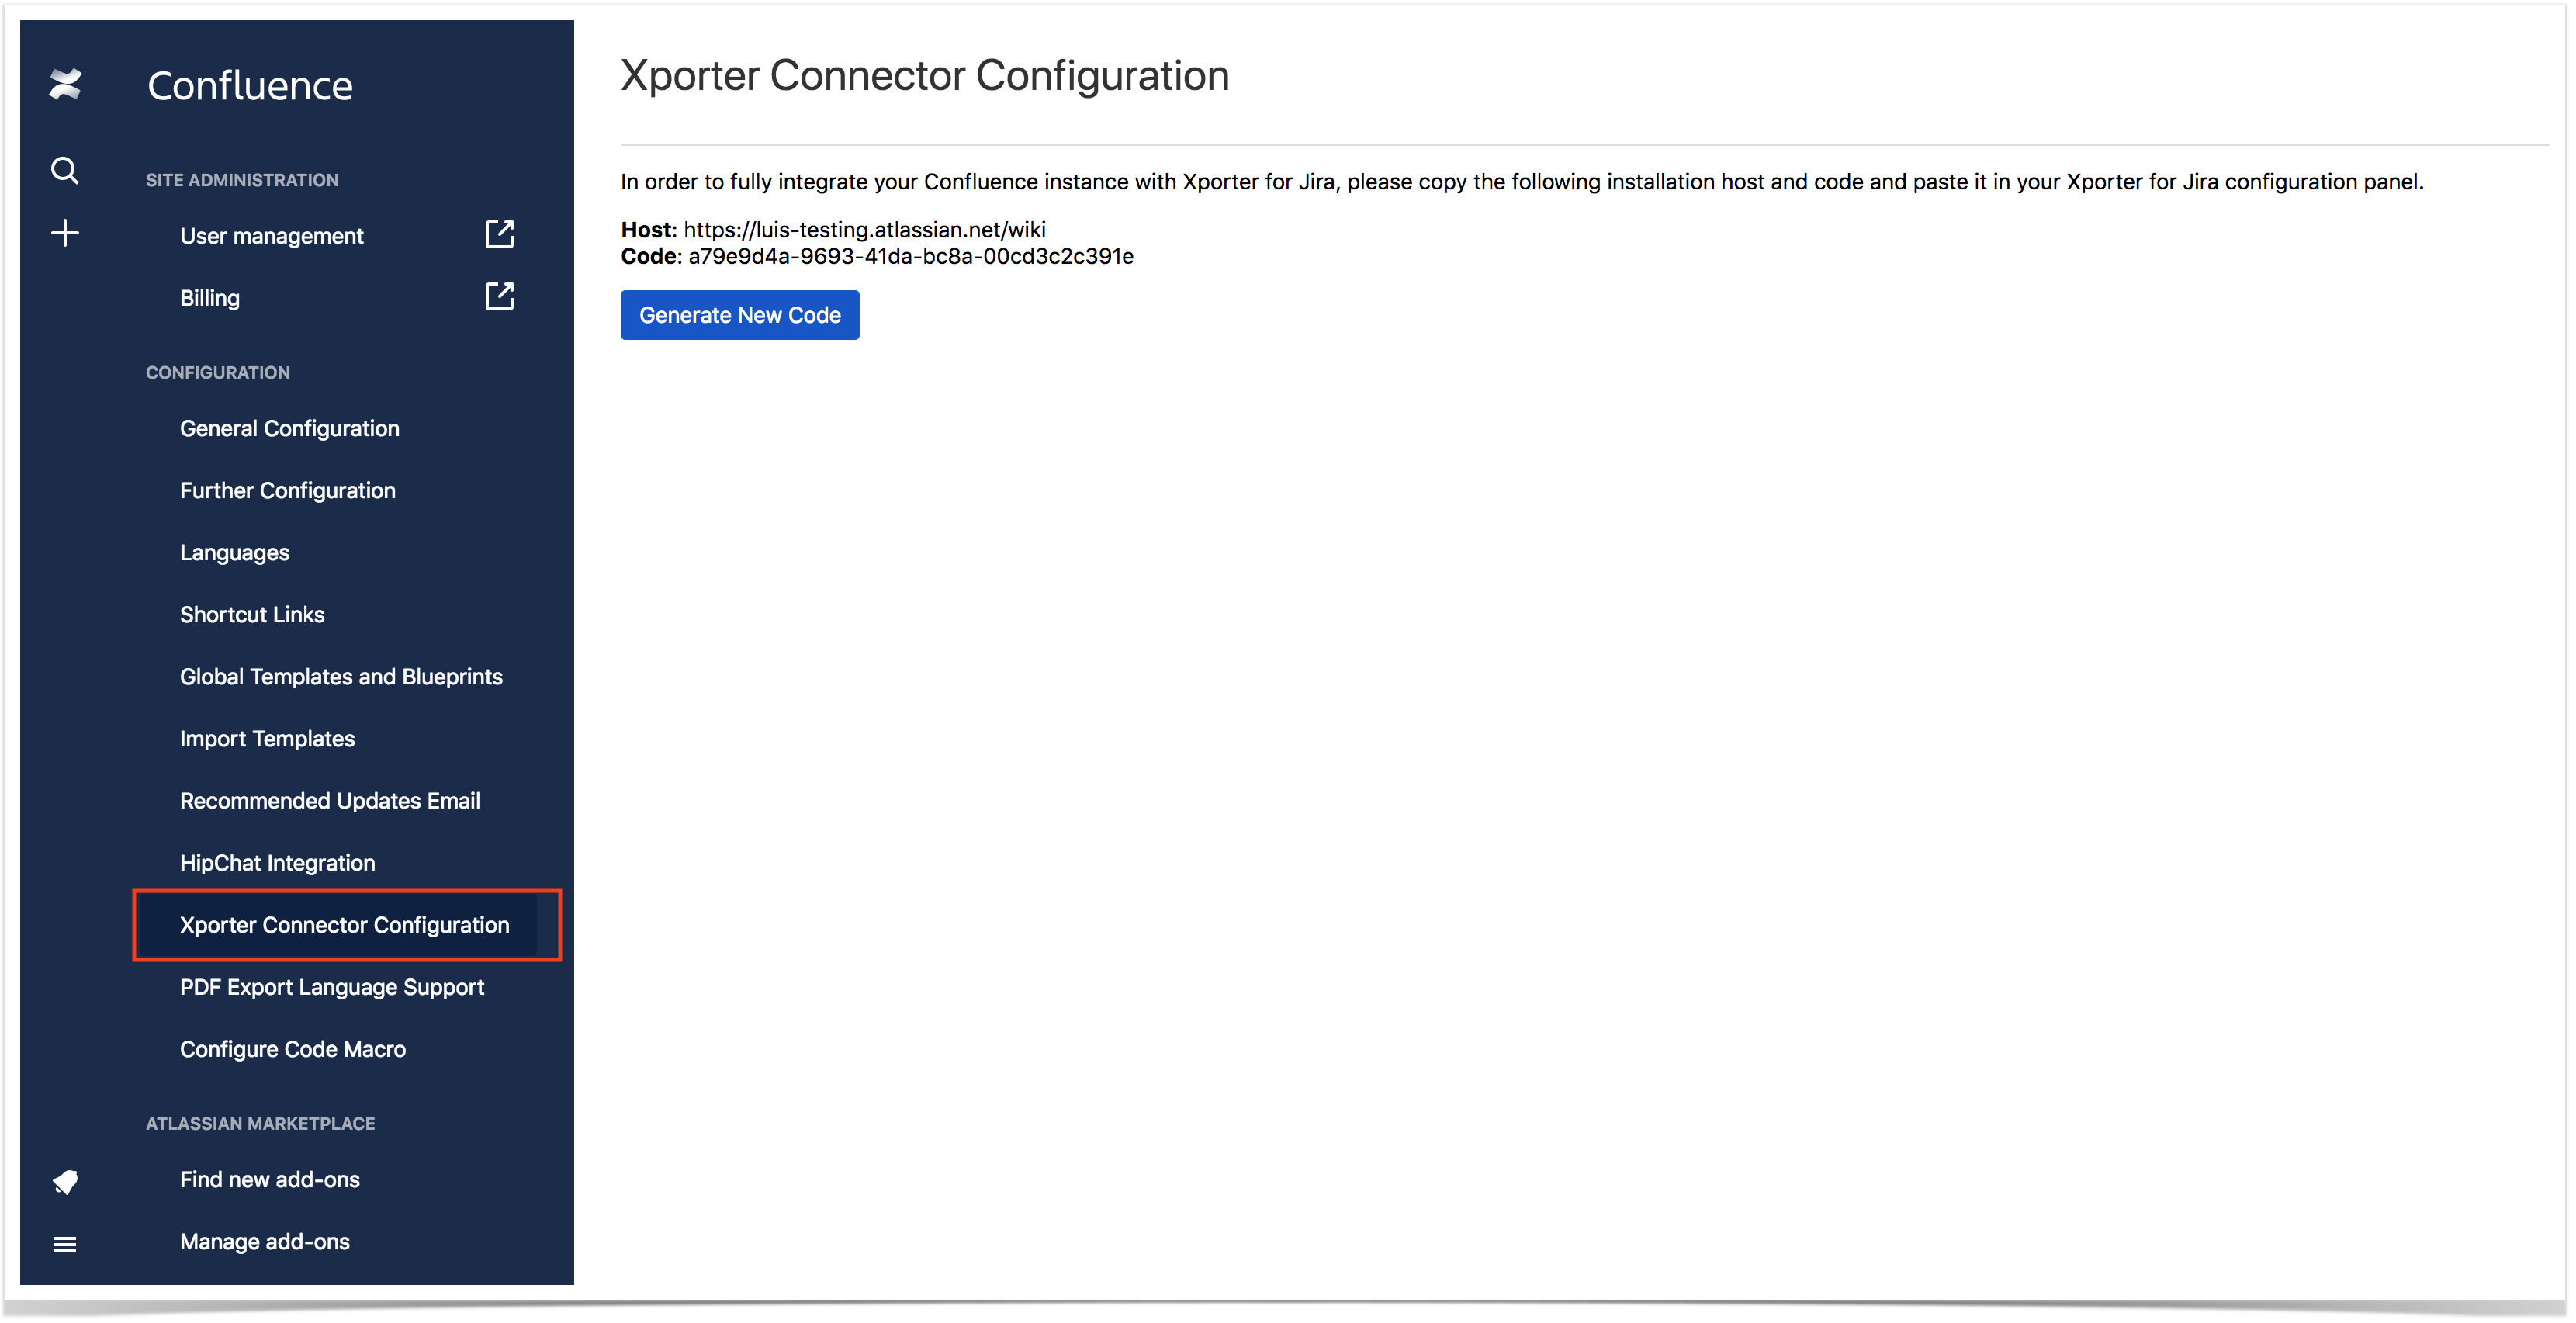
This page allows you to fetch both the host and the installation code you'll need for the next steps of Xporter Connector configuration.
Furthermore, you can generate a new installation code, which implies that other integrations you've previously setup for this host will stop working.
Add Confluence integration in Xporter for JIRA Cloud
Now that you have both the host and the installation code, you are ready to set up the Confluence integration in Xporter for JIRA Cloud. To do so,
- Navigate to the Xporter Cloud configuration panel (Jira Settings > Apps > Xporter > File Servers).
- Add a new File server. You will be prompted with a modal:
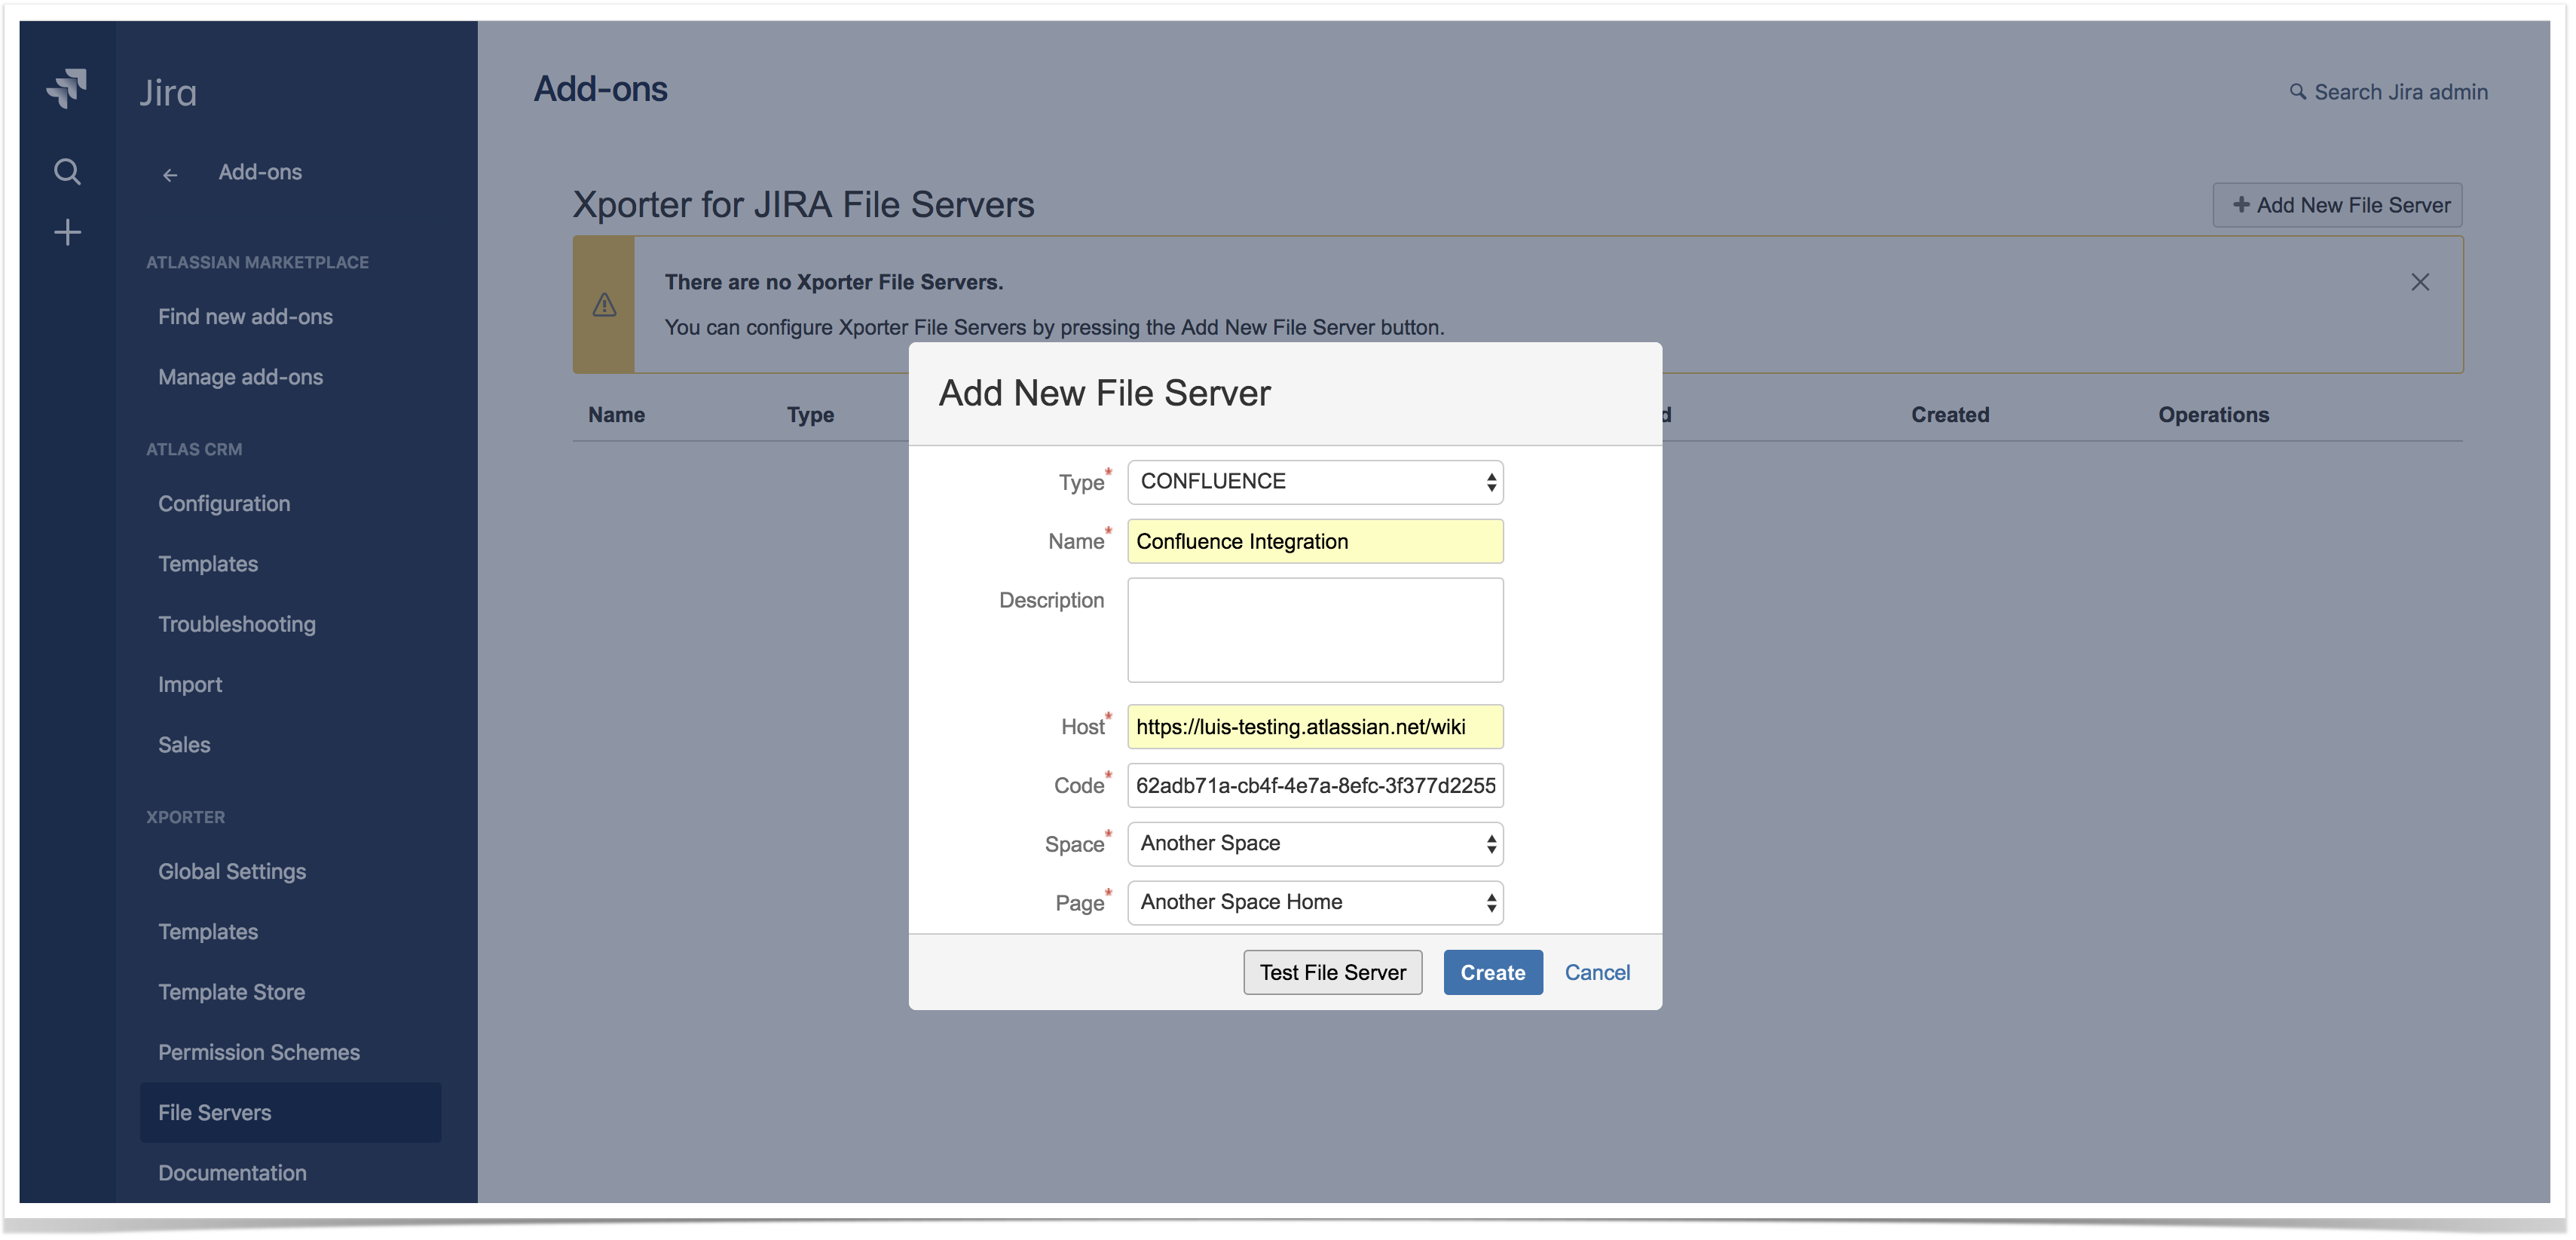
In the Type field, select CONFLUENCE. Fill the Name you want the Confluence integration to have. In the Host and Code fields, paste the values you fetched from the Xporter Connector configuration page. Click Test File Server.
- You will get a message stating that the connection to the Confluence instance was successfully done, and both Space and Page fields are now populated.
- Select the Space and Page you want the Xporter for JIRA Cloud report to be attached to. For a final check, click Test File Server again and then click Create.
- You should see the integration added to your File Servers list.
Congratulations! You have successfully integrated your Confluence instance with Xporter for JIRA Cloud.
Test Confluence integration
To test your Confluence integration, create a post function to attach an Xporter for JIRA Cloud report to the page you previously set up.
- Create a post function that uses the Confluence integration previously added. Here you can find more about post functions and how to setup one.
- Perform the action to trigger the post function.
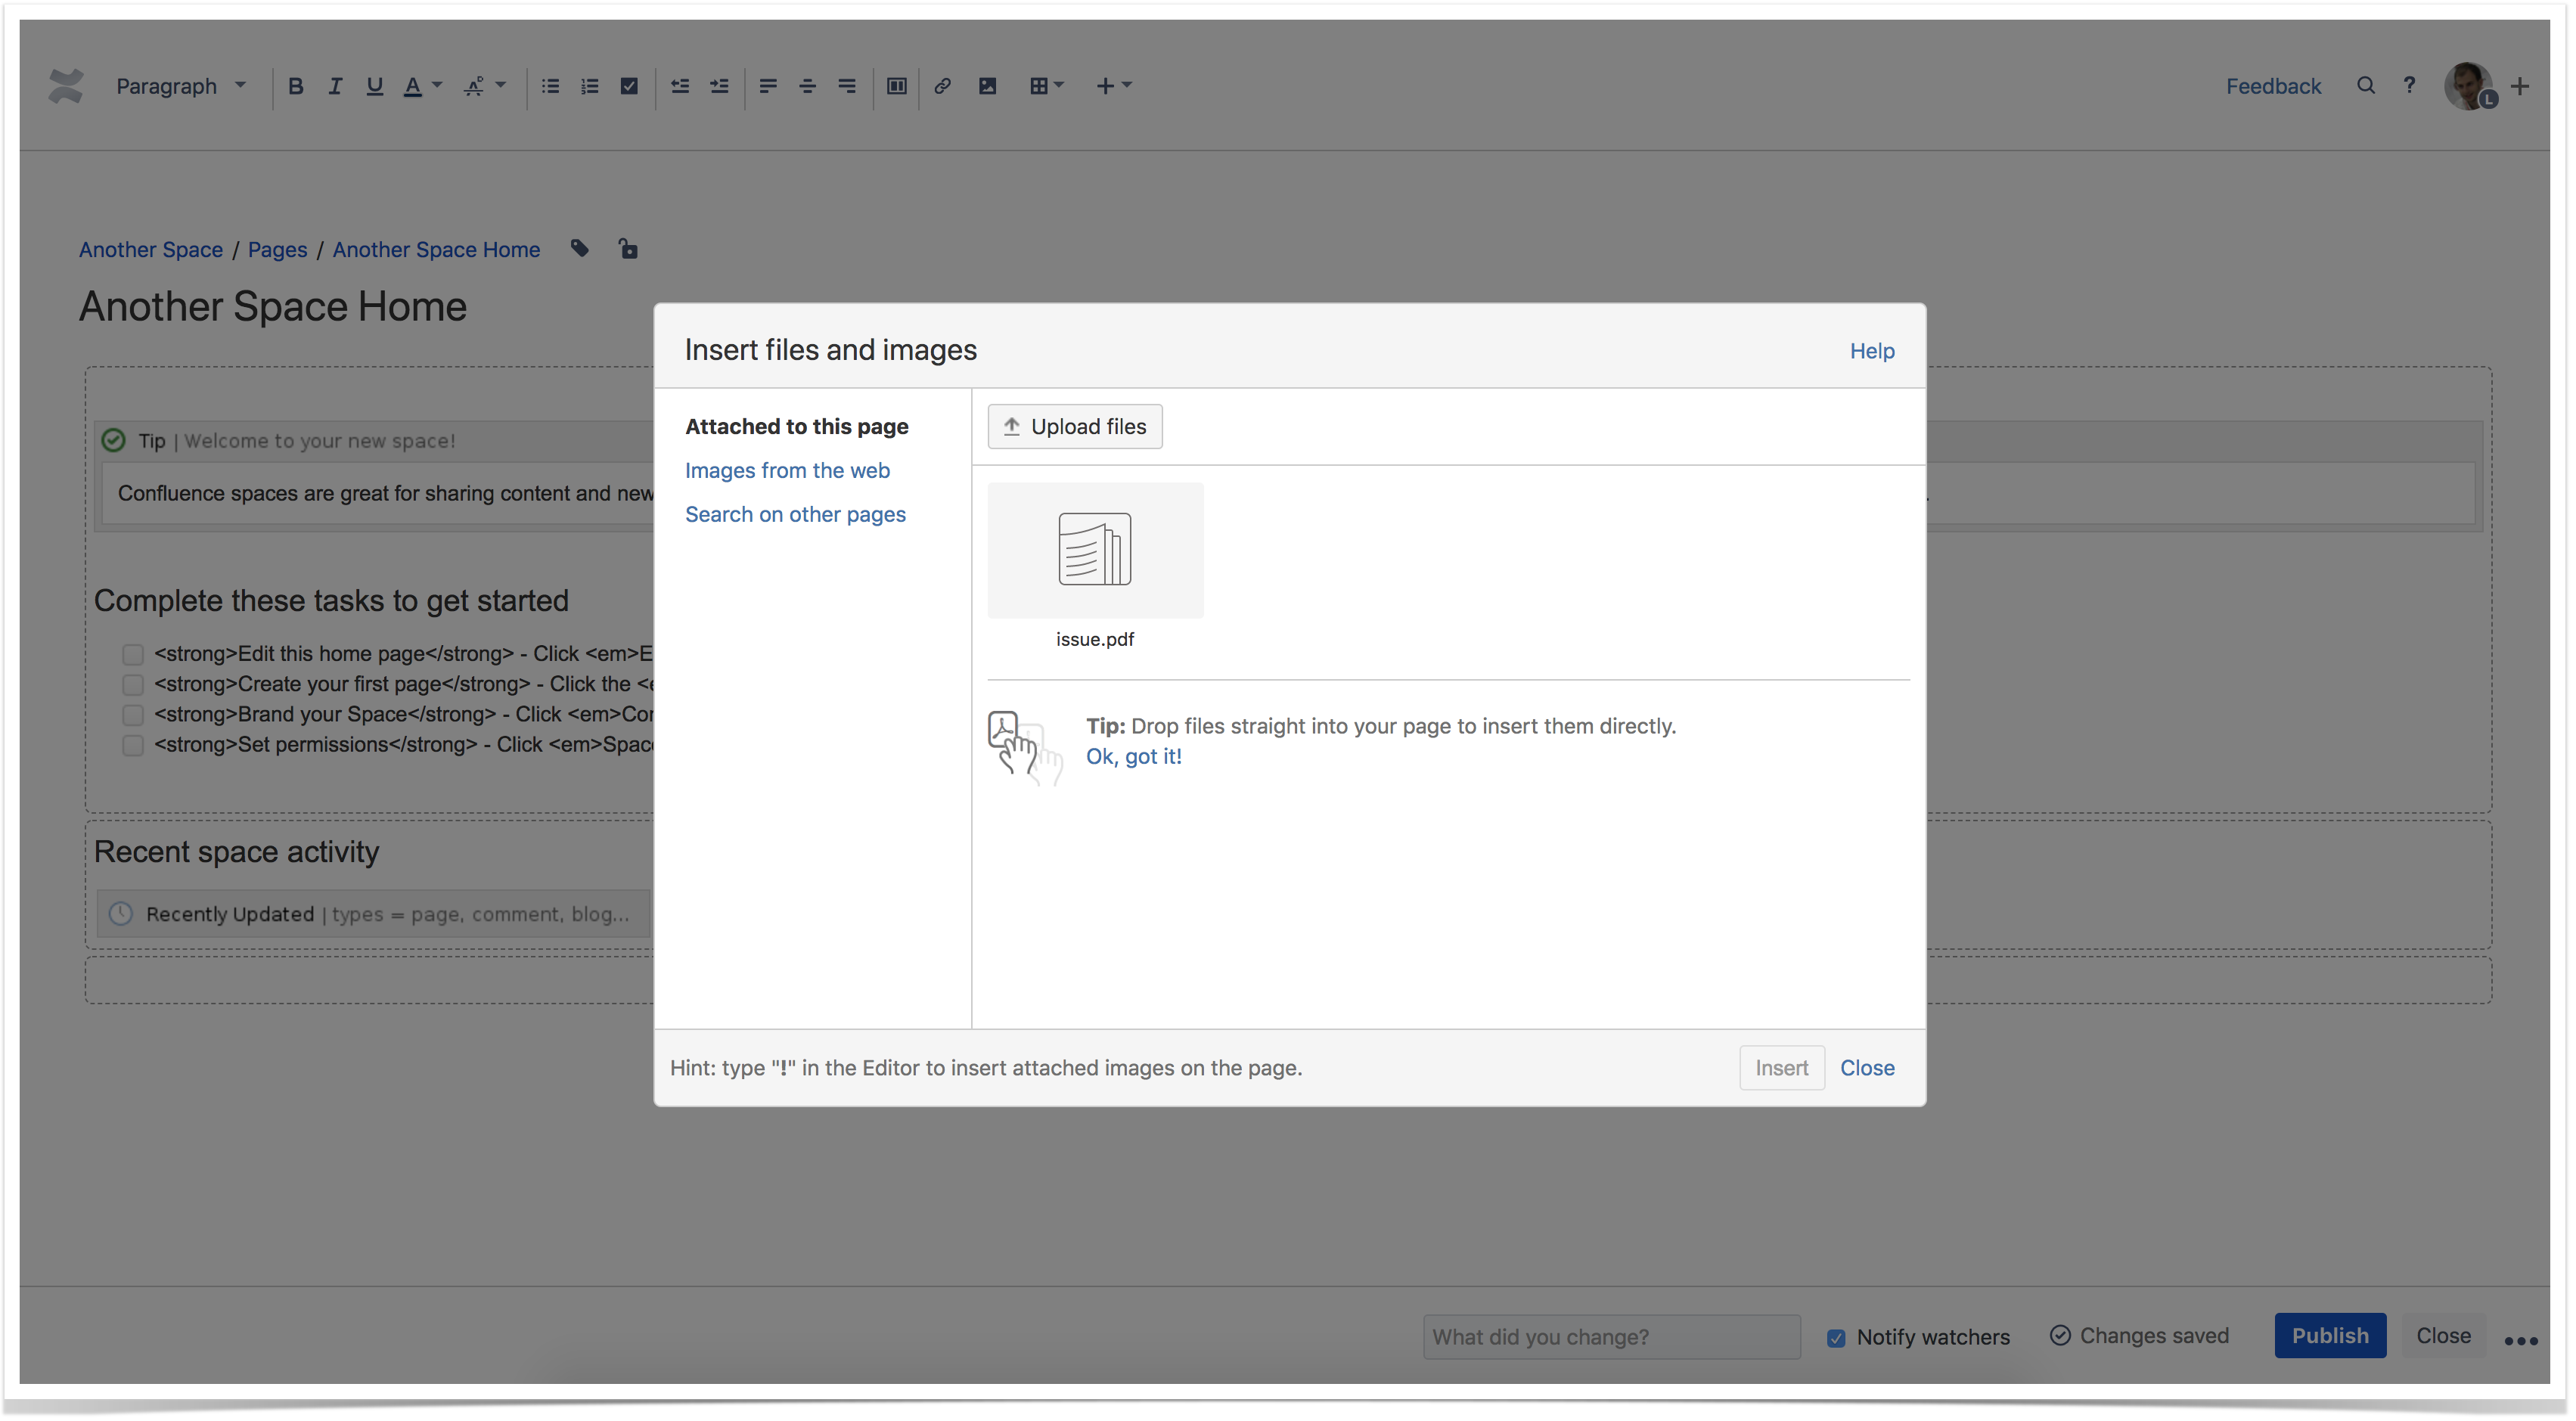
- Navigate to the Confluence instance. Select the page defined in the Confluence integration, and click edit.
- Click the plus sign > Files and images.
- In the Attached to this page tab you should have the Xporter for JIRA Cloud report you defined in the post function. Add the attachment to the page and click Save.
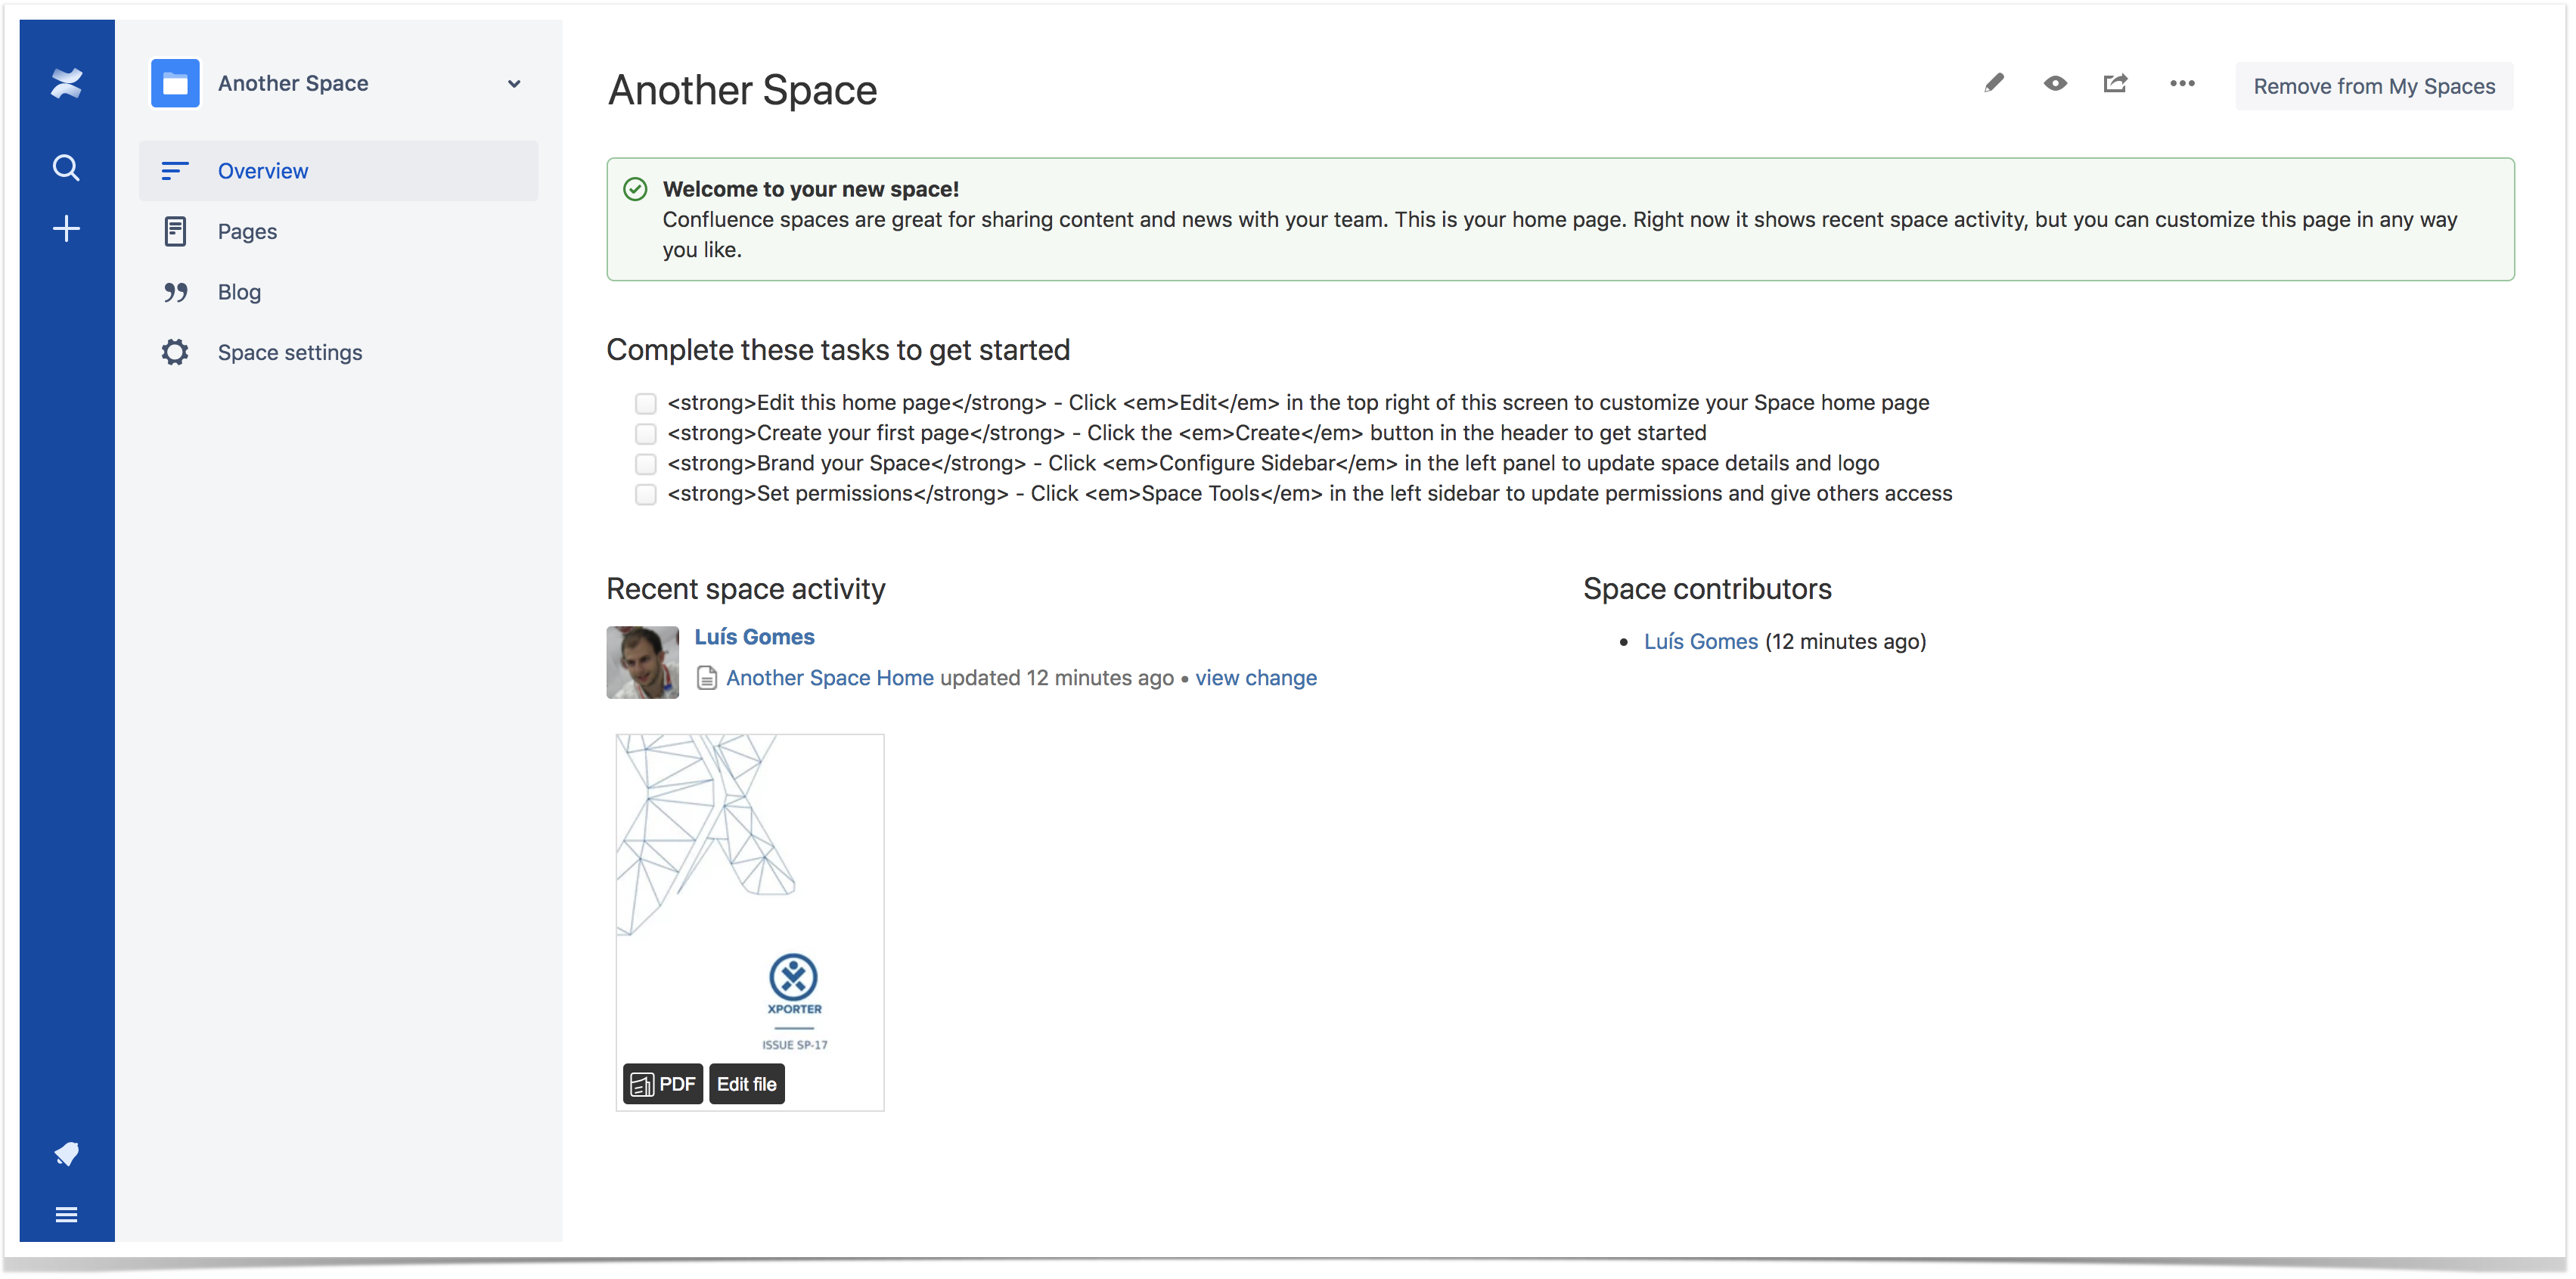
- Now you should see your report inserted into the page.
If you have any questions, or if you have trouble configuring the Xporter Connector for Confluence, please do not hesitate to ask for support here.