Xporter allows you to export all selected items from the Checklist for Jira app.
Definition
After installing this app, you should be able to define a new custom field by the type "CheckList," and the values associated with this list.
Xporter will iterate over the CheckList custom field and it'll get the corresponding checked and unchecked value.
You can iterate a section over all the checklist values of an issue. This allows you to create a table that dynamically grows according to the number of existing values. The notation is:
| CheckList Field | Description |
|---|---|
Label | The checklist option name |
| Status | The option status. It can be checked or unchecked |
Otherwise, Xporter allows you to get only the checked values, you just need to write the following notation:
| ${CheckList custom field} |
That´s it. No other special configuration is needed.
Example
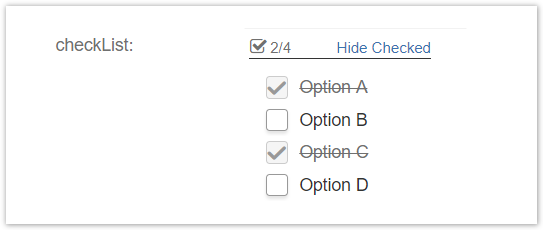
Let's extract data from a Checklist custom field.
As you can see in the image below, we already have a custom field of type "CheckList" and the corresponding values selected.
The expected result of your template will be: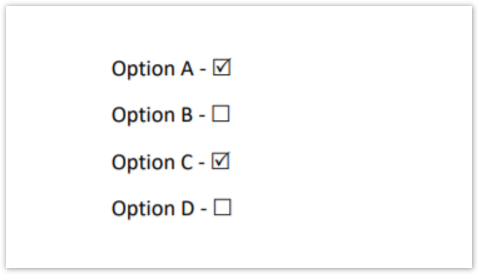
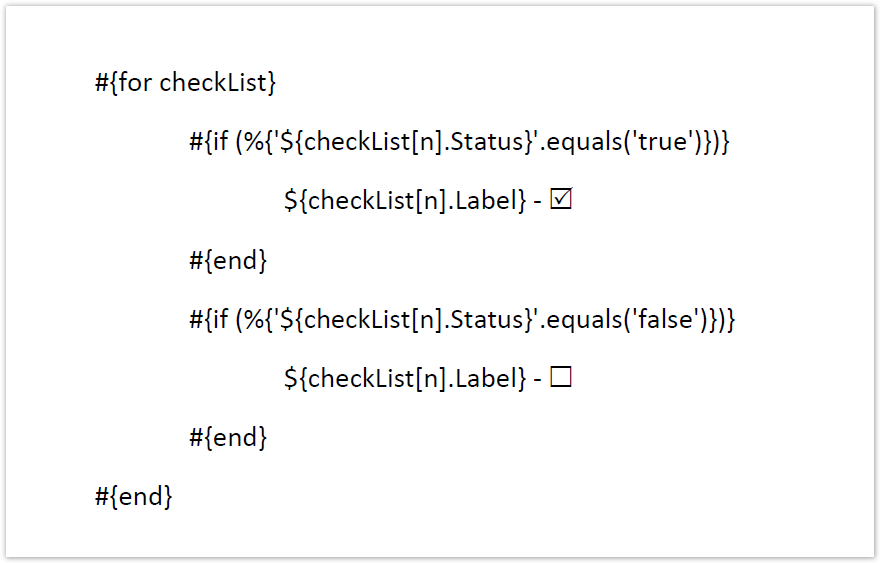
In order to get the same result on your generated document, please, check the template used:
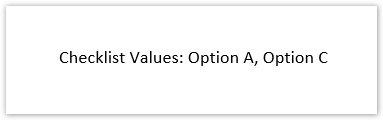
Otherwise, Xporter allows you to export only the checked value, you just need to use mapping:
| ${checkList} |
When you export the values defined previously on your issue, you will get only the selected values.