Introduction
This is the first exercise of the Basic Level. The main goal is to give you an idea of the tasks that must be performed in order to print your first document.
Immediately after installing the Xporter app and taking care of the license details, when you refresh the Apps page of the Jira Administration, the Xporter for Jira administration section will be displayed on the left sidebar.
The Xporter for Jira administration section allows you to manage the Global Settings, Templates, Permissions, File Servers and the Vendor License.
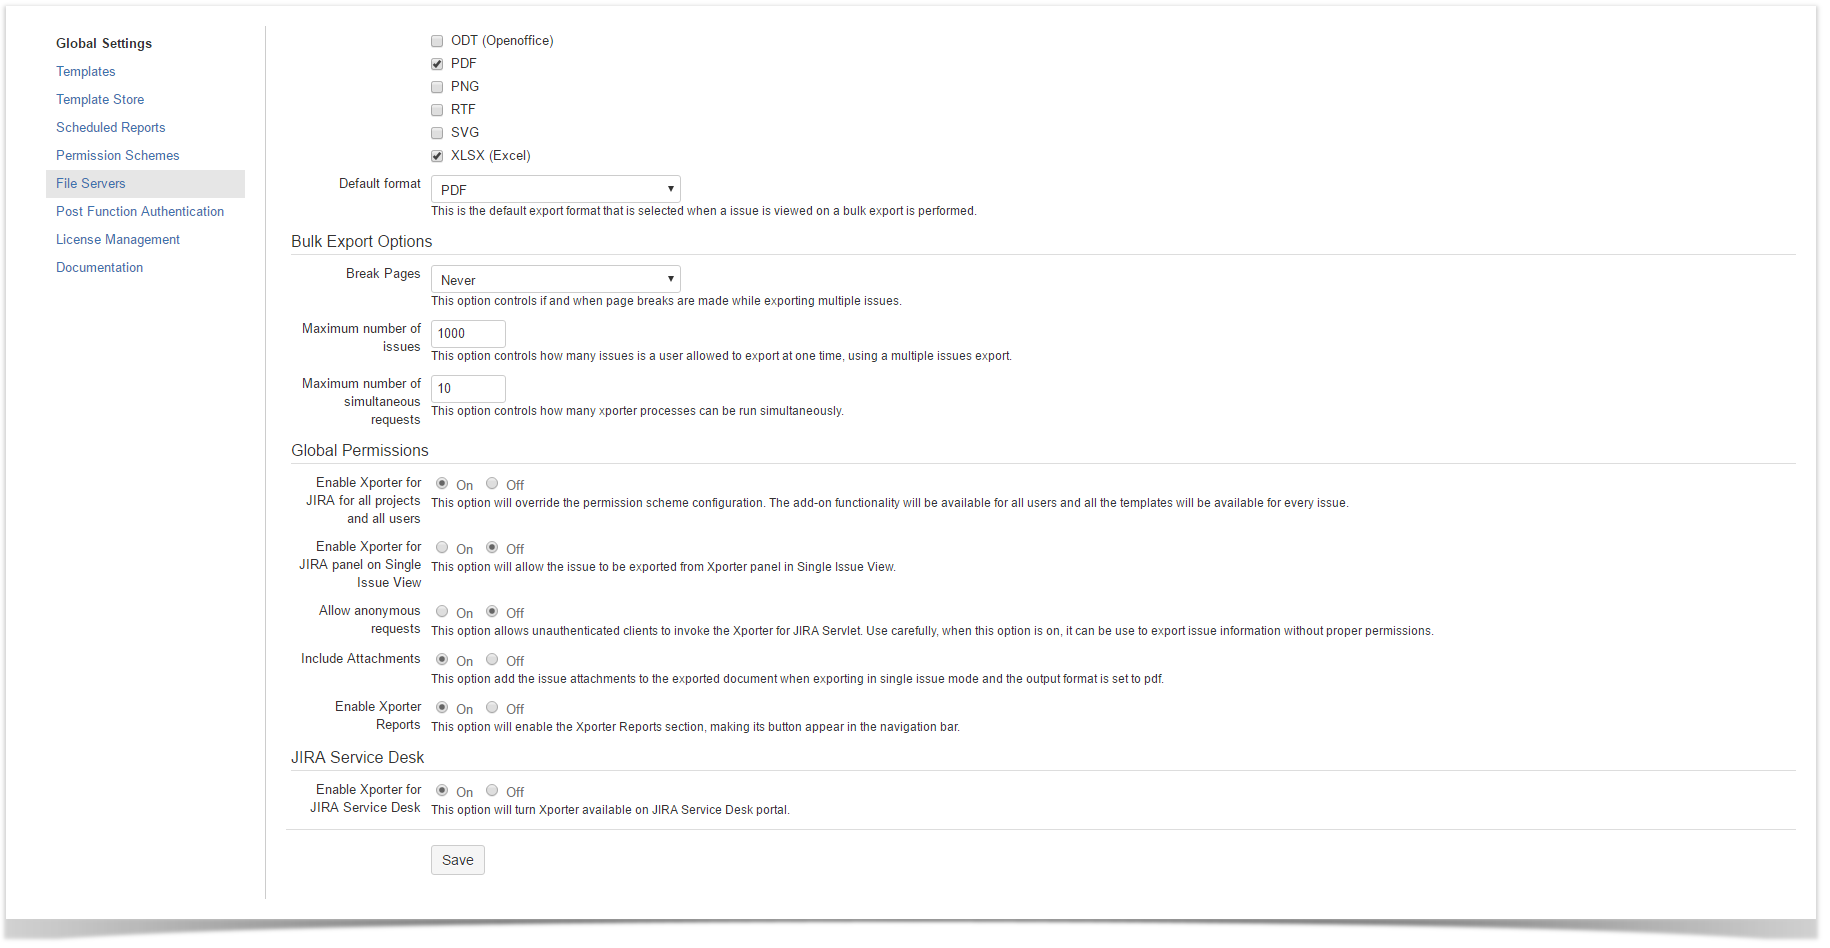
Navigate to Global Settings, and you'll see its 4 major sections: Output Options, Bulk Export Options, Global Permissions and Jira Service Desk.
Output Options
Here, you can select the available formats of the Xporter-generated document, as well as the Default format.
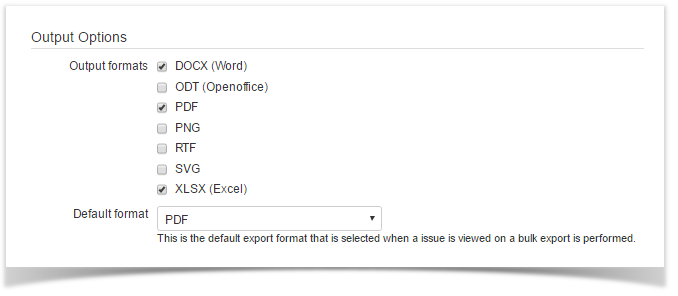
Unselect all the options and click Save. You will get an Error! message informing you that It is required to have at least one Output Format enabled. Select only the XLSX (Excel), DOCX (Word) and PDF on the Output formats, as well as PDF on the Default format and click Save again. This time, a Success! message will be displayed informing you that the Global Settings successfully saved.
Even with all the Output formats selected, the format of your generated document is limited by the extension of the Template you're using.
For more information, please check the Outputs Matrix on our documentation here.
When the set Default format isn't compatible with the template you've selected to export, only the compatible options you've selected on the Output format will be available. If you did not select a compatible format, you won't be able to generate a document
Bulk Export Options
Here, you can select the default Break Pages option, and set the Maximum number of issues allowed to export at one time as well as the Maximum number of simultaneous requests of Xporter processes that can be run.
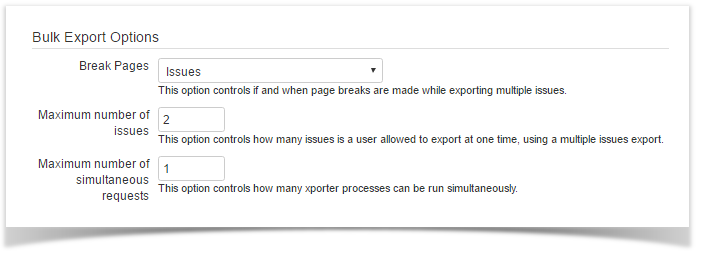
Whatever the Break Pages option you select here, you'll always have the opportunity to change it whenever you try to bulk export. For now, select Issues and click Save.
While Never makes all the issues content to be displayed in a continuous text on the generated file, all the other options make use of Page Breaks to split the issue's content according to your preference (e.g., by Project, by Issue Type, etc.), taking into account the way they are currently sorted on your Jira view.
XLSX templates can't have page breaks, so that option isn't displayed when you have selected a template of that type.
On the Maximum number of issues, replace the default value with 2, and on the Maximum number of simultaneous requests replace it with 1 and click Save.
If you try to perform a bulk export containing more issues than the value set in Maximum number of issues, an Error! The number of selected issues is above the maximum allowed (<value>) will be displayed when you try to bulk export them.
Also, if the bulk export operations request quantity is bigger than the set Maximum number of issues, an Error! The number of export requests running has exceeded its limit. will be displayed when you try to bulk export them.
Xporter for Jira Cloud
The Maximum number of simultaneous requests feature is not available in the Xporter for Jira Cloud.
Global Permissions
Here, you can Enable/Disable options related to enforcing the Permission Scheme configuration, display the Xporter panel on Single issue view, Allow anonymous requests and Including Attachments of the issue on generated documents.
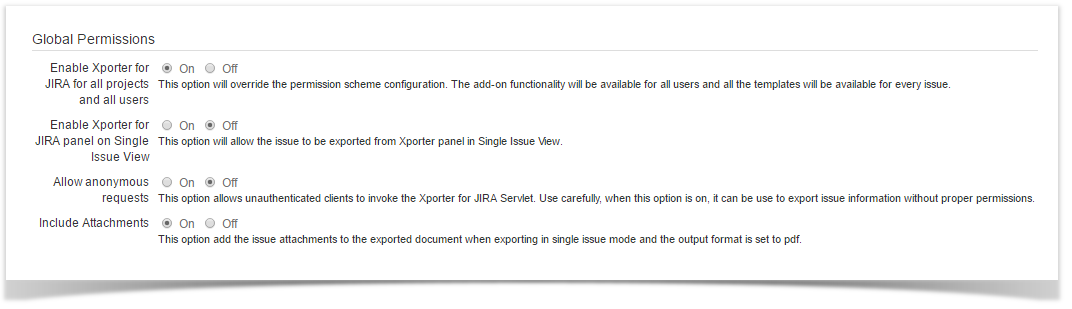
We'll explore Permission Schemes thoroughly in our next exercise. For now, just tick the On option on Enable Xporter for Jira for all projects and all users for now and click Save.
For more information regarding Permission Schemes, please check our documentation here.
The Enable Xporter for Jira panel on Single Issue View allows displaying a panel on the right sidebar of a single issue page to allow exporting without leaving its page. Leave this option Off in the meantime.
Enabling the Allow anonymous requests option lets unauthenticated users to invoke the Xporter for Jira Servlet, so be aware of the security risk. Leave it Off for now, too.
Finally, enabling Include Attachments means when exporting a single issue with its output format set to PDF, if the issue has any attachments, they will also be attached to the generated document. Make sure it is On and click Save. An alert dialog will prompt you, informing that this option can decrease Xporter for Jira performance. Just Confirm and you're done.
Jira Service Desk
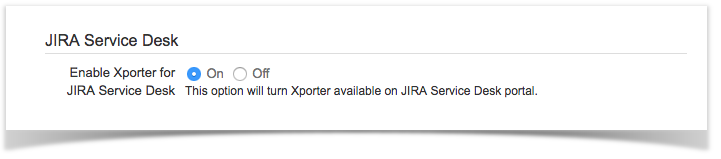
Enable Xporter for Jira Service Desk allows your Service Desk Customer to get their tickets printed on documents. All templates available are defined by you when you set the Scope list by template.
With all the initial set up configurations finished, we just need a template to start exporting our generated documents. Luckily, there's a Template Store entry on the Xporter for Jira administration section displayed on the left sidebar.
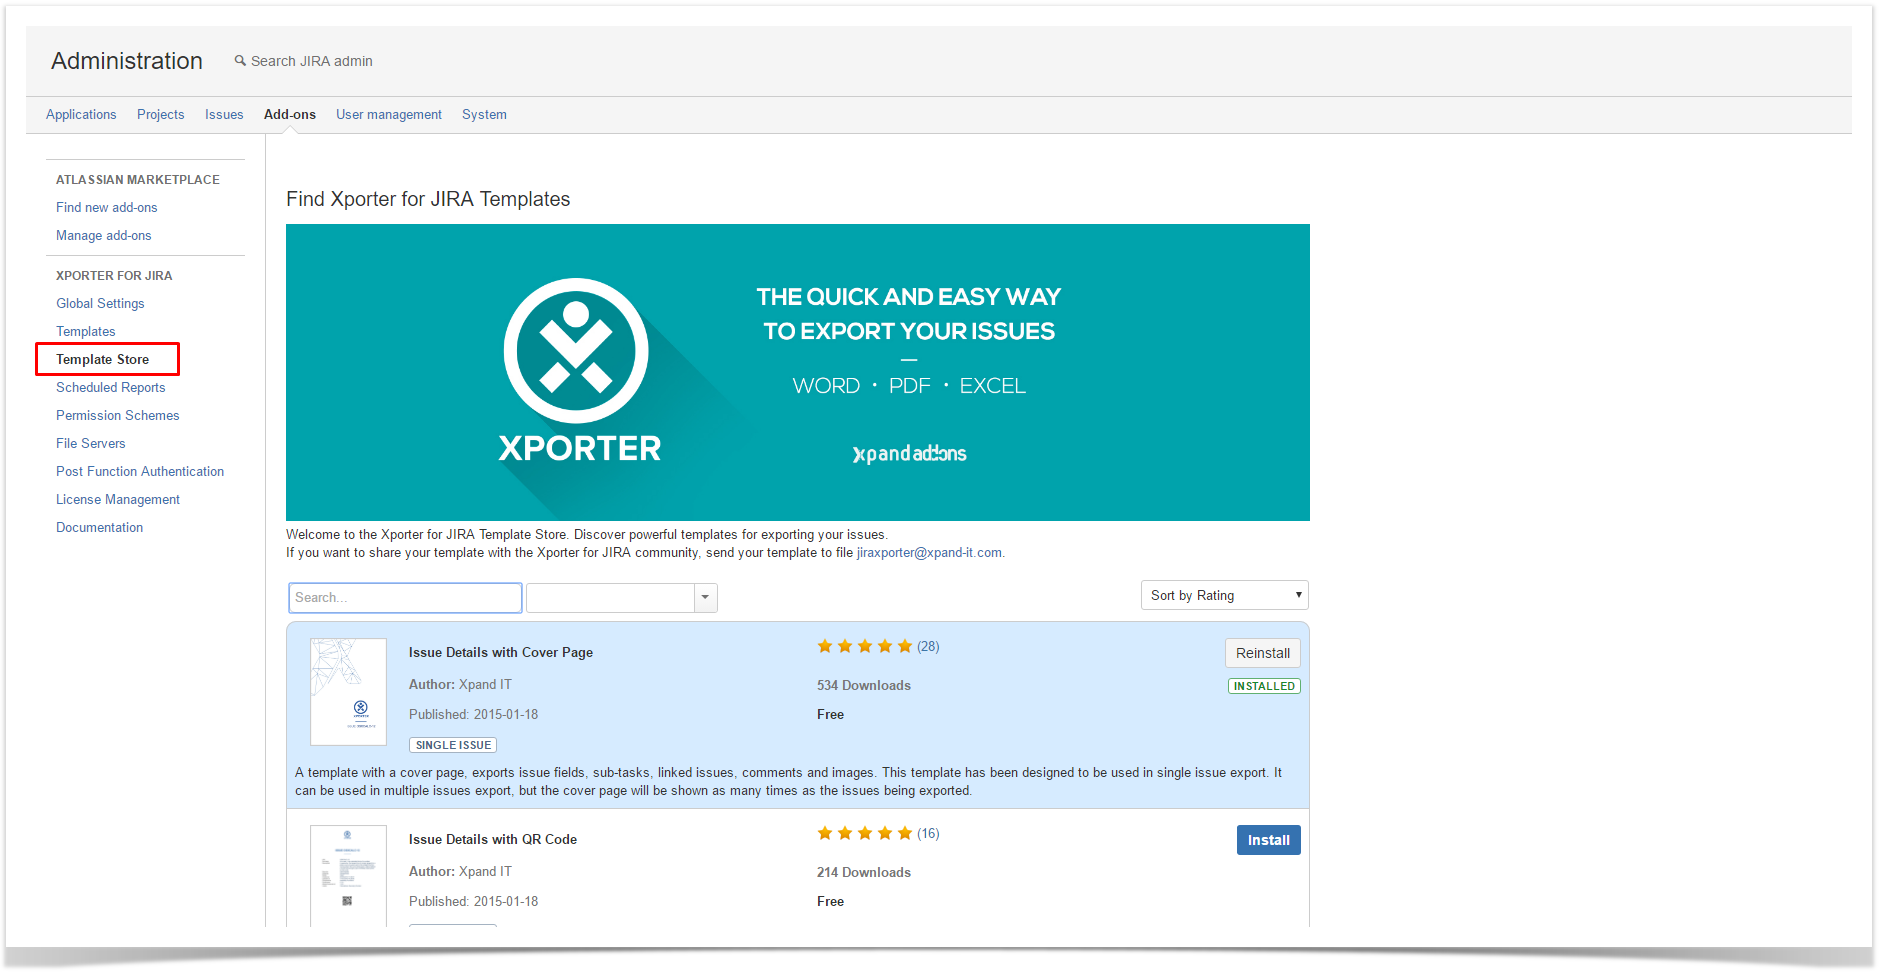
Along with user-created templates, Xporter for Jira provides a Template Store where you can find and install templates provided by our team. Just select one that you like, click Install and you are good to go.
Navigate to the Template Store, search for Issue Details with Cover Page, click Install and repeat the process for Issue Detail Excel.
The Exercise(s)
1) Exporting a Single Issue
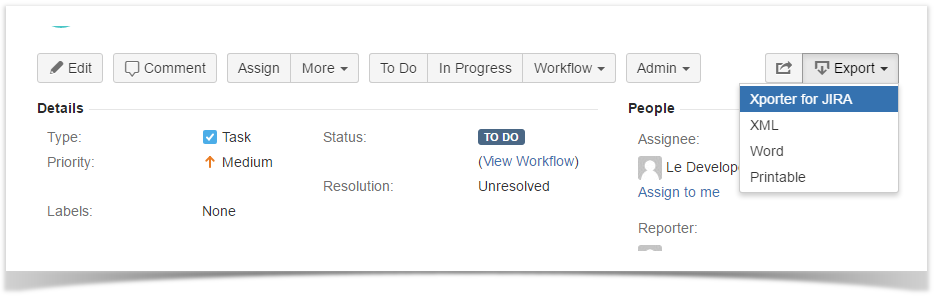
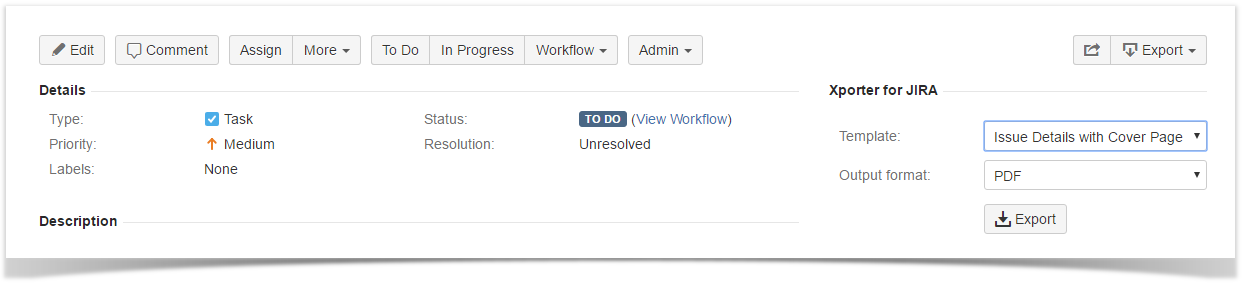
In order to export your first document, just navigate to an issue of your choosing on your Jira instance. There, click the Export dropdown menu, select Xporter for Jira and you will navigate to a page titled Export issues using Xporter for Jira where you can select the Template and Output format of your generated document. It will be PDF by default, as we set it up previously.
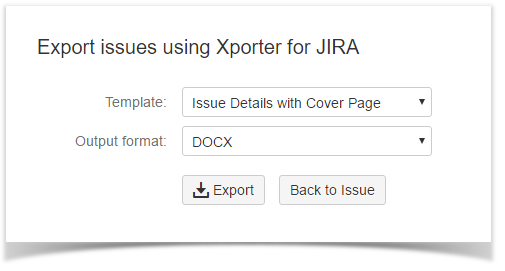
Select the Issue Details with Cover Page template. Since it is a DOCX template, the Output format available options will only display PDF and DOCX. Choose Issue Detail Excel instead; that will change to PDF and XLSX.

Select Issue Detail Excel and XLSX as the Output format. Click Export, and after the progress bar is filled, click the here on the Success! message to download your generated file. Open it and you'll see your Jira native fields populated on the document.
- Exporting a Single Issue with included Attachments
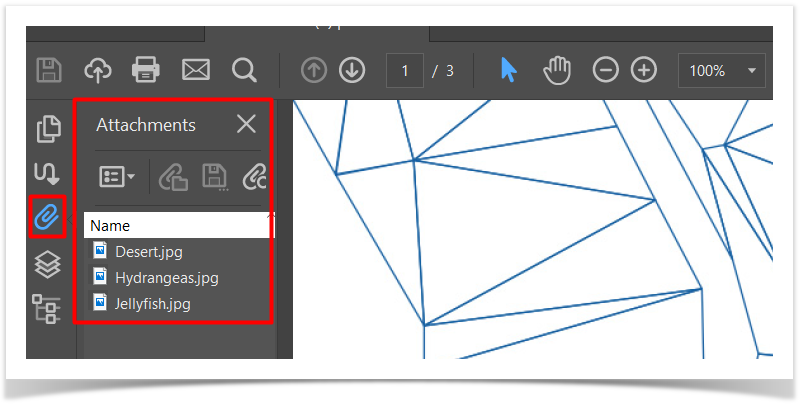
Now, on a new browser tab, return to the Xporter for Jira administration section Add-ons page of the Jira Administration. On the Enable Xporter for Jira panel on Single Issue View, tick On and click Save. Return to the previous tab, click Back to Issue, and now the Xporter for Jira panel will be displayed on the right sidebar of the issue. This time, add two attachments of your choosing to the issue. Then, select the Issue Details with Cover Page template with the PDF output and click Export. Open the generated file with a PDF reader and you'll see your generated document along with the attached issue files.
PDF note
The browser-embedded PDF viewers don't allow you to check the PDF attachments, so we suggest using a standalone PDF reader like Adobe Acrobat, and check the attachments on the left sidebar.
2) Exporting a Single Issue invoking the Xporter for Jira servlet
Browser info
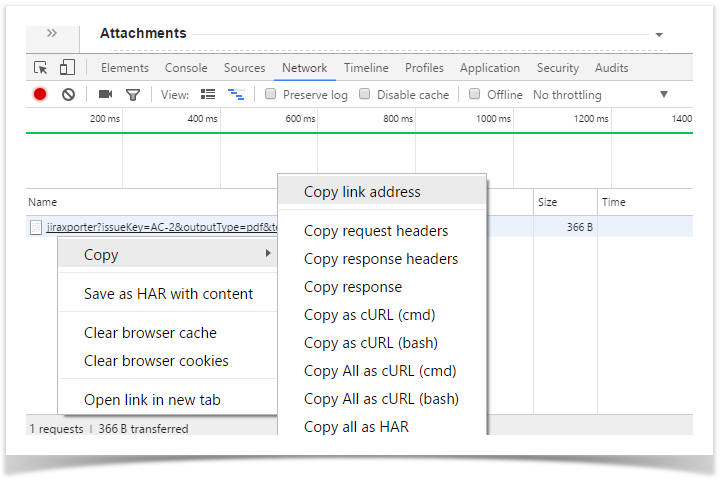
The following steps are based on the Google Chrome interface
On your issue page, press F12 to display the browser console and go to the Network tab. Click Export on the Xporter for Jira panel and a new entry will appear on the Network console. Right-click it, and navigate to Copy -> Copy link address.
Open a new browser tab, paste the link and click Enter. The file will be generated.
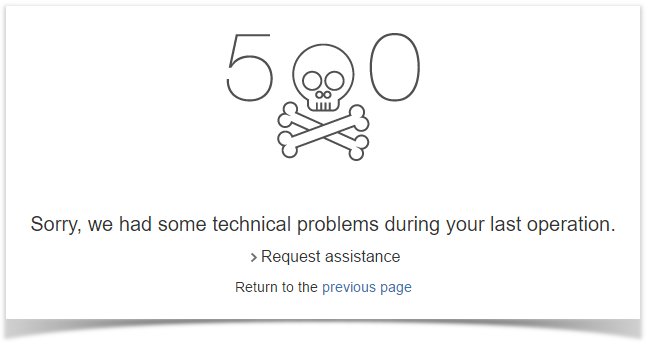
Now, open a new browser window in Incognito mode (press Ctrl + Shift + n on your keyboard), paste the same link and click Enter. An error page will be displayed, and by expanding the Request assistance option, you will see Invalid permissions under Cause.
Return to the tab with Xporter for Jira administration section Add-ons page of the Jira Administration, and on the Allow anonymous requests, tick On, click Save, and confirm the alert dialog prompt. Repeat the action on the Incognito mode browser window, and the file will now be generated.
3) Exporting a Bulk of Issues
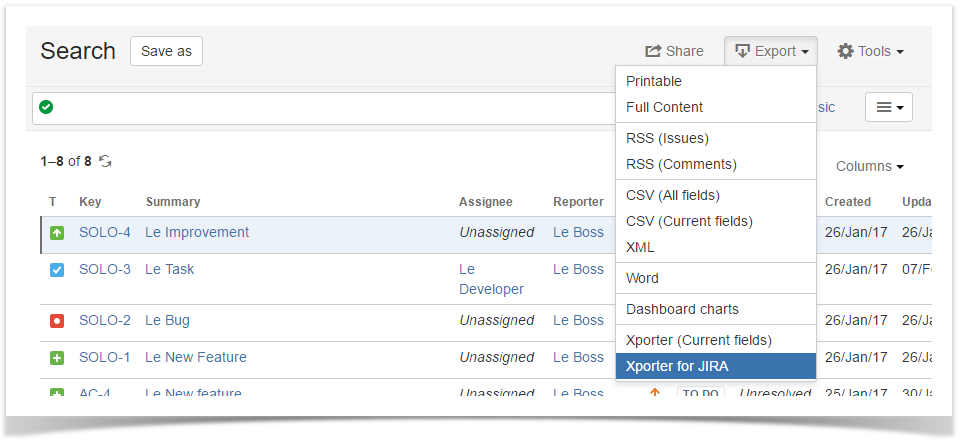
Return to your Jira issue page tab, and on the Jira top bar, select Issues -> Search for Issues. Make sure more than 2 issues are displayed. Click the Export dropdown menu on top of the search bar, select Xporter for Jira and you will navigate to a page where you will see an Error! message informing you The number of selected issues is above the maximum allowed (2).
Return to the tab with Xporter for Jira administration section Add-on page of the Jira Administration. On the Maximum number of issues, replace the default value with 10000, and click Save.
Back to the Issue Navigator, make sure less than 10000 issues are displayed, click the Export dropdown menu on top of the search bar, select Xporter for Jira and you will navigate to a page where you can only select the Template and Output format of your generated document if the XLSX Issue Detail Excel template is selected, and the additional Break pages selector with its set default option (Issues) if the Issue Details with Cover Page template is selected instead.
Export the Issue Details with Cover Page template with the Output format as Docx and the Break pages selector with its set default option (Issues). After downloading, open it and you'll see that all issues are printed, each starting after a page break.
Beak Pages info
If you select Projects on the Break Pages, a break occurs only when an issue belongs to a different project than the previous one on the stack of issues to be printed.
The same logic is used for Issue Types (when an issue is from a different Issue type than the previous one on the stack of issues to be printed) and Components (when an issue is associated with different components than the previous one on the stack of issues to be printed).
Also, if you open two browser windows on the Issue Navigator and try to bulk export on the second window while the same action is being performed on the first window, an Error! The number of export requests running has exceeded its limit. will be displayed in the second window. If you return to the tab with Xporter for Jira administration section Add-ons page of the Jira Administration, and on the Maximum number of simultaneous requests replace the default value with 10, click Save, and repeat, no error message will be displayed this time.
4) Working with the Enable Xporter for Jira for all projects and all users option
This option will be explored in detail on a later exercise. For now, there's a simple exercise to test it.
Also, this exercise assumes you currently don't have a Permission Scheme configuration.
Navigate to the tab with Xporter for Jira administration section Add-ons page of the Jira Administration, and on the Enable Xporter for Jira for all projects and all users, tick Off and click Save.
Now, visit an Issue page and you'll notice the Xporter for Jira panel will now be missing since no Permission Scheme is configured to allow you to use Xporter. Also, on the Issue Navigator, if you try to bulk export, an Error! message will inform you that you are Unable to export the selected issues. If you check the details, you will be informed on the Error Reporting pop-over that the User has no permissions for using Xporter for Jira in current Permission Scheme for each of the issues you tried to bulk export.
Return to the tab with Xporter for Jira administration section Apps page of the Jira Administration, and on the Enable Xporter for Jira for all projects and all users, tick On again and click Save.
Exercise 1 is now complete. Proceed to Exercise 2 to learn how to manage Xporter Templates.
If you like this exercise, please leave a comment or a ![]() . Your feedback is very important to us.
. Your feedback is very important to us.
Thank you in advance.
Enjoy our product. ![]()