In this exercise, you'll learn how to print information from Wiki/HTML-rendered fields using Xporter for Jira.
To start, we are going to create two Jira custom fields to print text with the Wiki or HTML markup.
In order to create a Jira custom field, navigate to Jira Administration -> Issues -> Fields -> Custom Fields -> Add Custom Field.
Create two custom fields of the type Text Field (multi-line), and name the first one wikimarkup and the second as htmlmarkup.
Now, populate each matching field with Wiki or HTML notation.
The mappings in use are listed on the table below:
| Fields | Description |
|---|---|
| wiki:wikimarkup | Wiki rendered custom field |
| html:htmlmarkup | HTML rendered custom field |
The custom fields with the notation to be used in our template are listed below.
Some Jira plugins, like Table Grid Editor, nFeed and jEditor, have their own set of custom fields that are displayed and rendered as HTML on Jira.
In these cases, the HTML renderer must be used on the mapping when trying to generate a document with the field contents; otherwise, what will be printed is wiki markup and HTML tags without any processing.
Below is a sample of how the mappings will be displayed in a Word template:
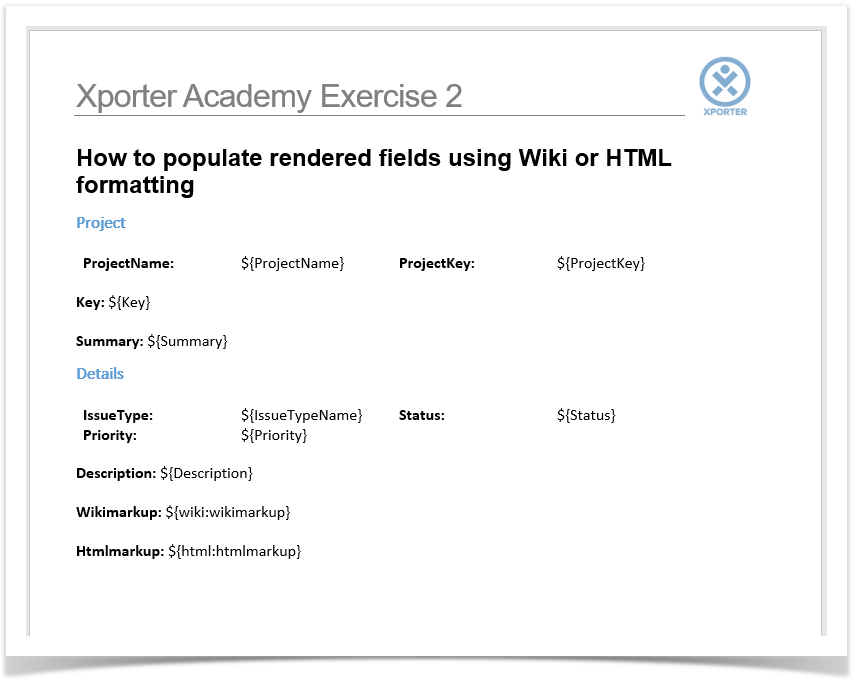
This template has:
- a Header with an Image
- Headings
- Text styling
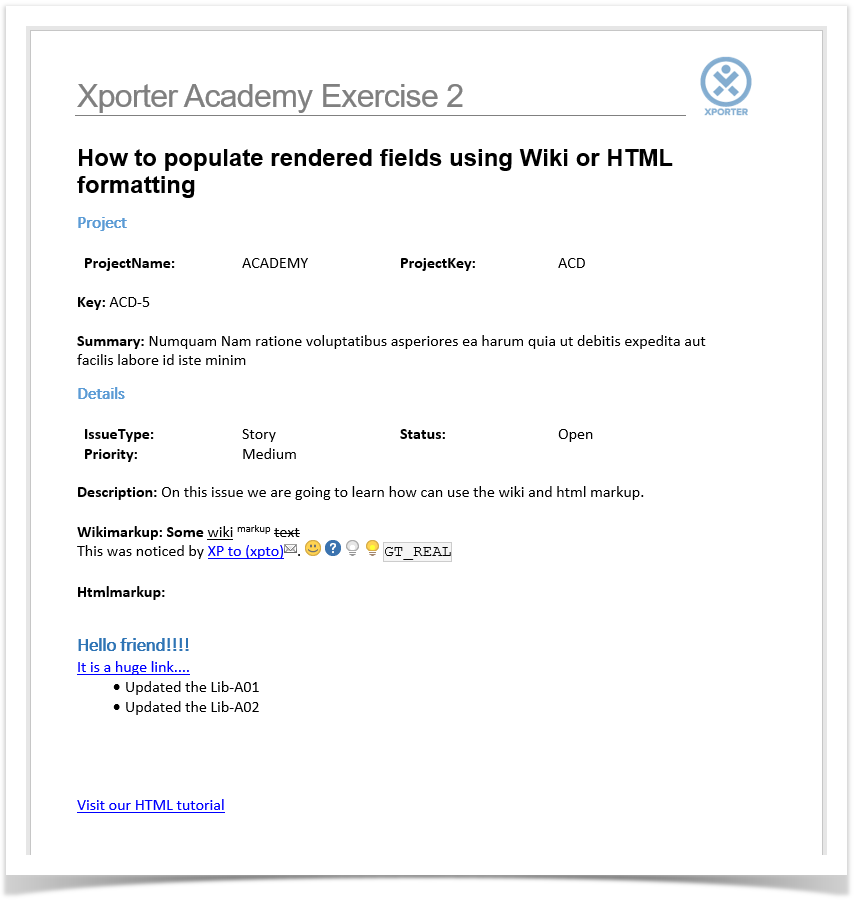
Below is a sample of how the generated file will be populated:
If you like this exercise, please leave a comment or a ![]() . Your feedback is very important to us.
. Your feedback is very important to us.
Thank you in advance.
Enjoy our product. ![]()