Introduction
This is the third exercise of the Basic Level. The main goal of this exercise is to explore all the features of the Template Store.
As you've learned from Exercise 1, Xporter for Jira provides a Template Store where you can find and install templates provided by our team.
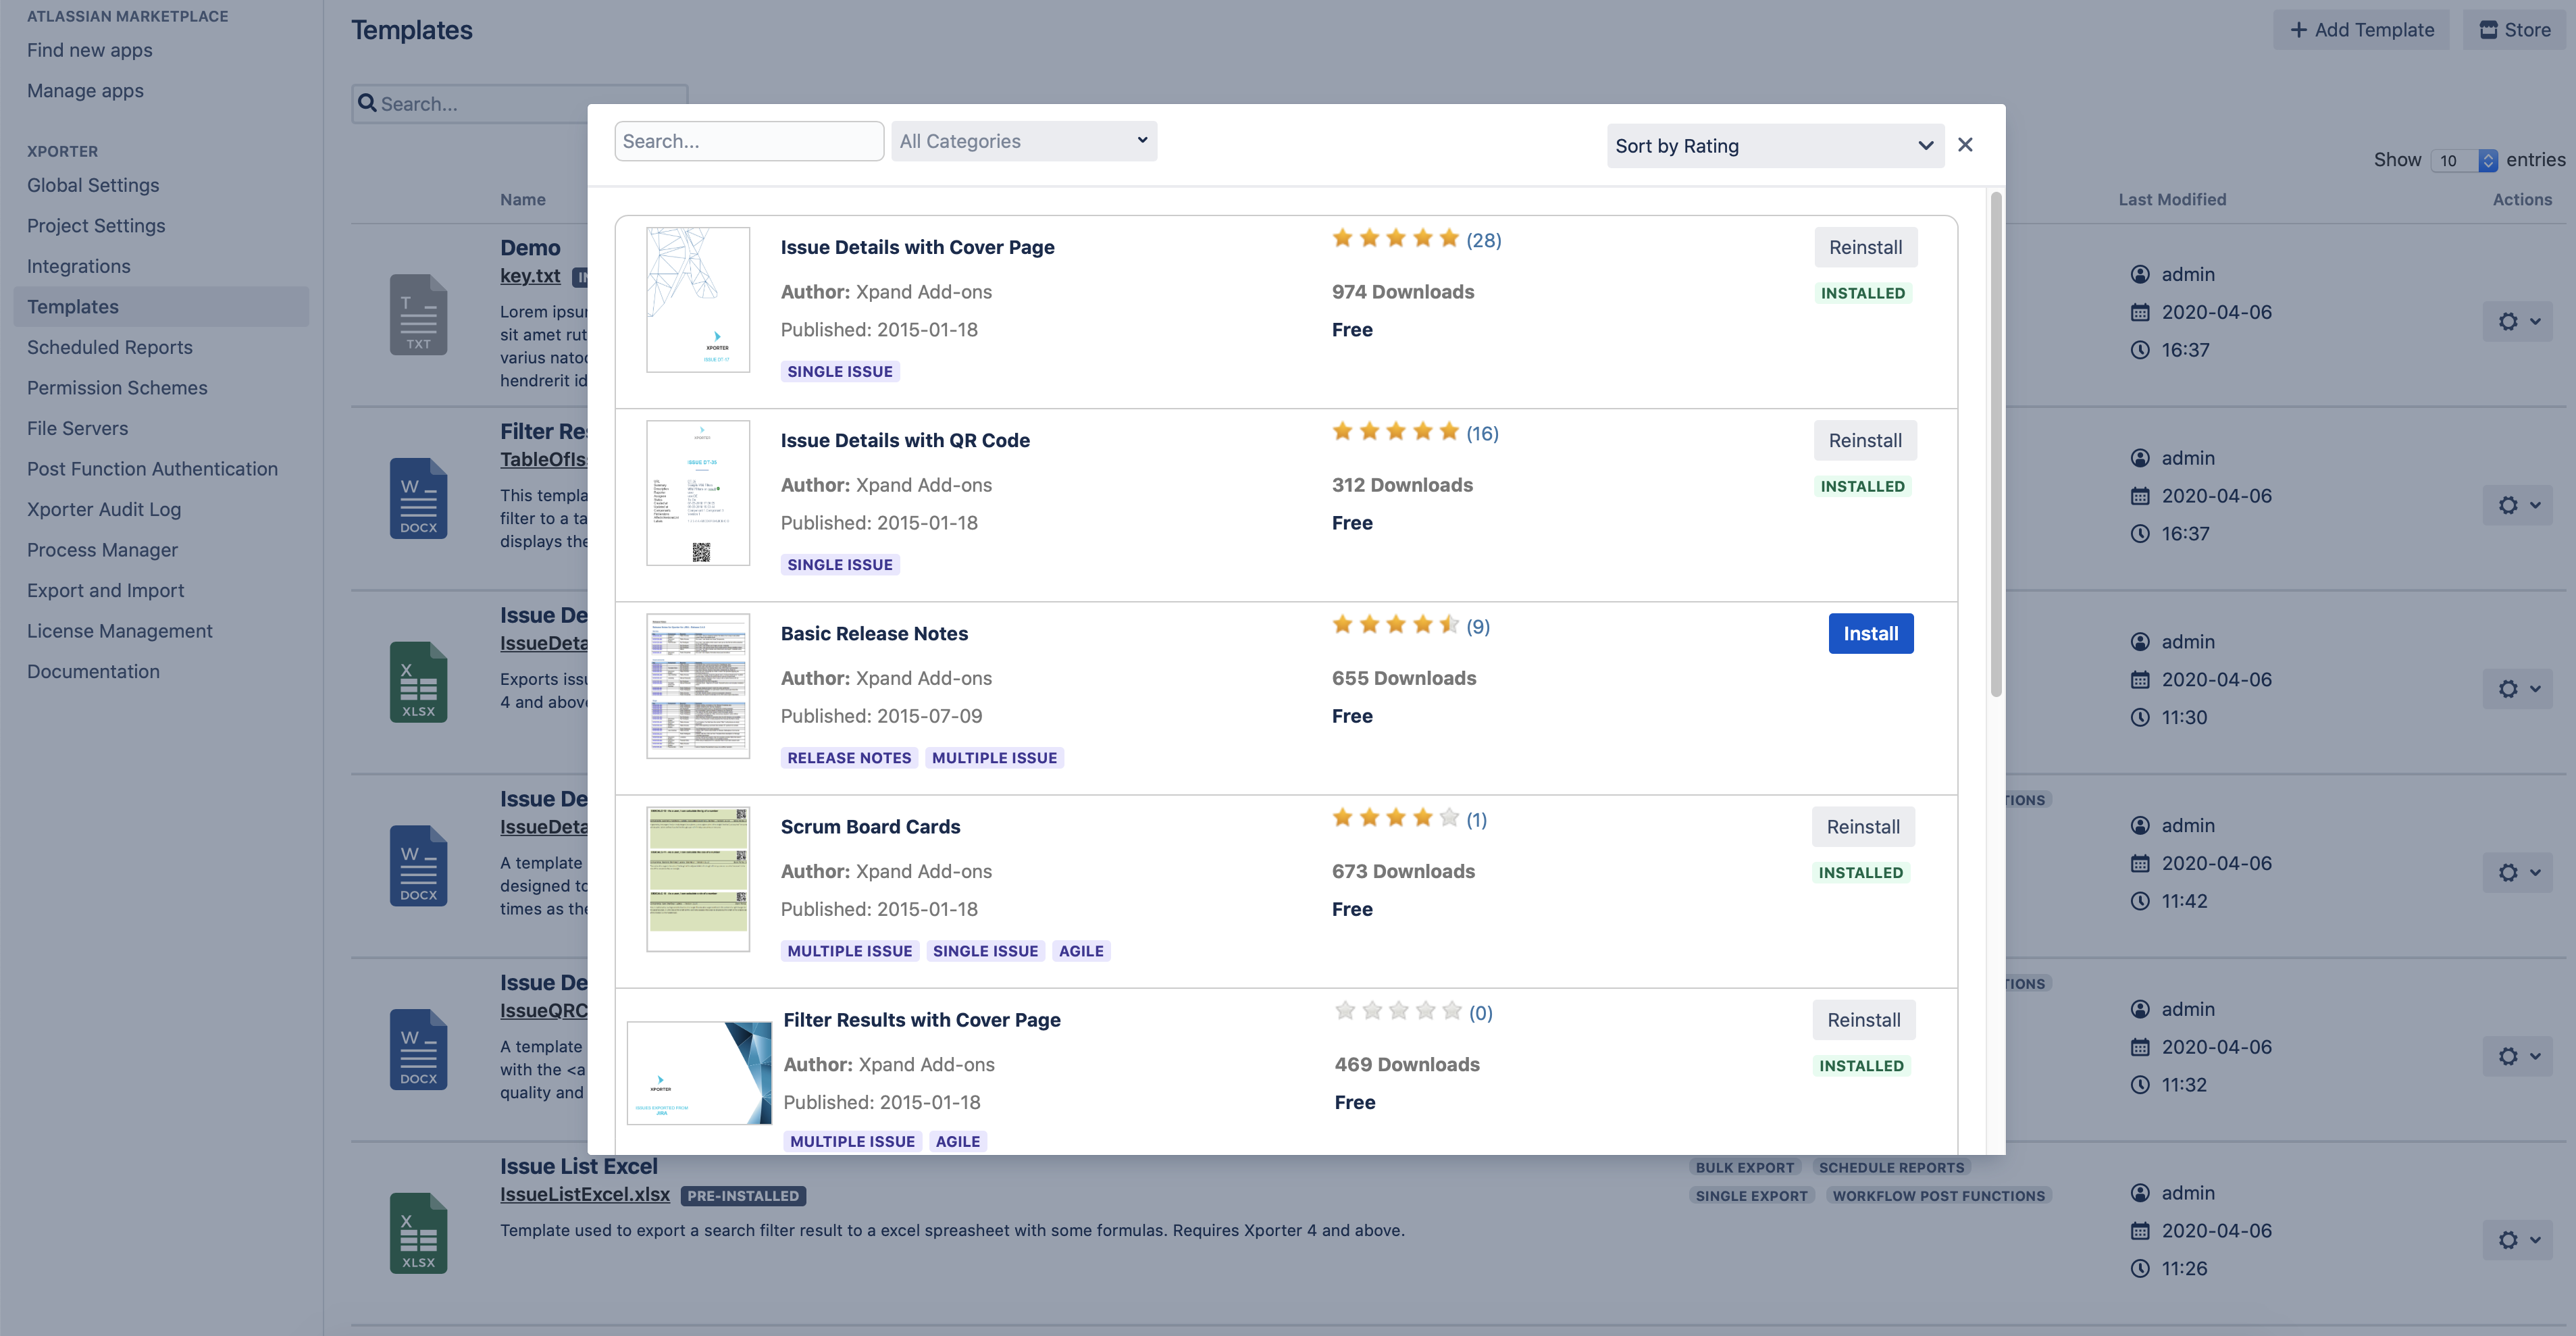
Navigate to Template Store on the Templates section Add-ons page of the Jira Administration and you'll see both a Search... field, a drop-down selector as well as a Sort... selector, along with a grid of 10 listed results with an option to See more templates... at the bottom of it.
The options available to you are:
- Using the Search... field, where you can input the keywords of your targeted template that will be matched with the available Template Store Name, Author, and Description field;
- Using the Dropdown selector, where you can select one or more categories of your targeted template that will be matched with the available Template Store tags;
- Using the Sort... selector, where you can select how to order the results of your search on the Template Store;
- Using the See more templates... button at the bottom of the displayed results grid, when your search results have more than 10 entries.
If your search obtains less than 10 matching results, the See more templates... button won't be displayed.
The Exercise(s)
1) Installing a Template from the Store
On the Template Store on the Xporter for Jira administration section Add-ons page of the Jira Administration, on the Search... field, input the keyword Bugatti and press Enter. A Warning! message will be displayed informing you no matching templates were found.
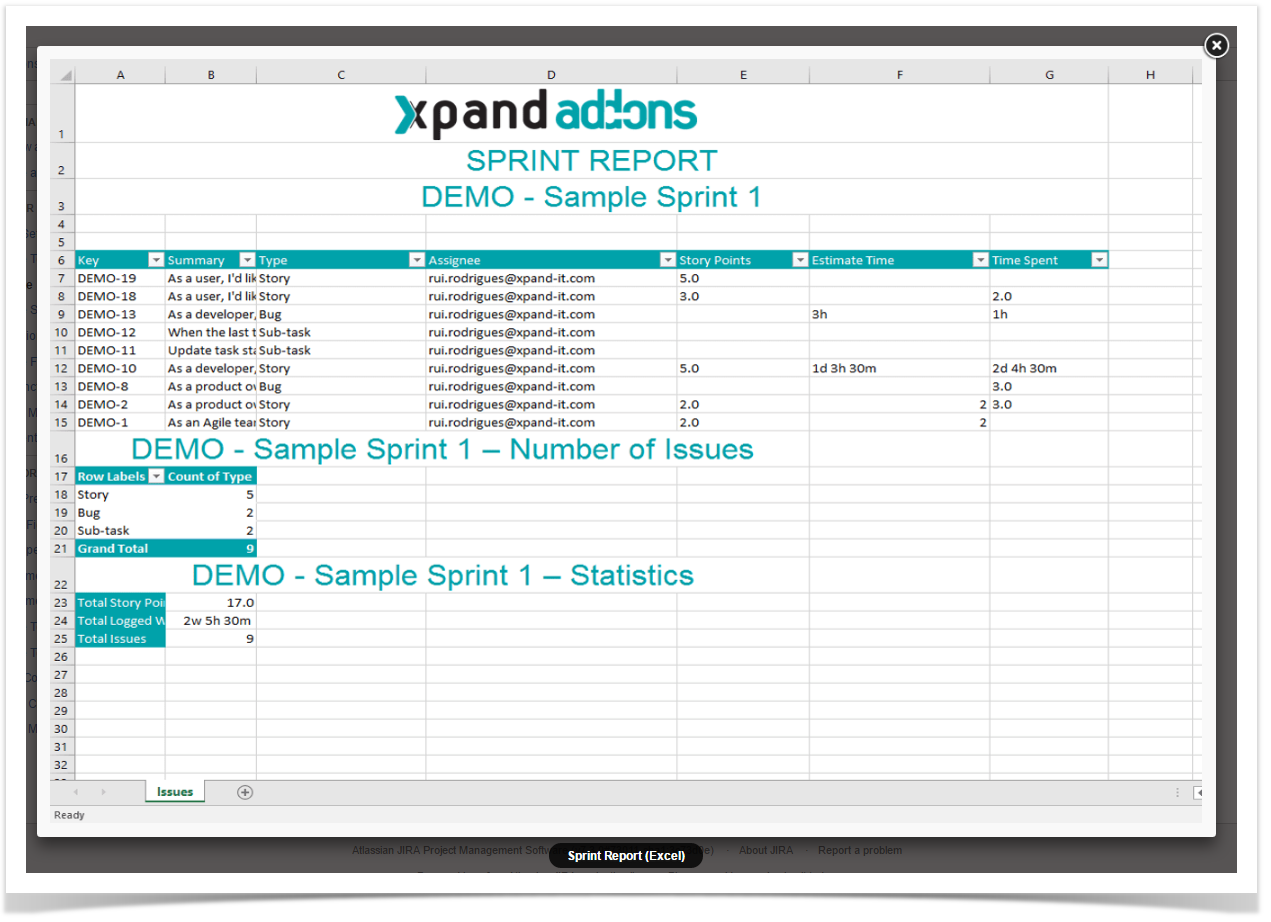
Now, input the keyword Report on the Search... field and on the Dropdown selector choose Excel. A result entry will be displayed named Sprint Report (Excel). If you click its thumbnail, a pop-over will be displayed with the image expanded.
Some templates have more than one image. In those cases, you can navigate between them using your keyboard arrow keys.
Click the X on the top right of the pop-over to return to the results list.
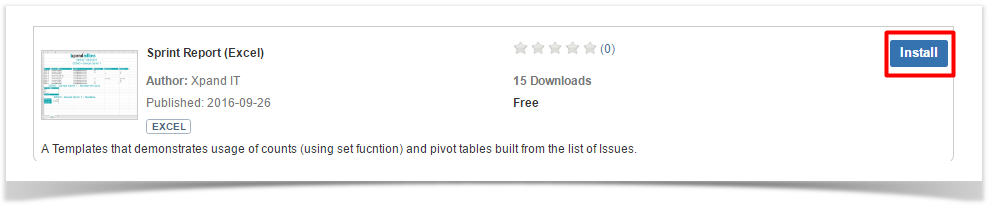
Now, click Install and a Success! message will be displayed informing you the template was successfully installed. Navigate to the Templates section on the Xporter for Jira administration section, and you'll see your newly installed template there, along with the tag Installed from the store.
2) Reinstalling a Template from the Template Store
On the Templates section on the Xporter for Jira administration section, edit your newly installed template and change its Name, Description and template File.
When you edit a Template Store installed template, its tag will change from Installed from store to Installed from file upload.
If you want to revert to how it was, just navigate to the Template Store again, input the keyword Report on the Search... field and on the Dropdown selector choose Excel, and the result entry will now display the Reinstall button.
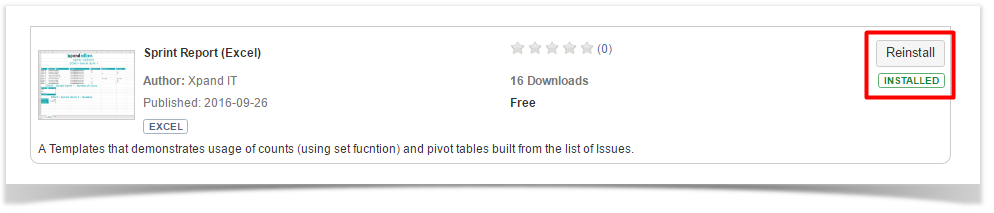
Click on it, a pop-over prompt will be displayed asking you to confirm that you want to reinstall the Template. Click Confirm.
Now, return to the Templates section, and the template will be restored to its original Template Store settings.
If you try to install a Template Store template whose Name or file name are already in use on your Manage Templates area, an Error! message will be displayed informing you it was Unable to install this template because already exists one installed template with the same name.
This Exercise is now complete. Proceed to Exercise 4 to learn how to use the Permission Schemes.
If you like this exercise, please leave a comment or a ![]() . Your feedback is very important to us.
. Your feedback is very important to us.
Thank you in advance.
Enjoy our product. ![]()