Export from Customer Portal Request Detail
You can now get your requests printed on documents. To get this working, enable the feature on the Xporter Global Settings screen. It must have at least one template configured with scope Everywhere or JSD Request Detail.
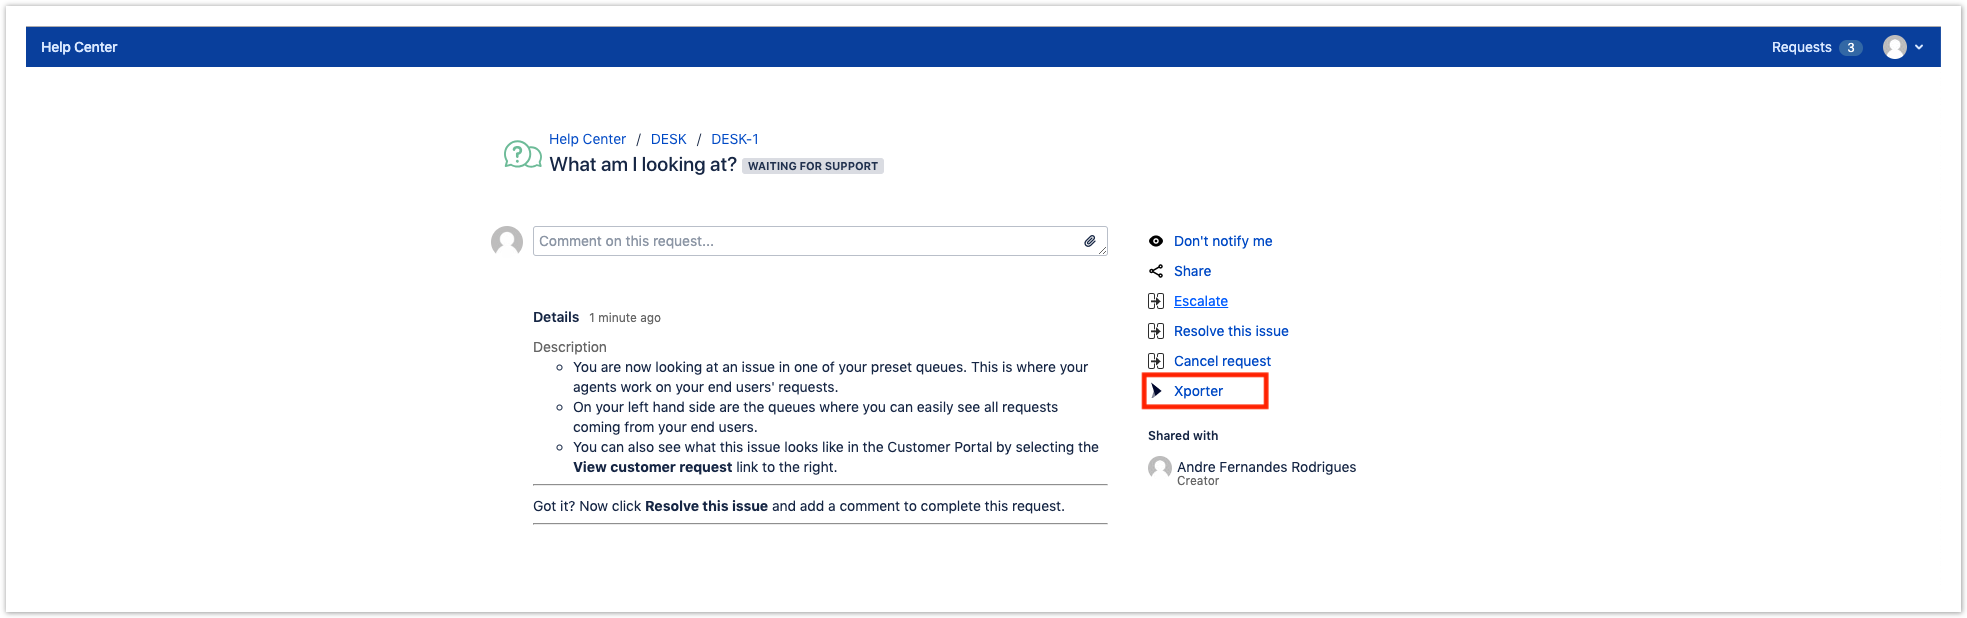
A new action will be available on Jira Service Desk actions section in order to allow you to get a document.
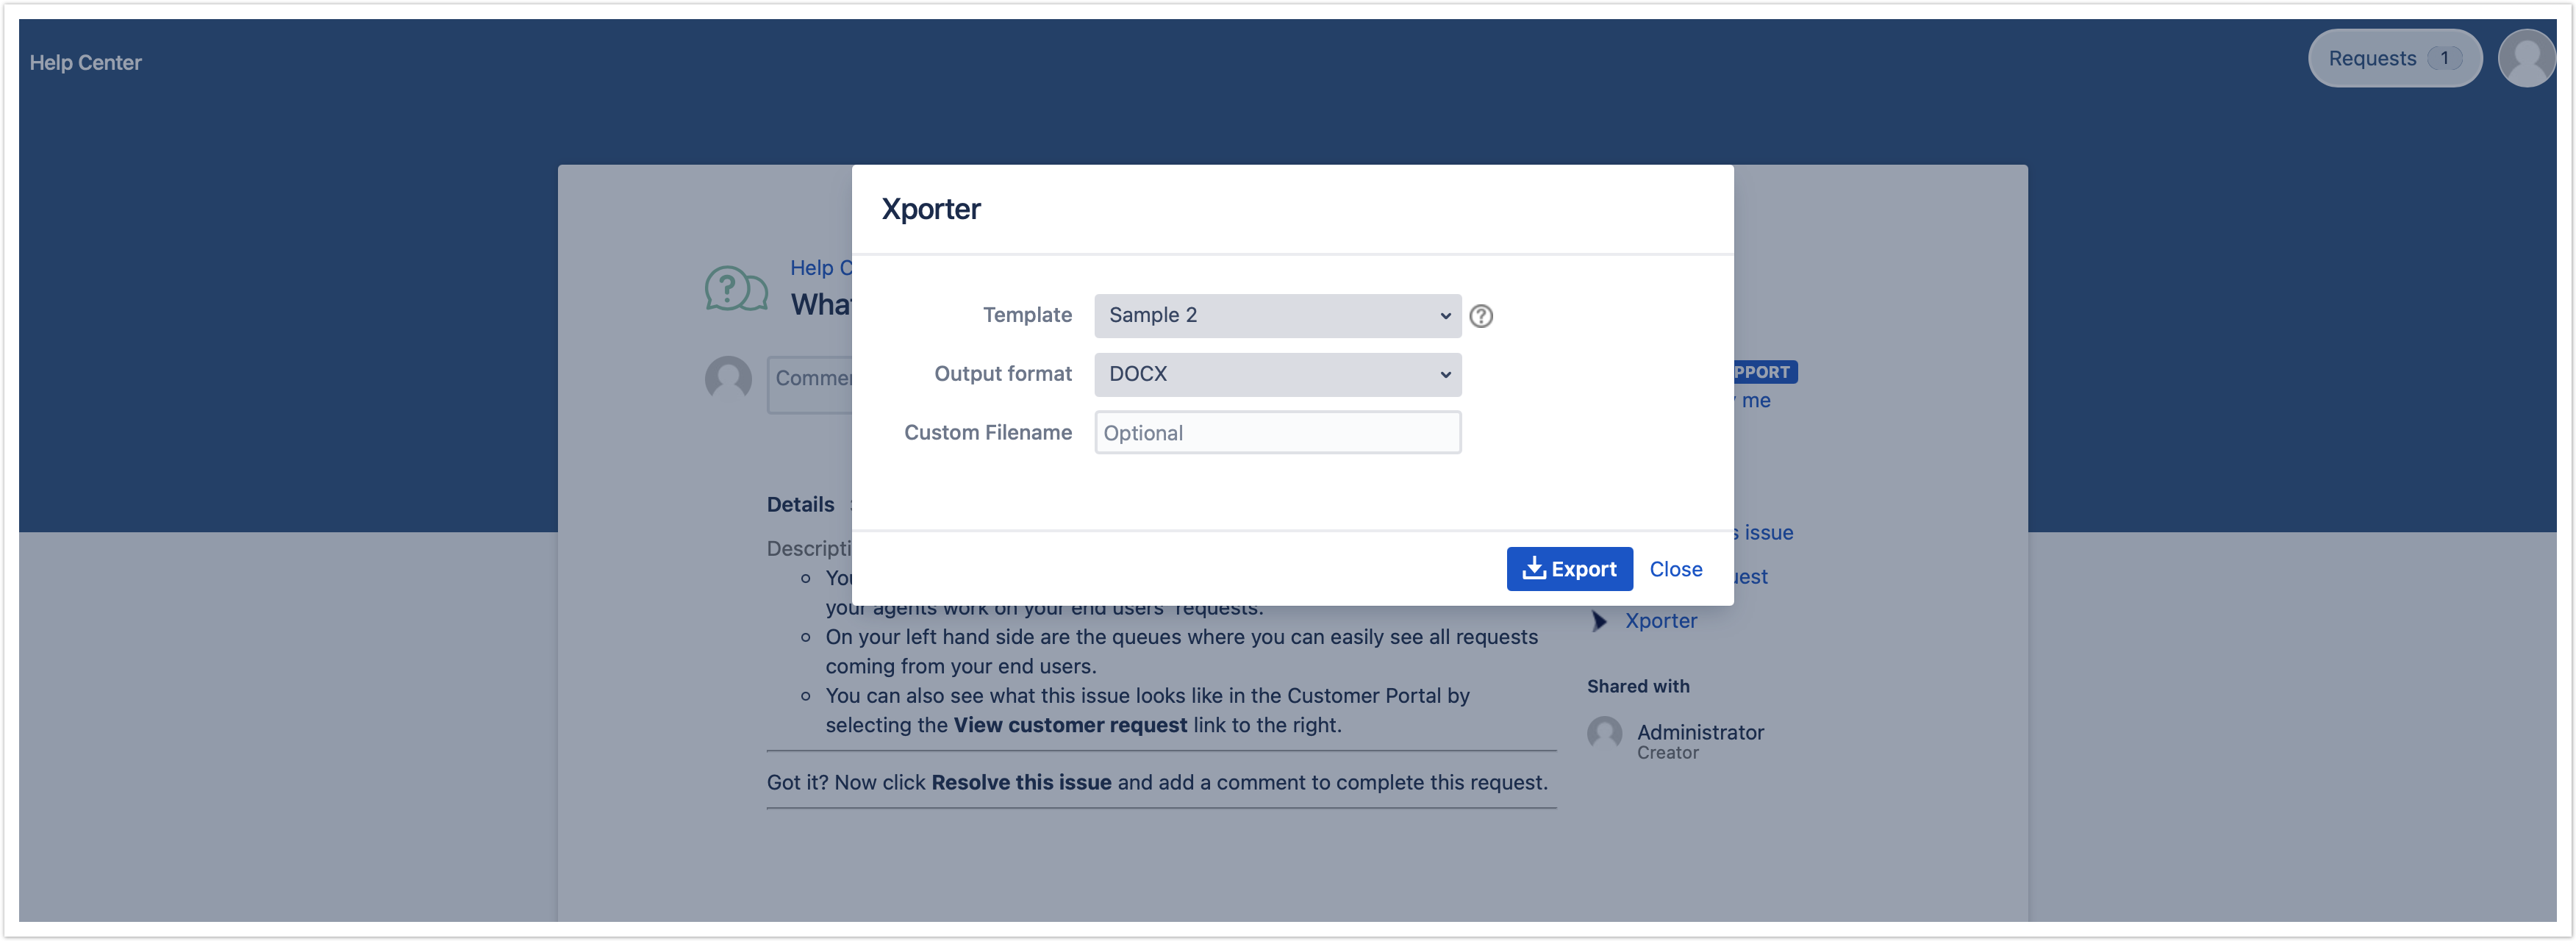
Click Xporter - you should be able to select the template and the output format to generate the report.
Export from Customer Portal Request List
This feature will allow exporting all the requests created by the user, or the requests where the user is participant, into a single report.
First, you need to enable the option, Xporter Service Desk Requests, on the Xporter Global Settings screen. It must have at least one template configured with the scope Everywhere or JSD Request List.
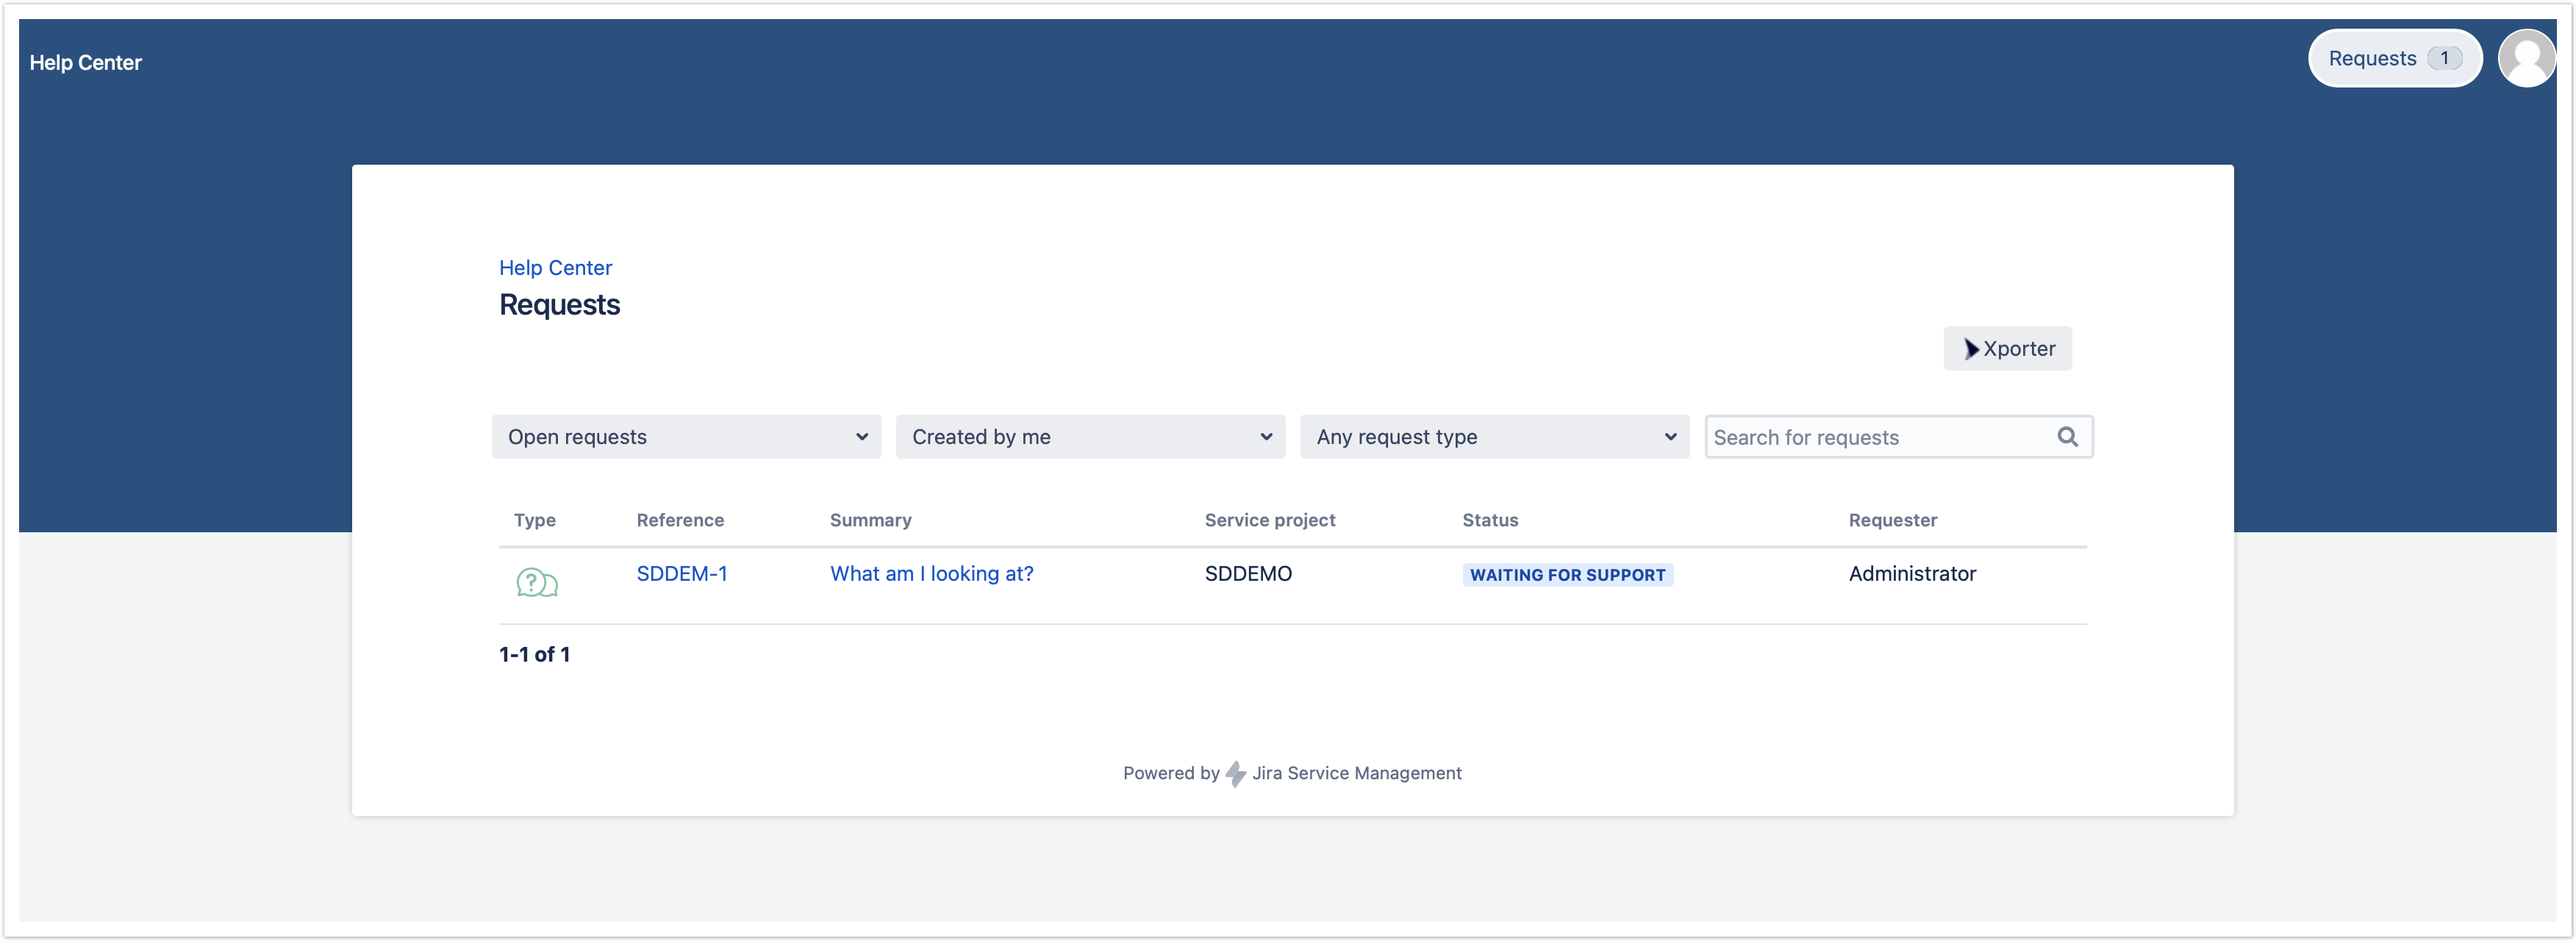
After enabling the option on the Xporter Global Settings, the Service Desk Customer Portal will have the Xporter option on the Requests section.
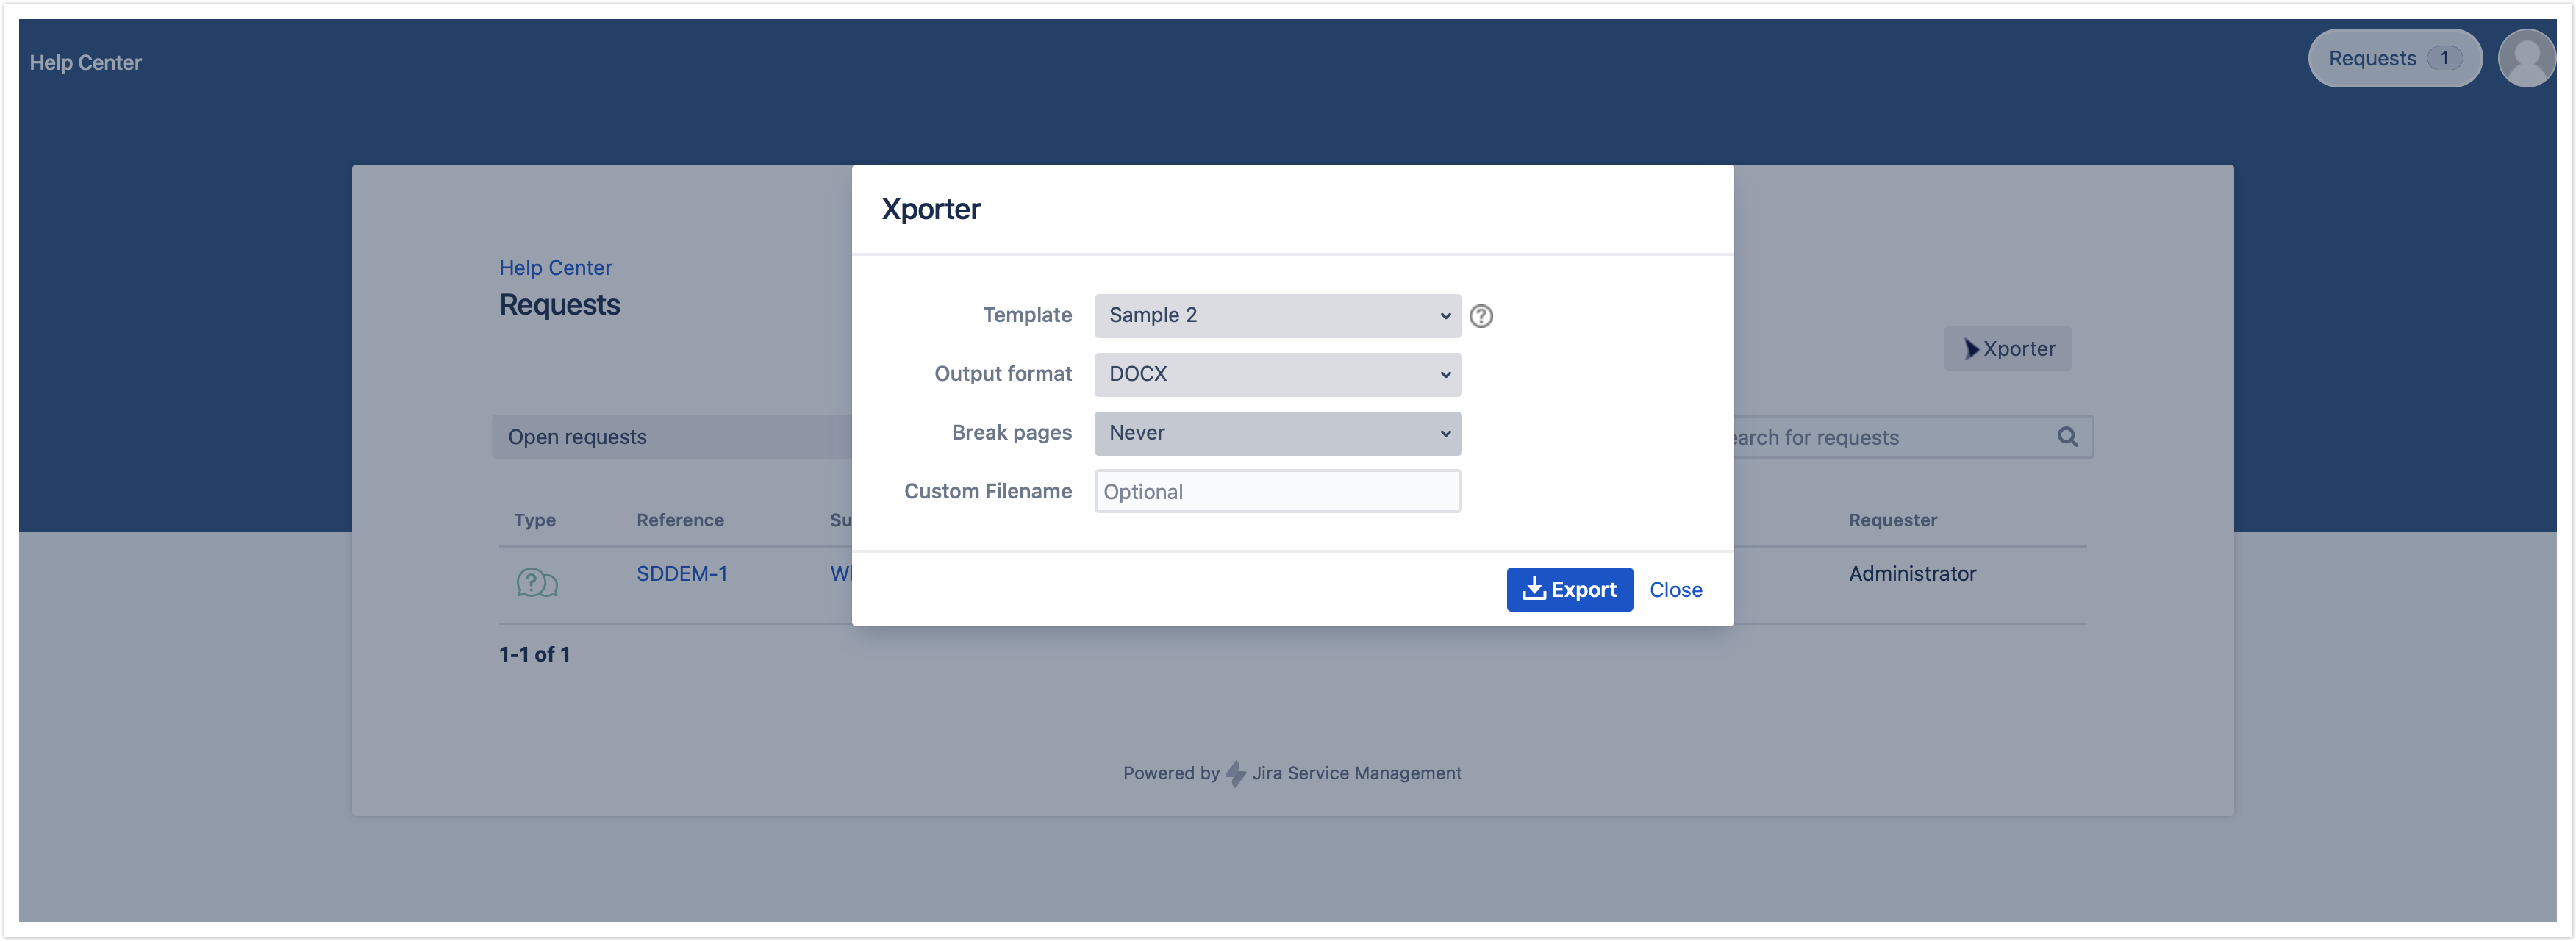
Furthermore, click on the Xporter option. You will have a pop-up that will have a list of all templates available to use in this context, the export type format and the option that allows you to break a page when changing Issues, Projects, Issue Types or Components.
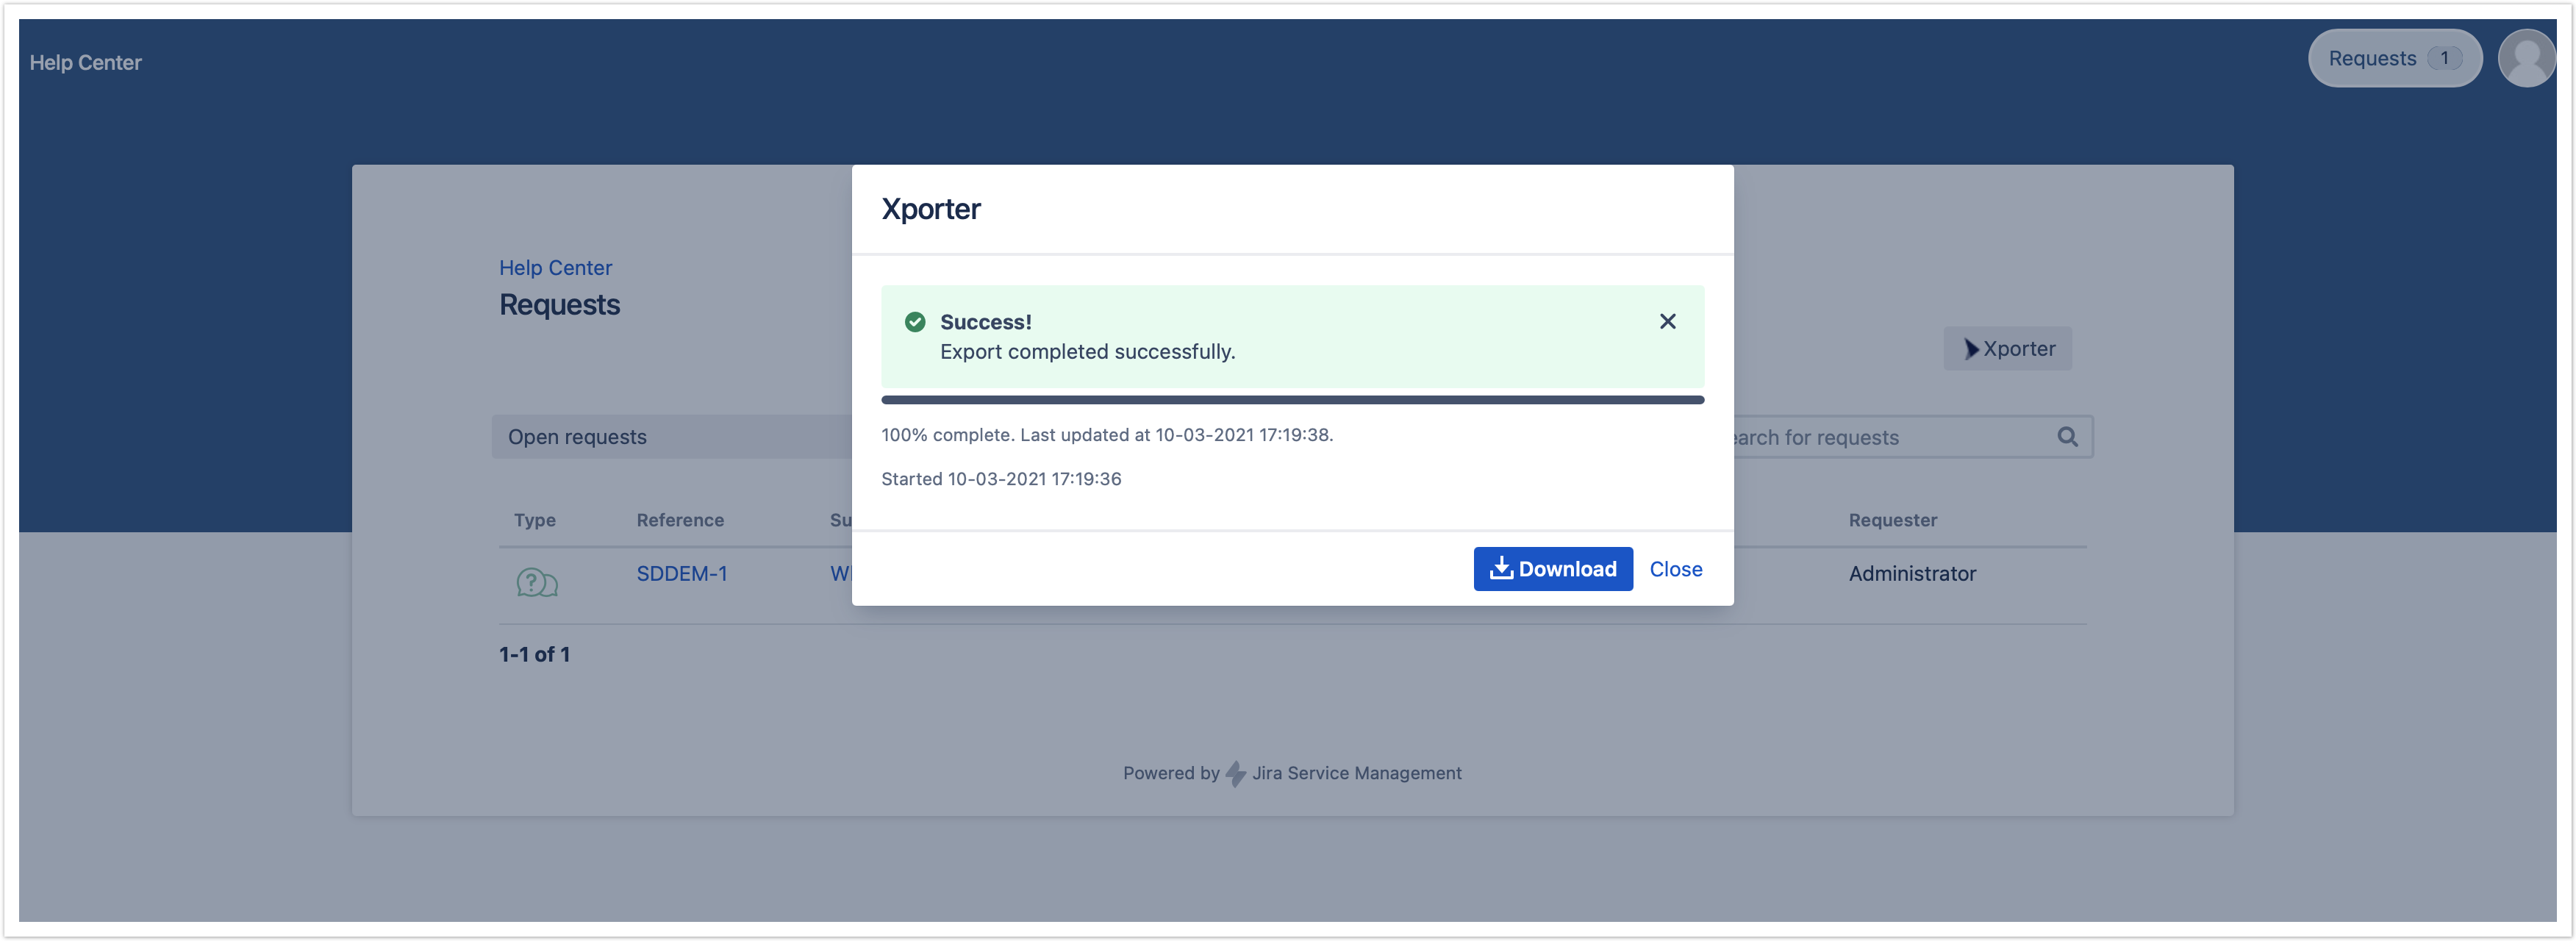
Finally, you will be able to define a custom file name to the report that will be generated. Then, click Export.
Finally, the report can be downloaded and the document generated will have all the information from each request, in a single document.
Export from Jira Service Desk Queue
Jira Service desk has queues which contain all the customer requests that become issues. This screen allows users to easily navigate and search all the requests. With Xporter you are able to export all these issues into just one report.
This is a very simple process. First, you need to enable the option Xporter Service Desk Queue on the Xporter Global Settings screen. It must have at least one template configured with the scope Everywhere or Bulk Export.
After this, go to your Jira Service desk project and you will be redirected to the queue. As you can see in the image below, you will have the Xporter option.
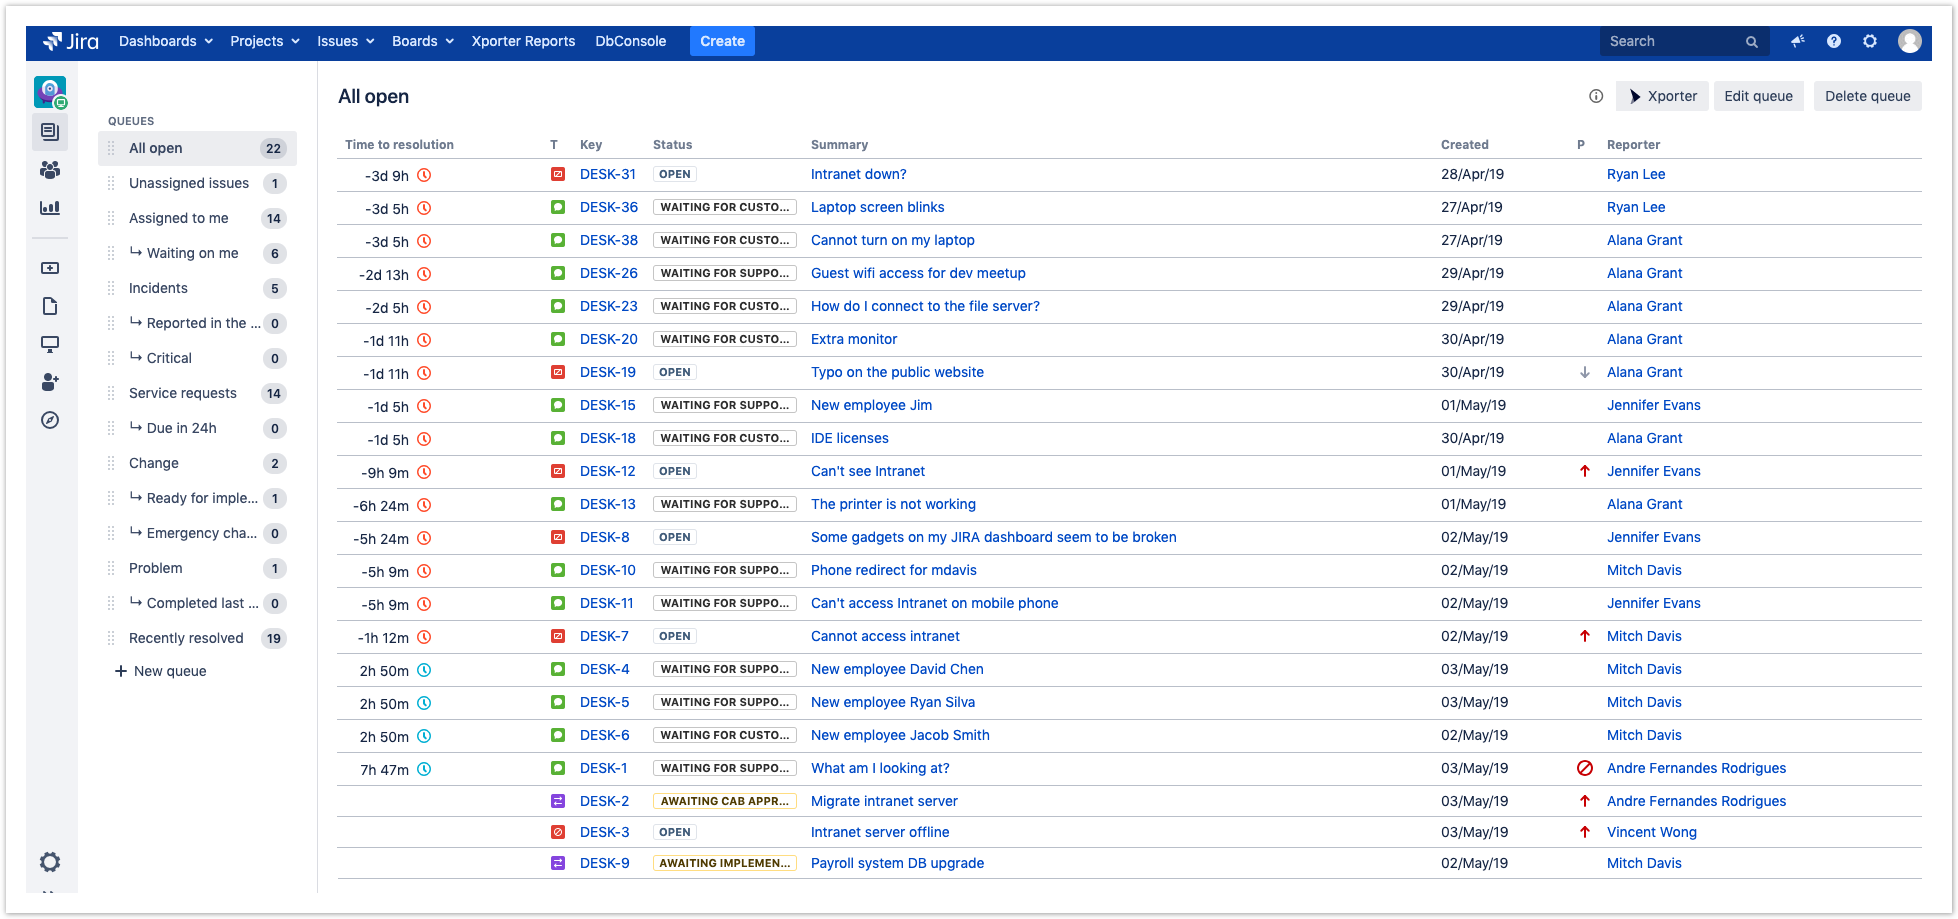
Furthermore, you will be able to choose which queue you want to export, the report will contain only the issues that belong to the queue selected by you.
After clicking on the Xporter option, you will have a pop-up that will have a list of all templates available to use on this context, the export type format and the option that allows you to break a page when changing Issues, Projects, Issue Types or Components and an optional field to customize the file name of the report that will be generated. Then, click Export.

Finally, wait for the operation to finish and then click on the link to download your document.
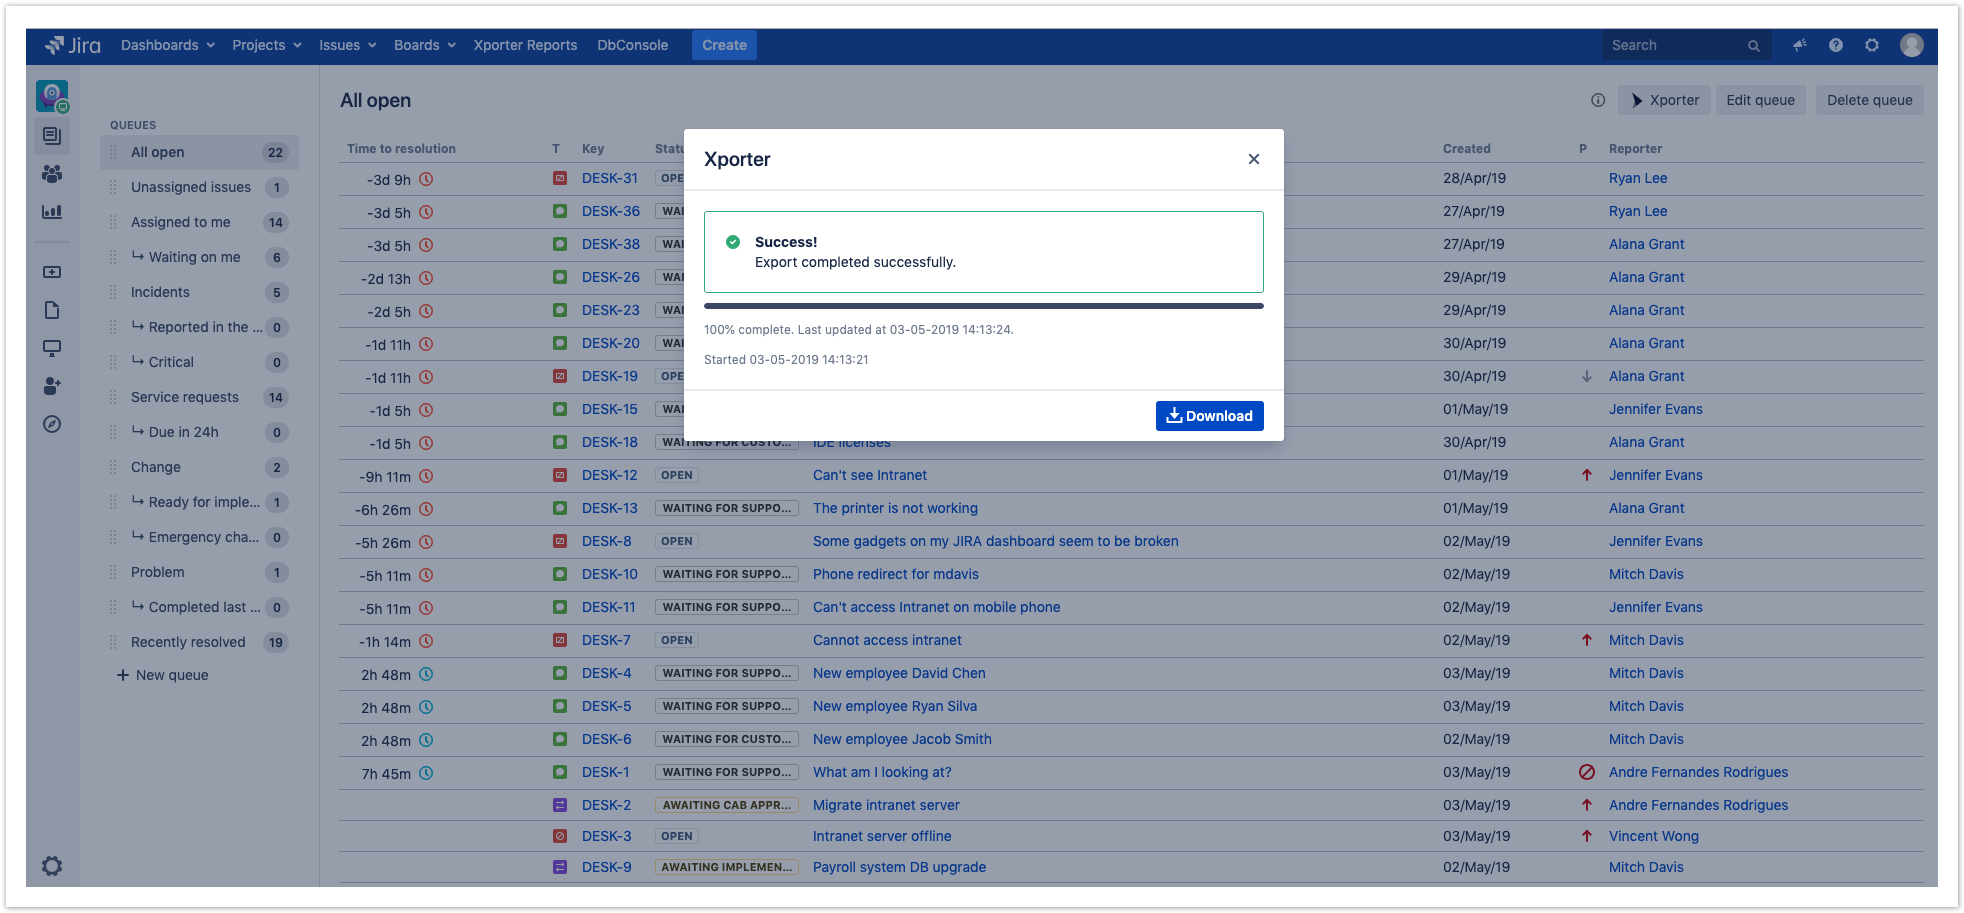
That's it, now you have a report with all the issues that belong to the specific queue selected.
For further information about Jira Service Desk integration with Xporter, please check our documentation here.