You are able to schedule reports on this screen based on user-defined Cron Expressions. The user can schedule a report by inserting a direct JQL statement, using a previously defined filter, or using an Xporter Template.
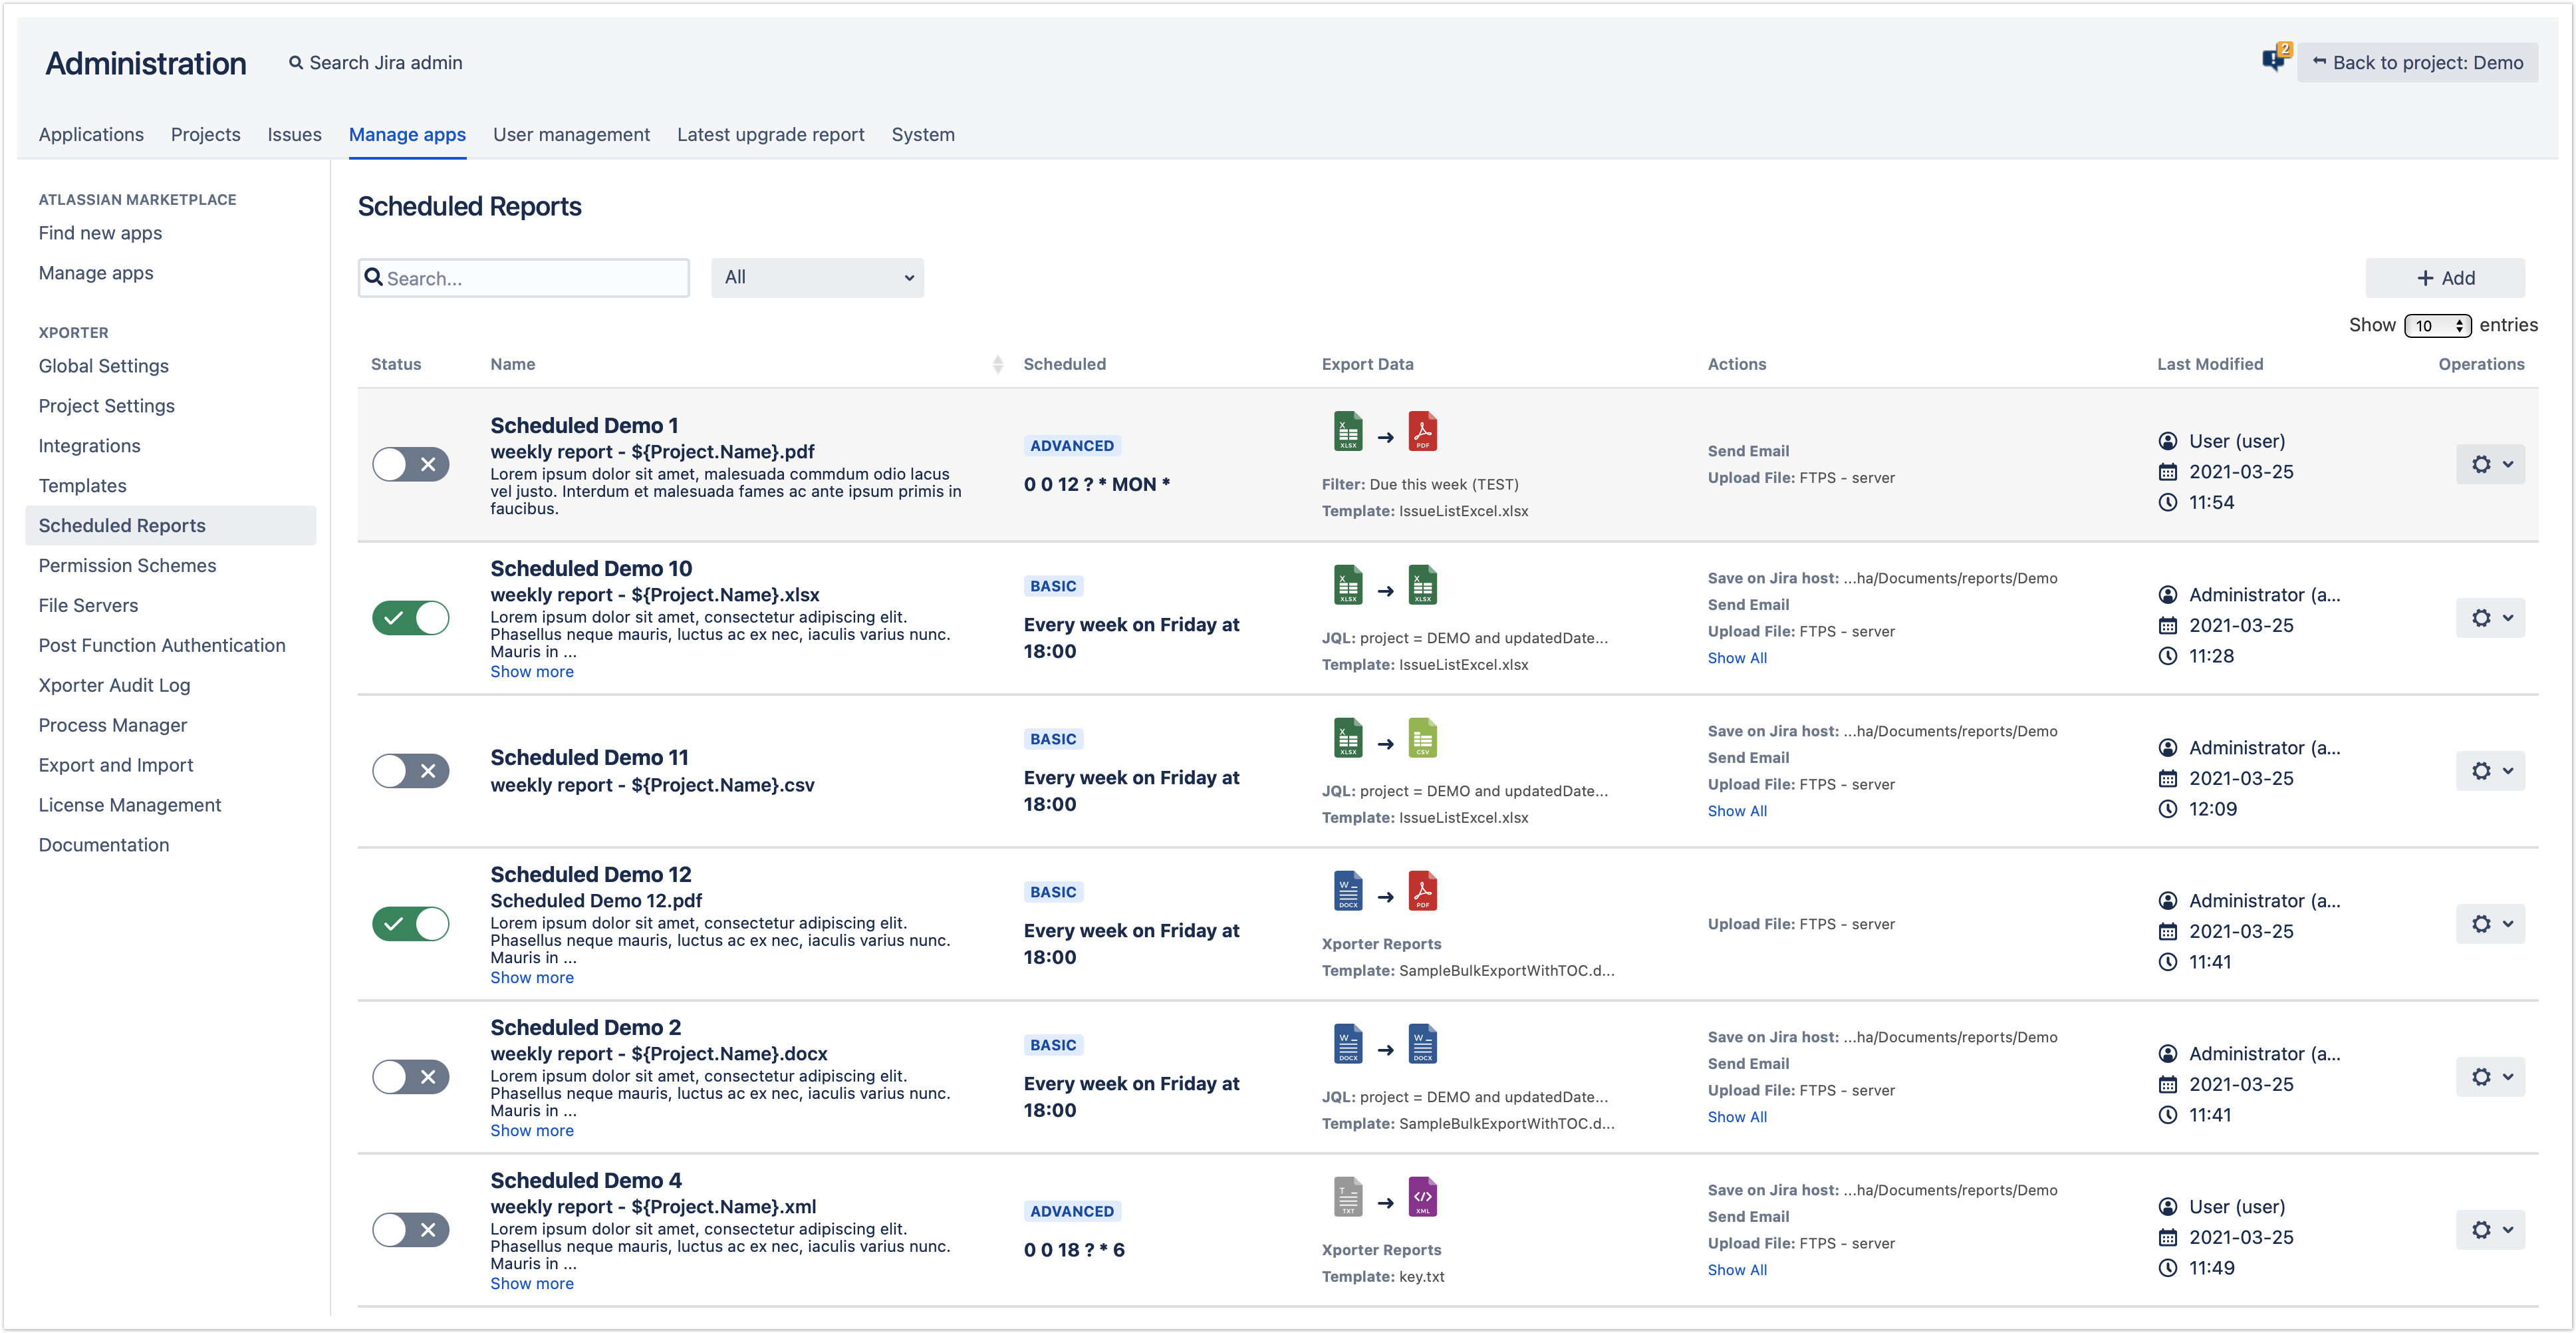
Scheduled Reports main page
On this page, you can see the list of all created scheduled reports. On the top right, there's a button to Add a new Scheduled Report.
- On the
 button, you can Edit, Delete the selected Scheduled Report.
 - The toggle allows you to Enable and Disable the Schedule Report.
- In the search field, it is possible to search by Name Column (Scheduled name) and by Last Modified Column (full name and username of user).
- In select, you can filter data in the table for all schedulers Enabled or Disabled.
- It is possible to sort the table by the Name column.
Create / Edit a Scheduled Report
You can enable or disable scheduled reports on demand, keeping all configurations intact without having to delete them.

Scheduled Reports Fields:
- Name - The Scheduled Report name
- Description (Optional) - A description for the Scheduled Report
- Cron Type/Cron Expression - Basic or Advanced
In Basic mode, you can choose to export every hour/week/month/year at a specific time.

In Advanced mode, you can insert your own Cron in order to define a more complex frequency of reporting.
You can use Cron maker website to help you create a more complex Cron.

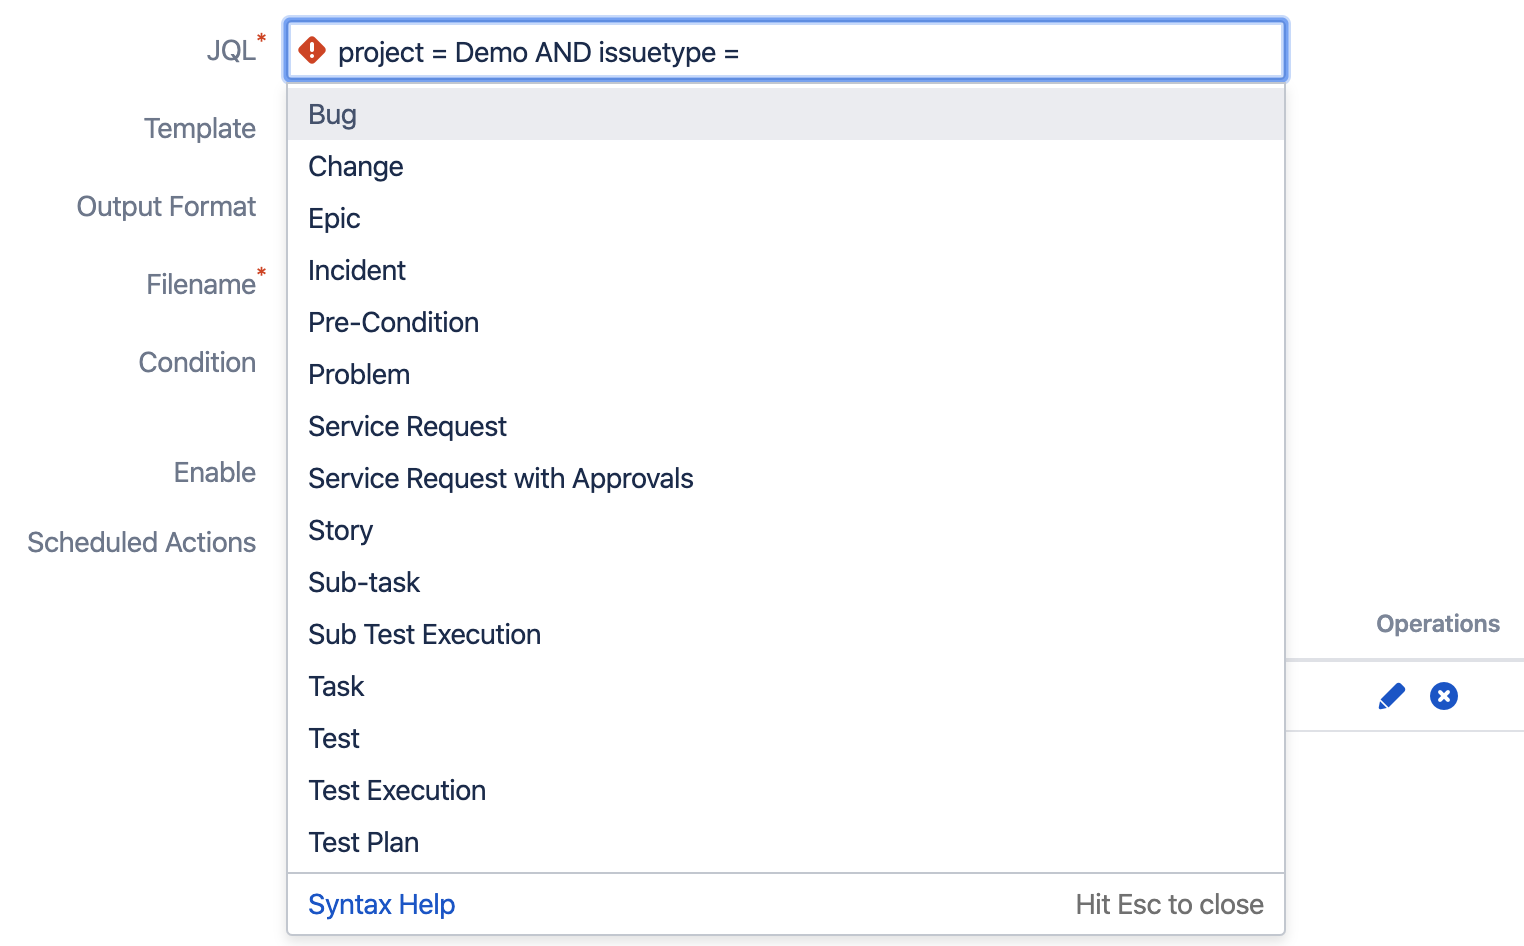
- Export Data - JQL, Filter or Xporter Reports
JQL: The exported issues belong to the given JQL, that you can use to build using the Jira official Syntax Helper
FIlter: The exported issues belong to the previously created Filter. The user has access to the filters themselves, marked them as favourites and the filters that are shared with him
- Xporter Reports: The exported issues belong to a JQL Issues iteration on the template
- Template - The selected template to export. Only the templates with the scope - Scheduled Reports - will be available to use on a Scheduled Reports.
If the Export Data selected is Xporter Reports, only the templates with the scopes - Scheduled Reports and Xporter Reports - will be available. - Output format - The selected output format for the generated file.
- Filename - The default filename used on each action.
- Condition - If selected, the Scheduled reports will only execute if the given JQL/Filter has at least one issue. Conditions won't be validated on Xporter Reports.
- Enable - Enables the Scheduled Report. Only enabled Scheduled Reports will execute.
- Scheduled Actions - You can select what actions will be applied to the exported file. These actions are very similar to the Workflow Post Functions ones. You can configure several actions of the following types:
- Save on Jira host - Saves the file on the Machine where the Jira instance is running. More information
- Send Email - Will send an email to the given addresses. (Outgoing email configuration required). More information
- Upload File - Will upload the file to a previously configured File Server. More information