Exporting a Single Issue
Using the Xporter Panel
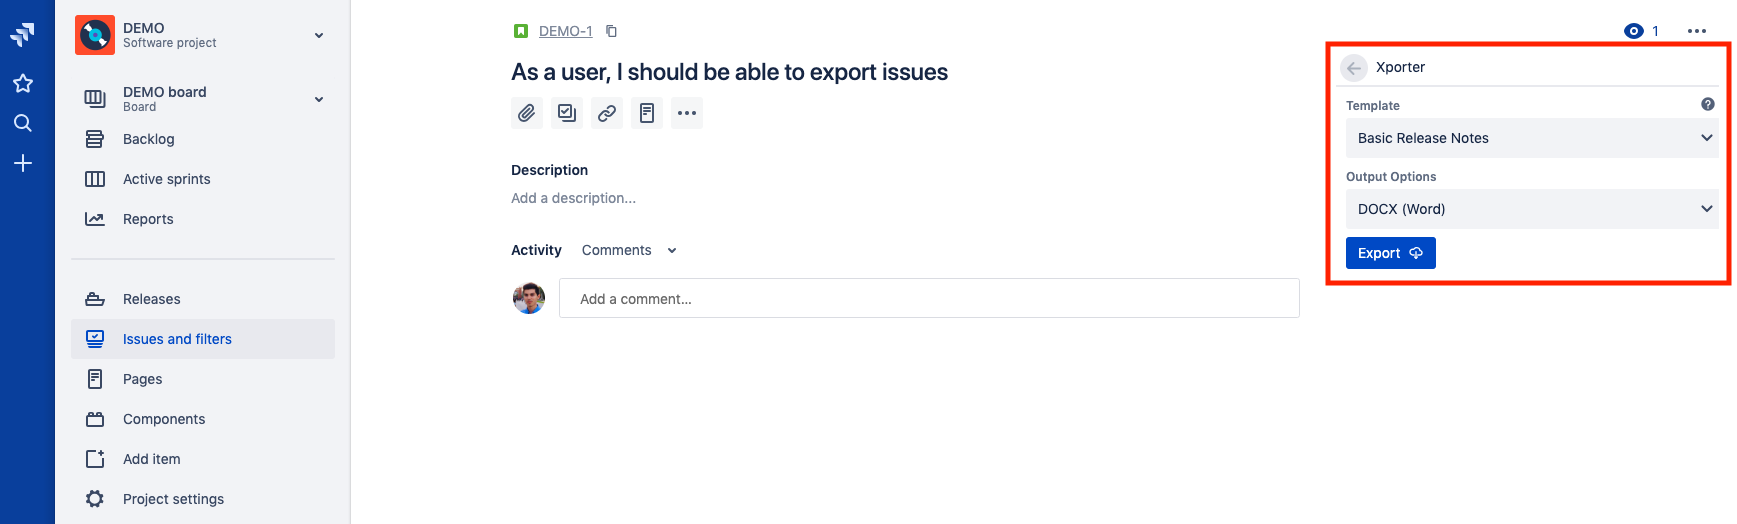
When Xporter is enabled for a project, issue type, and user, the Xporter section will appear on the right side of the screen, as highlighted below. To export the issue based on a template, just select the template from the drop-down box and click the Export button.
Using the Issue Options button
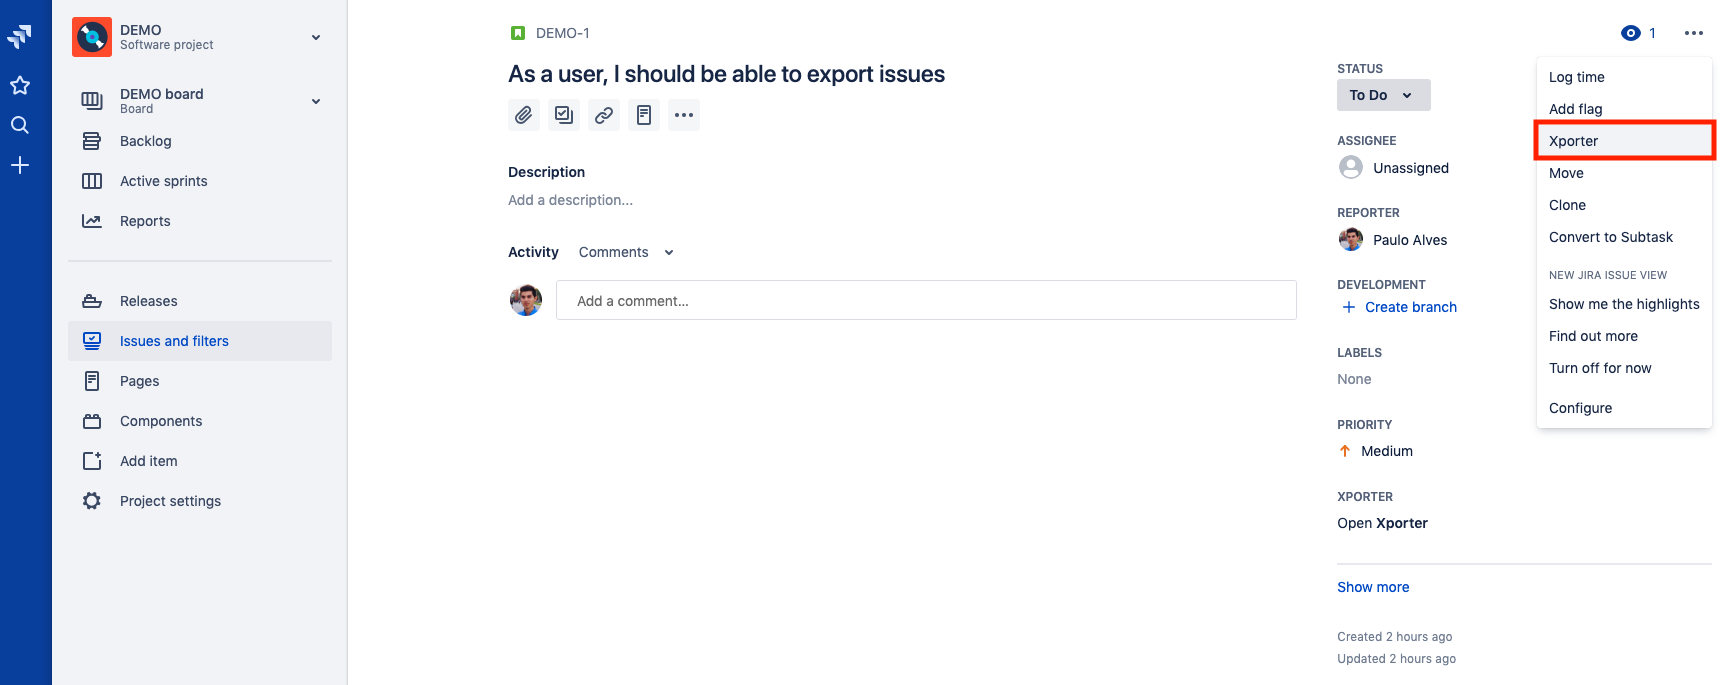
You can export a Single Issue using the Xporter for Jira button.
Step 1 - From the menu, select Export, then Xporter for Jira.
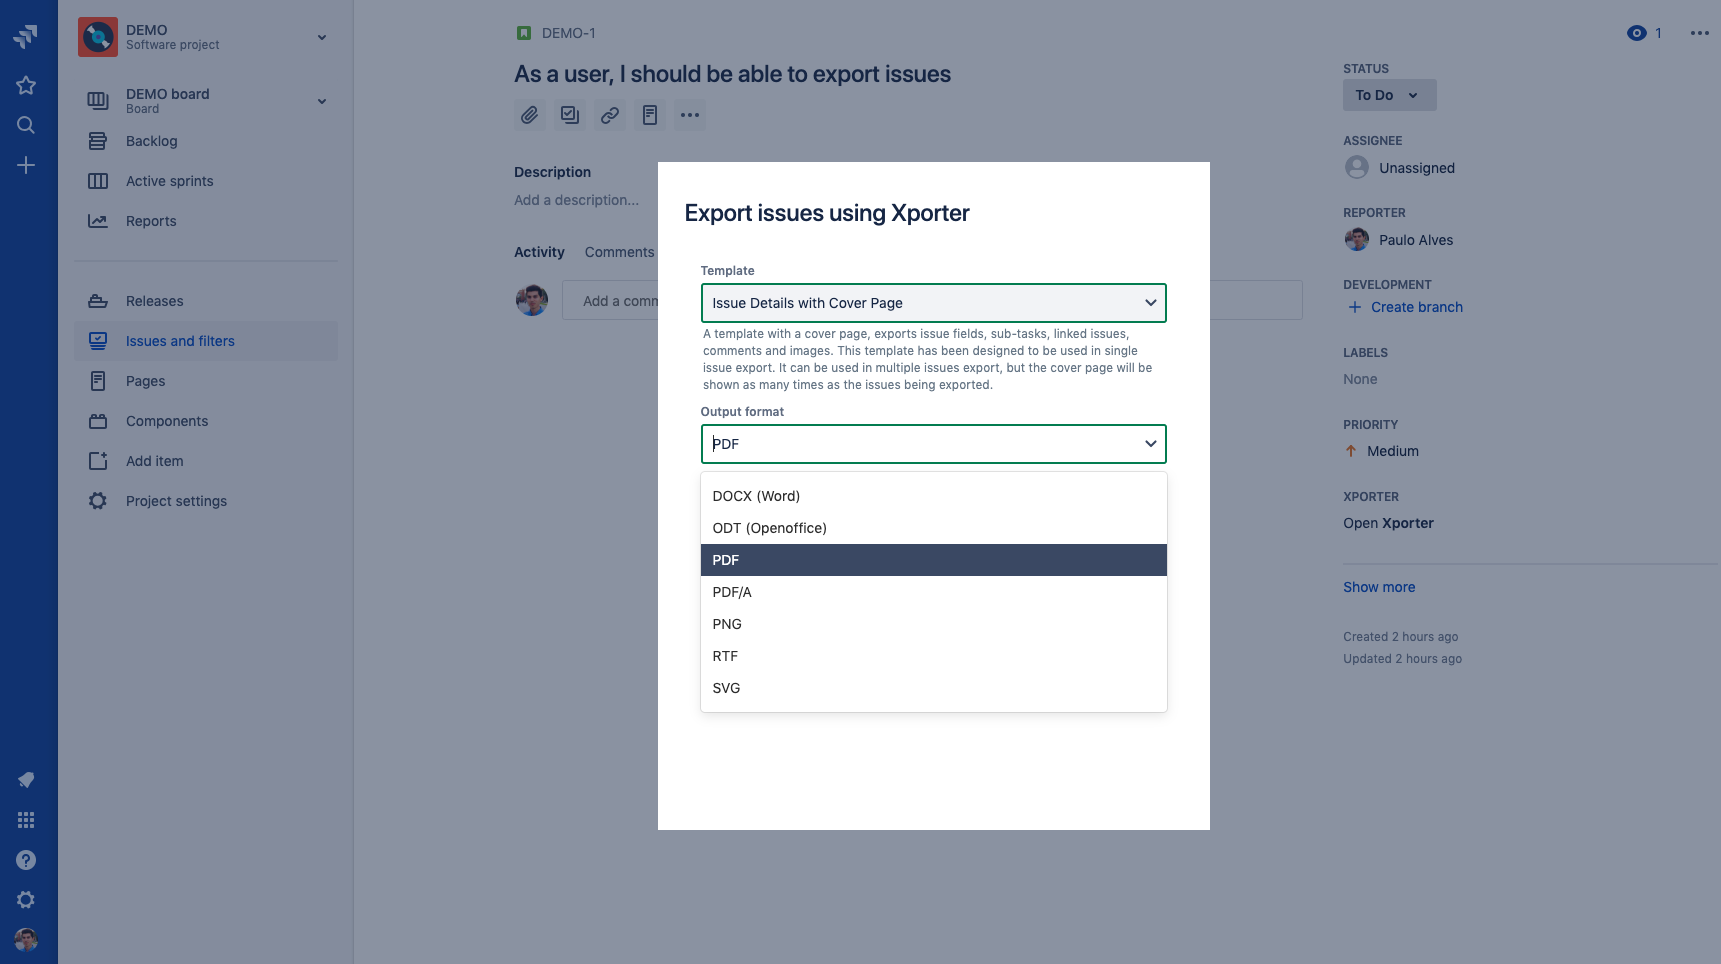
Step 2 - Choose your template and the export type format. Then click Export.
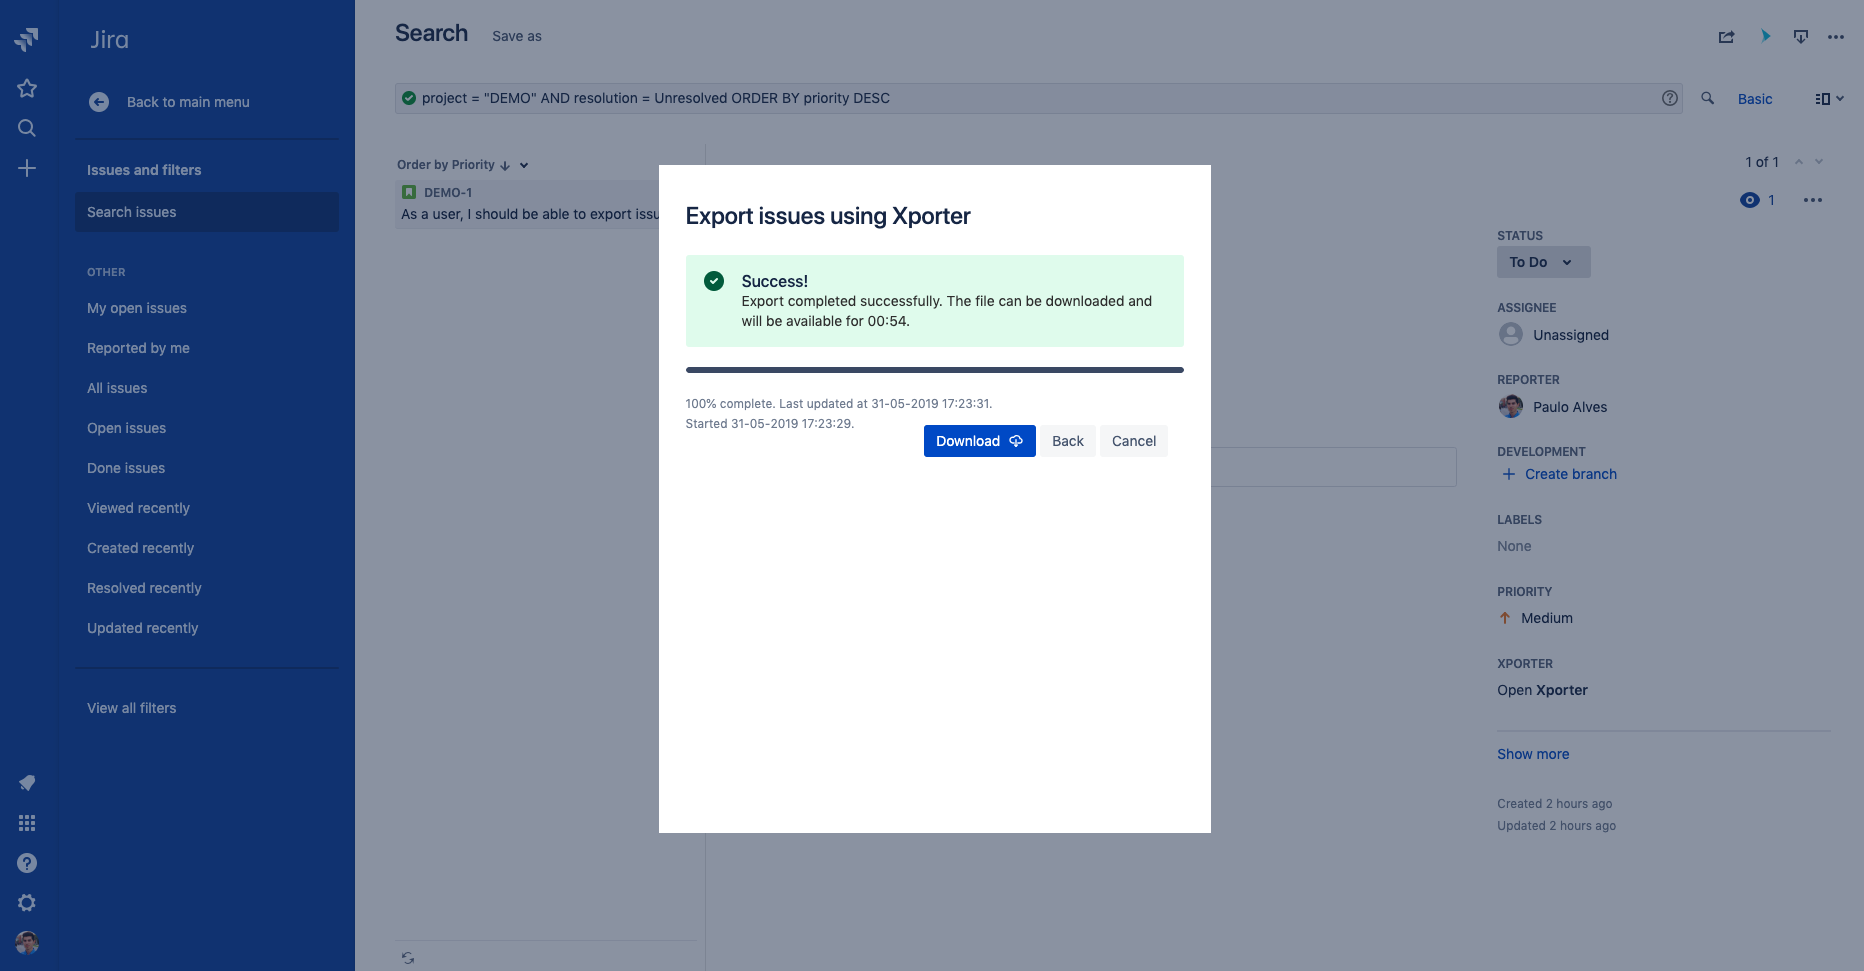
Step 3 - Wait for the operation to finish and then click on the link to download your document.

Exporting Multiple Issues
Using the menu option
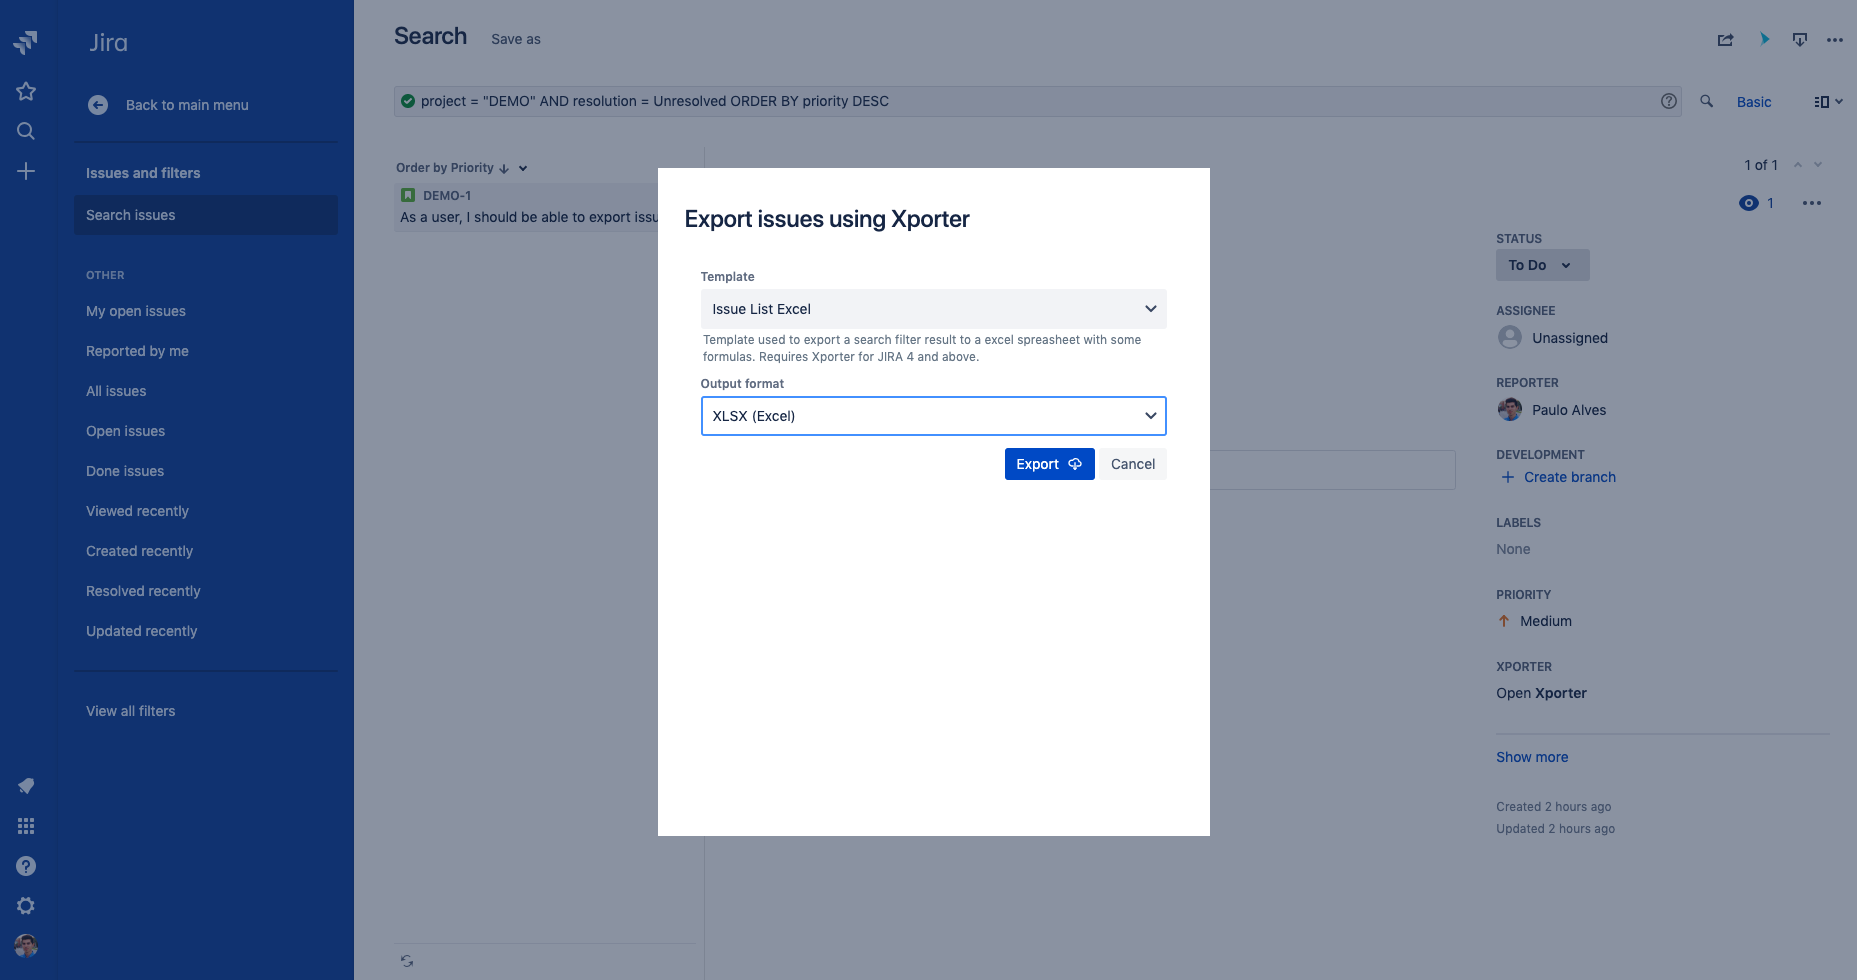
You can export the results of a search filter using the Xporter option on the Export menu.
Step 1 - From the menu, select Export, then Xporter for Jira.

Step 2 - Choose your template, the export type format, and the option that allows you to break a page when changing Issues, Projects, Issue Types or Components. Then, click Export.
Step 3 - Wait for the operation to finish and then click on the link to download your document.
Exporting from Agile Board
Xporter is available on the Agile Boards/Releases and you will be able to export all the issues that belong to the Active Sprint, Backlog or Releases.
First, you need to enable the feature on the Xporter Miscellaneous screen.

After enabling Xporter for Agile, you will be able to perform all the exports that are listed on the topics below.
Export from Active Sprint
Xporter allows our users to export all the issues that belong to the Active Sprint, directly from the Agile Board.
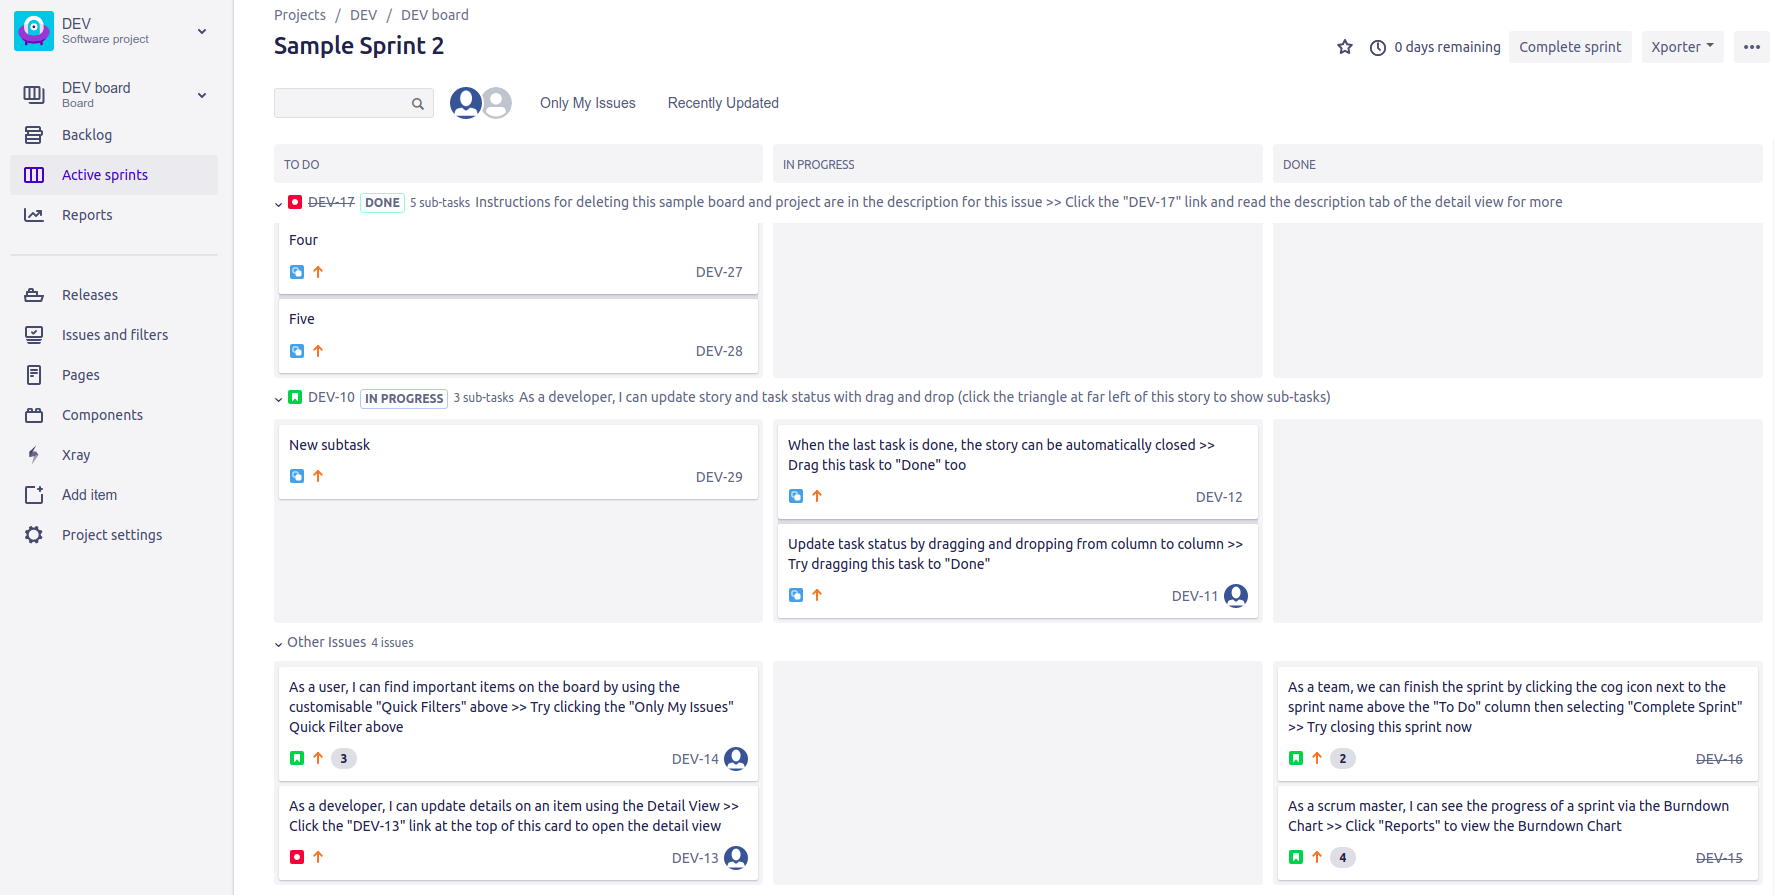
Step 1 - From the Agile Board, select Board, then click on the Xporter option
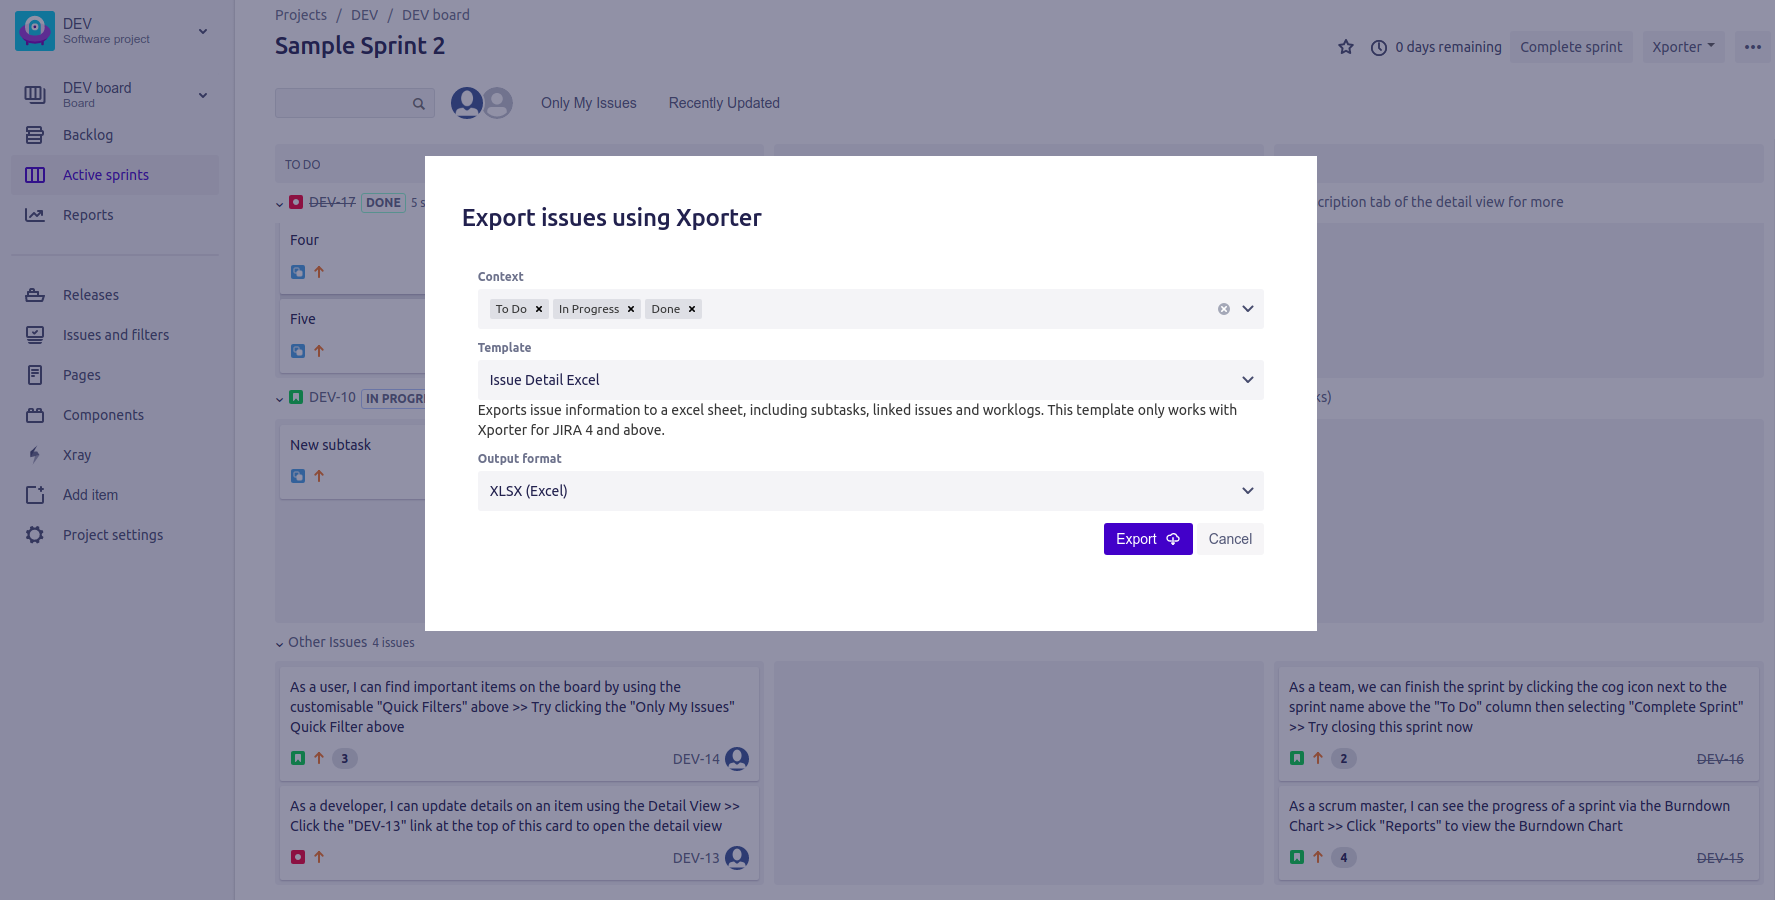
Step 2 - After clicking on the Xporter option, you will have a pop-up that will have a list with all context available to export, all templates available to use on this context, the export type format and the option that allows you to break a page when changing Issues, Projects, Issue Types or Components. Then, click Export .
Step 3 - Wait for the operation to finish and then click on the link to download your document.
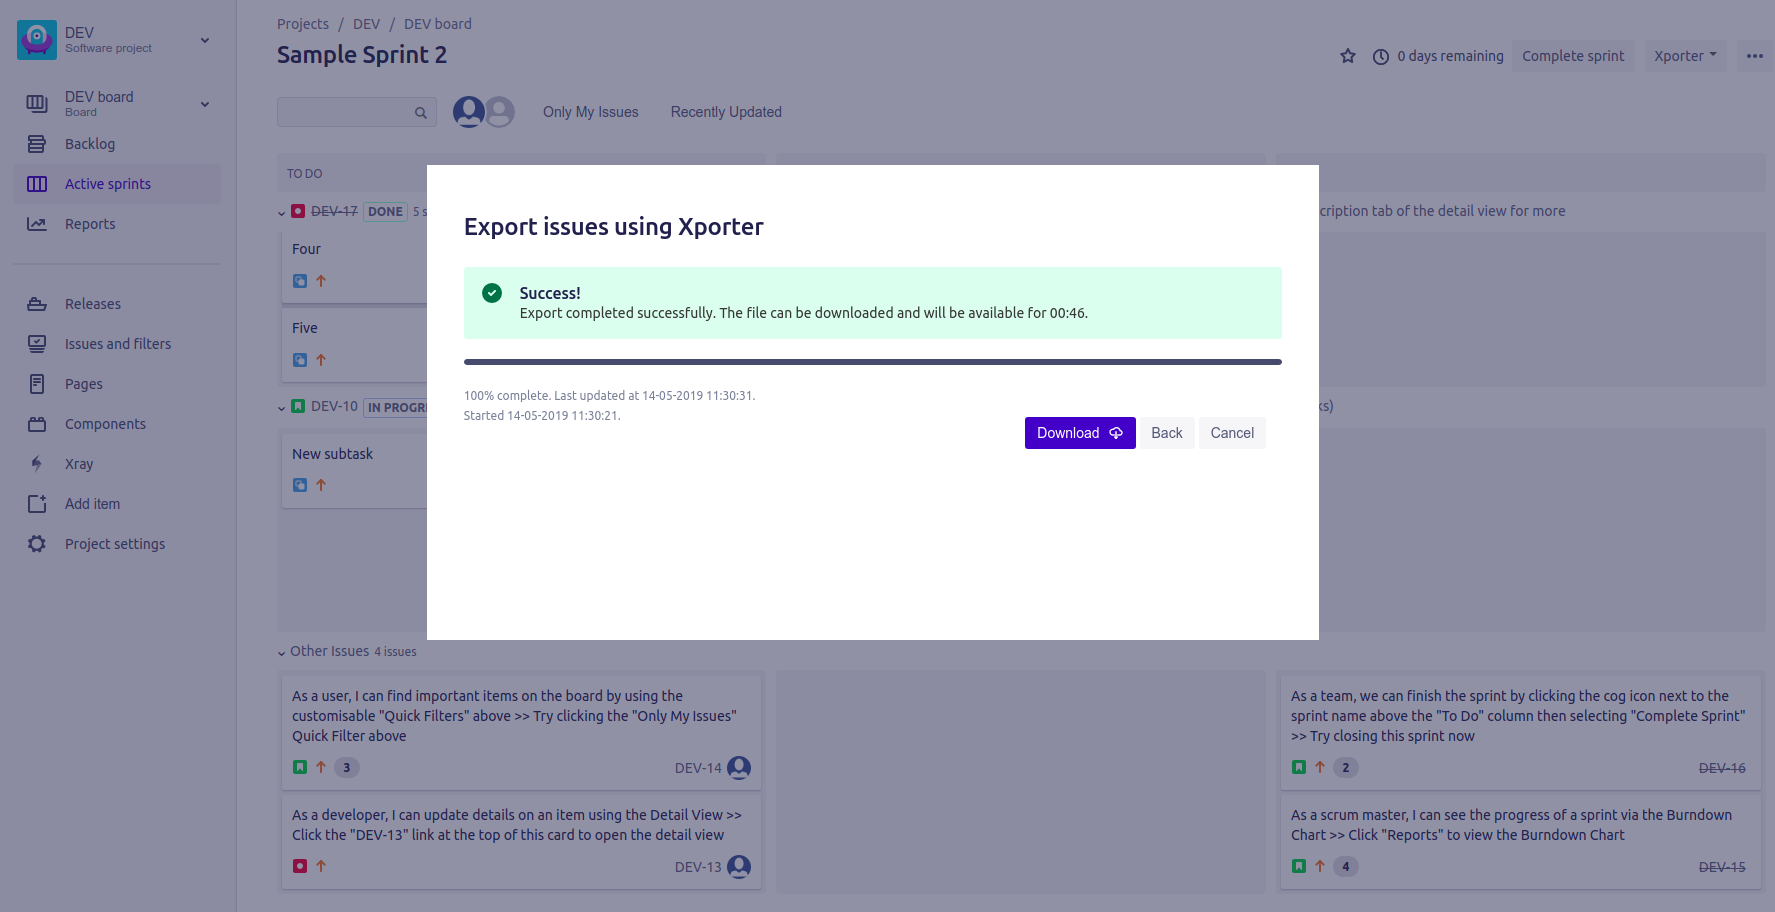
As illustrated above, this is a simple process and it will help you get all the issues from the active sprint in an easy and simple way.
Export from Backlog
Xporter allows our users to export all the issues that belong to the Backlog and also those that belong to a certain sprint.
Step 1 - From the Backlog Board, click on the Xporter button.
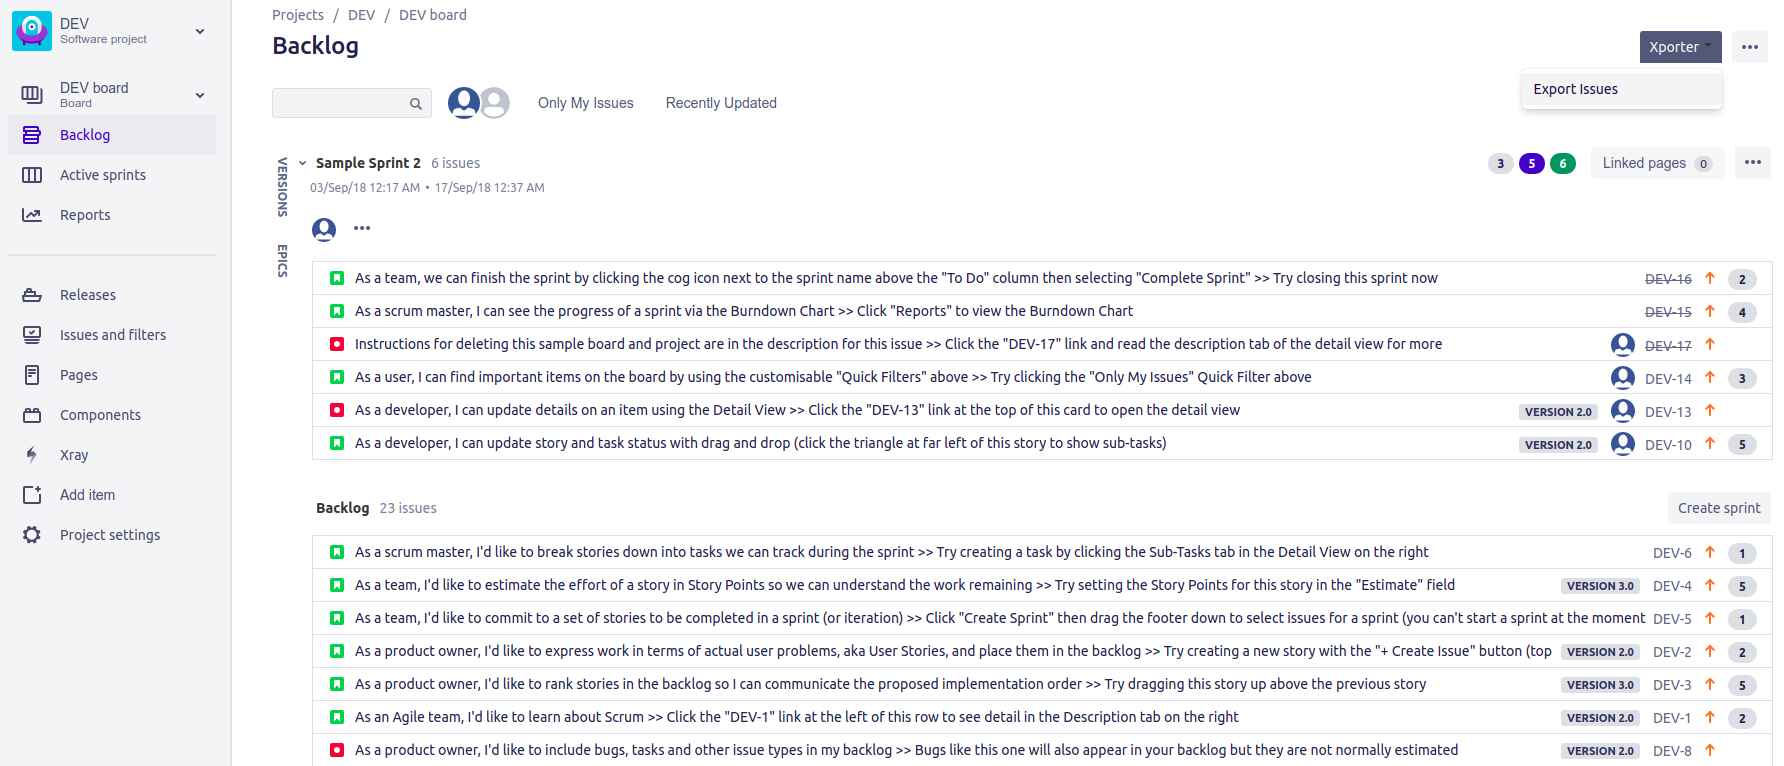
Step 2 - After clicking on the Xporter button, you will have a pop-up that will have a list of all templates available to use in this context, the export type format and the option that allows you to break a page when changing Issues, Projects, Issue Types or Components. You also can export various sprints and backlog. Then, click Export .

Step 3 - Wait for the operation to finish and then click on the link to download your document.

As illustrated above, this is a simple process and it will help you get all the issues from the backlog board in an easy and simple way.
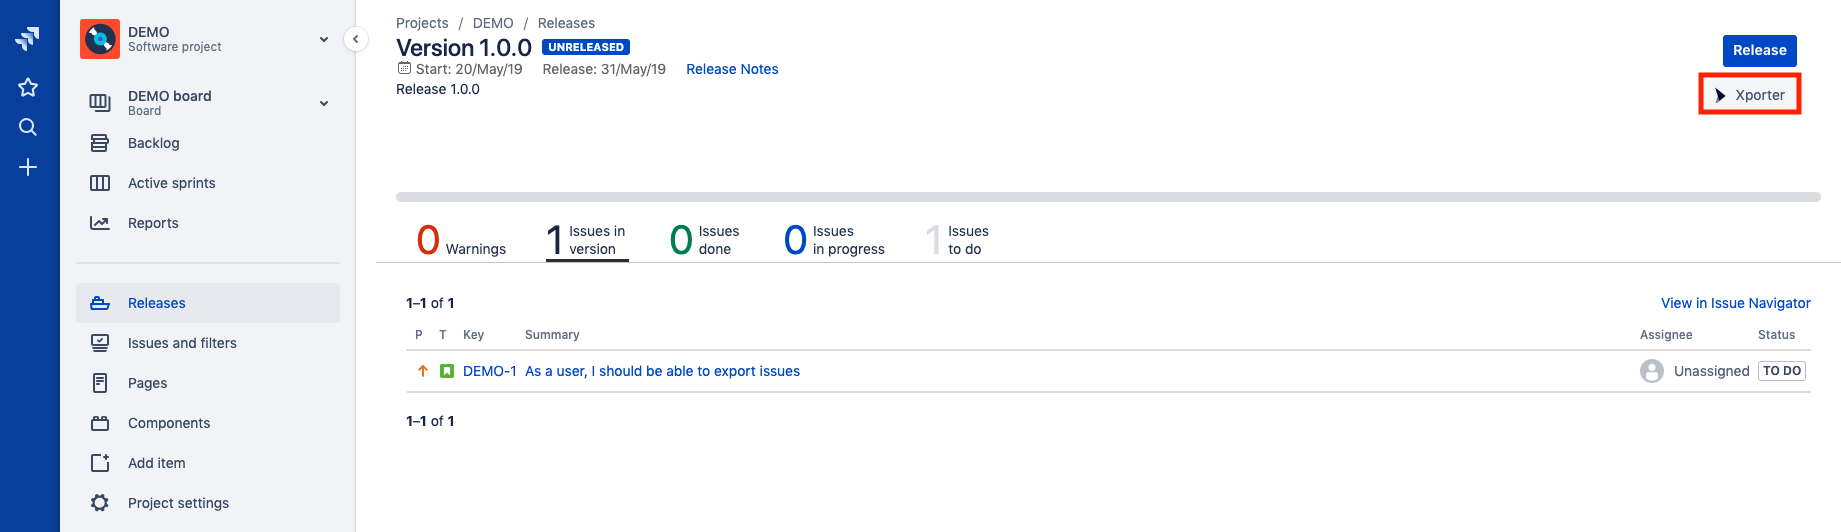
Export from Releases
Xporter allows to export all the issues that belong to a Release.
Step 1 - From the detail of a Release, click on the Xporter button.
Xporter for Jira Cloud
Due to performance issues, you can only Bulk Export up to 10000 issues.