To set up Tempo Timesheet integration for Xporter Cloud, please follow the following steps:
Tempo Timesheets setup is divided into two parts. The Administration and the End User Setups. Given that a user could have different permissions to see Tempo work logs, he needs to authorize Xporter to access Tempo work logs on his behalf.
Tempo Timesheets Set up (admin side)
Before exporting your work logs, we need to set up Tempo Timesheets to allow you to export the information.
- From the Jira dashboard, open Tempo Timesheets settings.
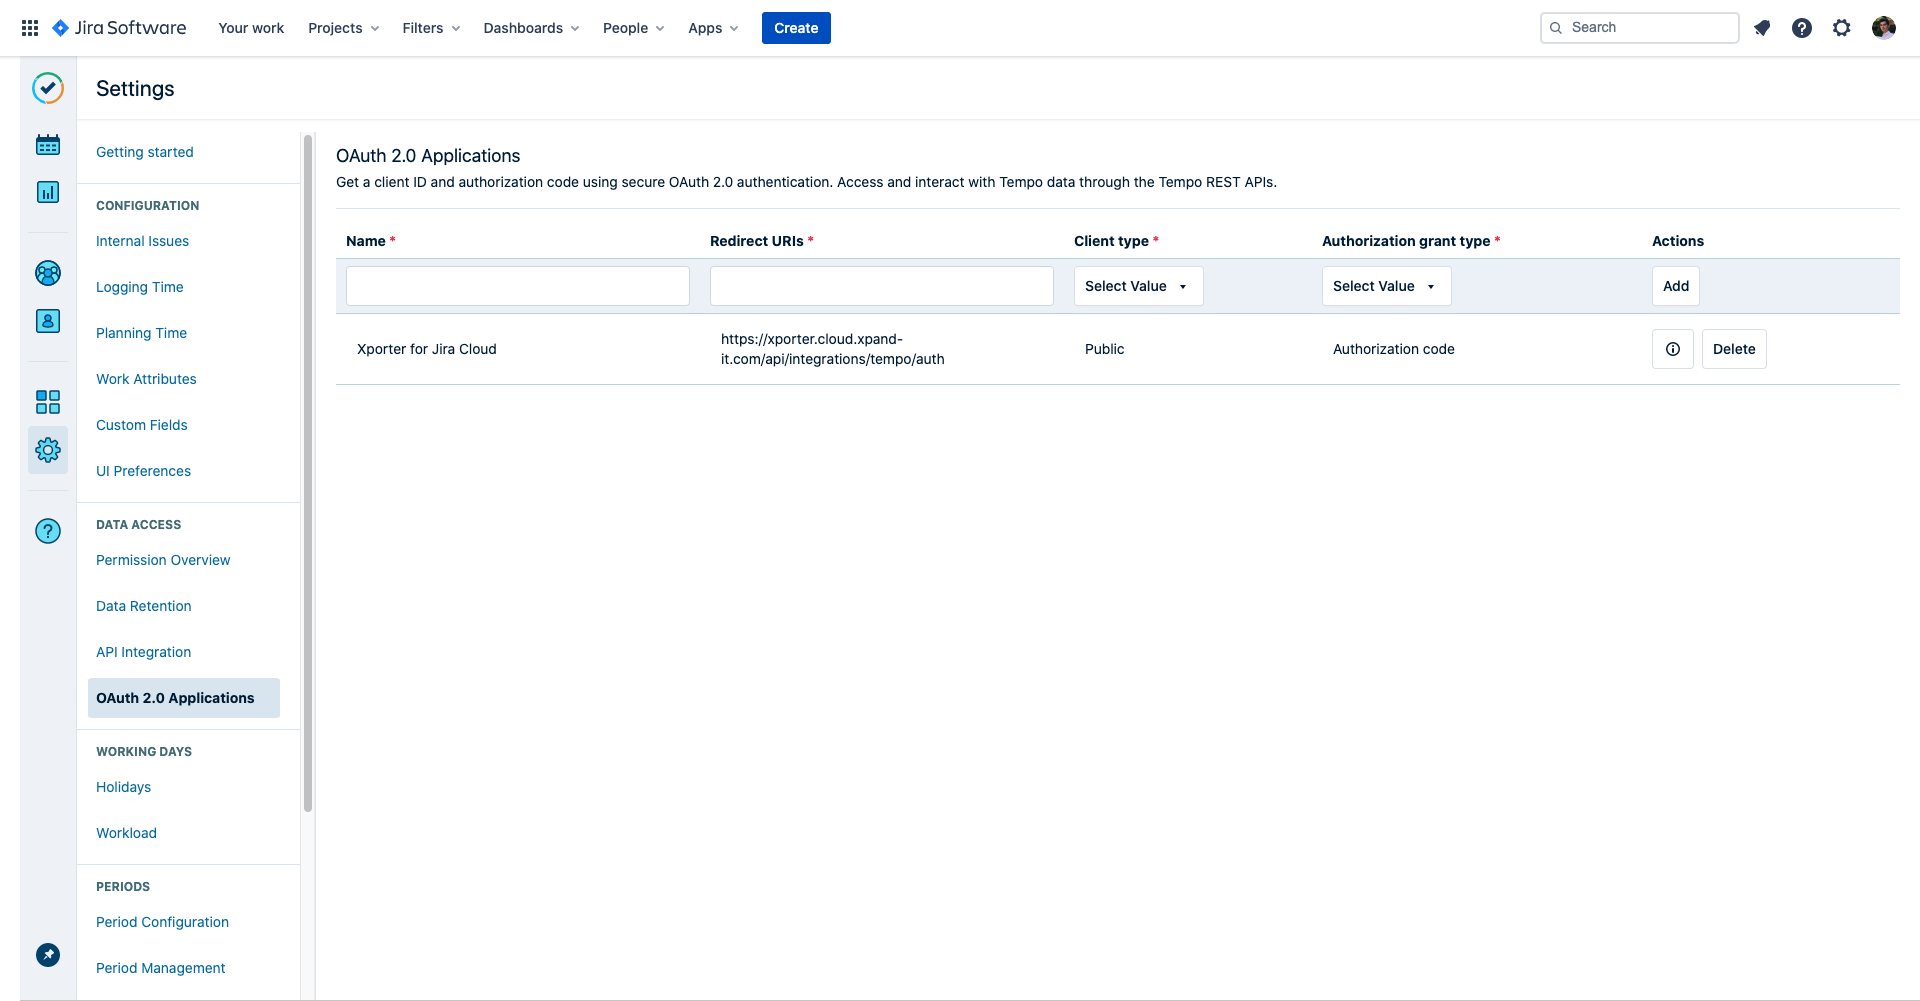
- Under the DEVELOPER TOOLS you need to add a new OAuth 2.0 Application. Fill text boxes with the following values:
- Name: Xporter for Jira Cloud
- Redirect URIs: https://xporter.cloud.getxporter.app/api/integrations/tempo/auth
- Client Type: Public
- Authorization grant type: Authorization code
- Click Add.
- Click the information button that will appear with the client id and client secret. Copy that information, you'll need it in the next steps.
- Your Tempo Timesheet app is now ready to serve Xporter with your work logs information. Now let's set up Xporter Cloud.
- Navigate to the Xporter Cloud configuration panel (Settings > Apps > Xporter > Integrations).
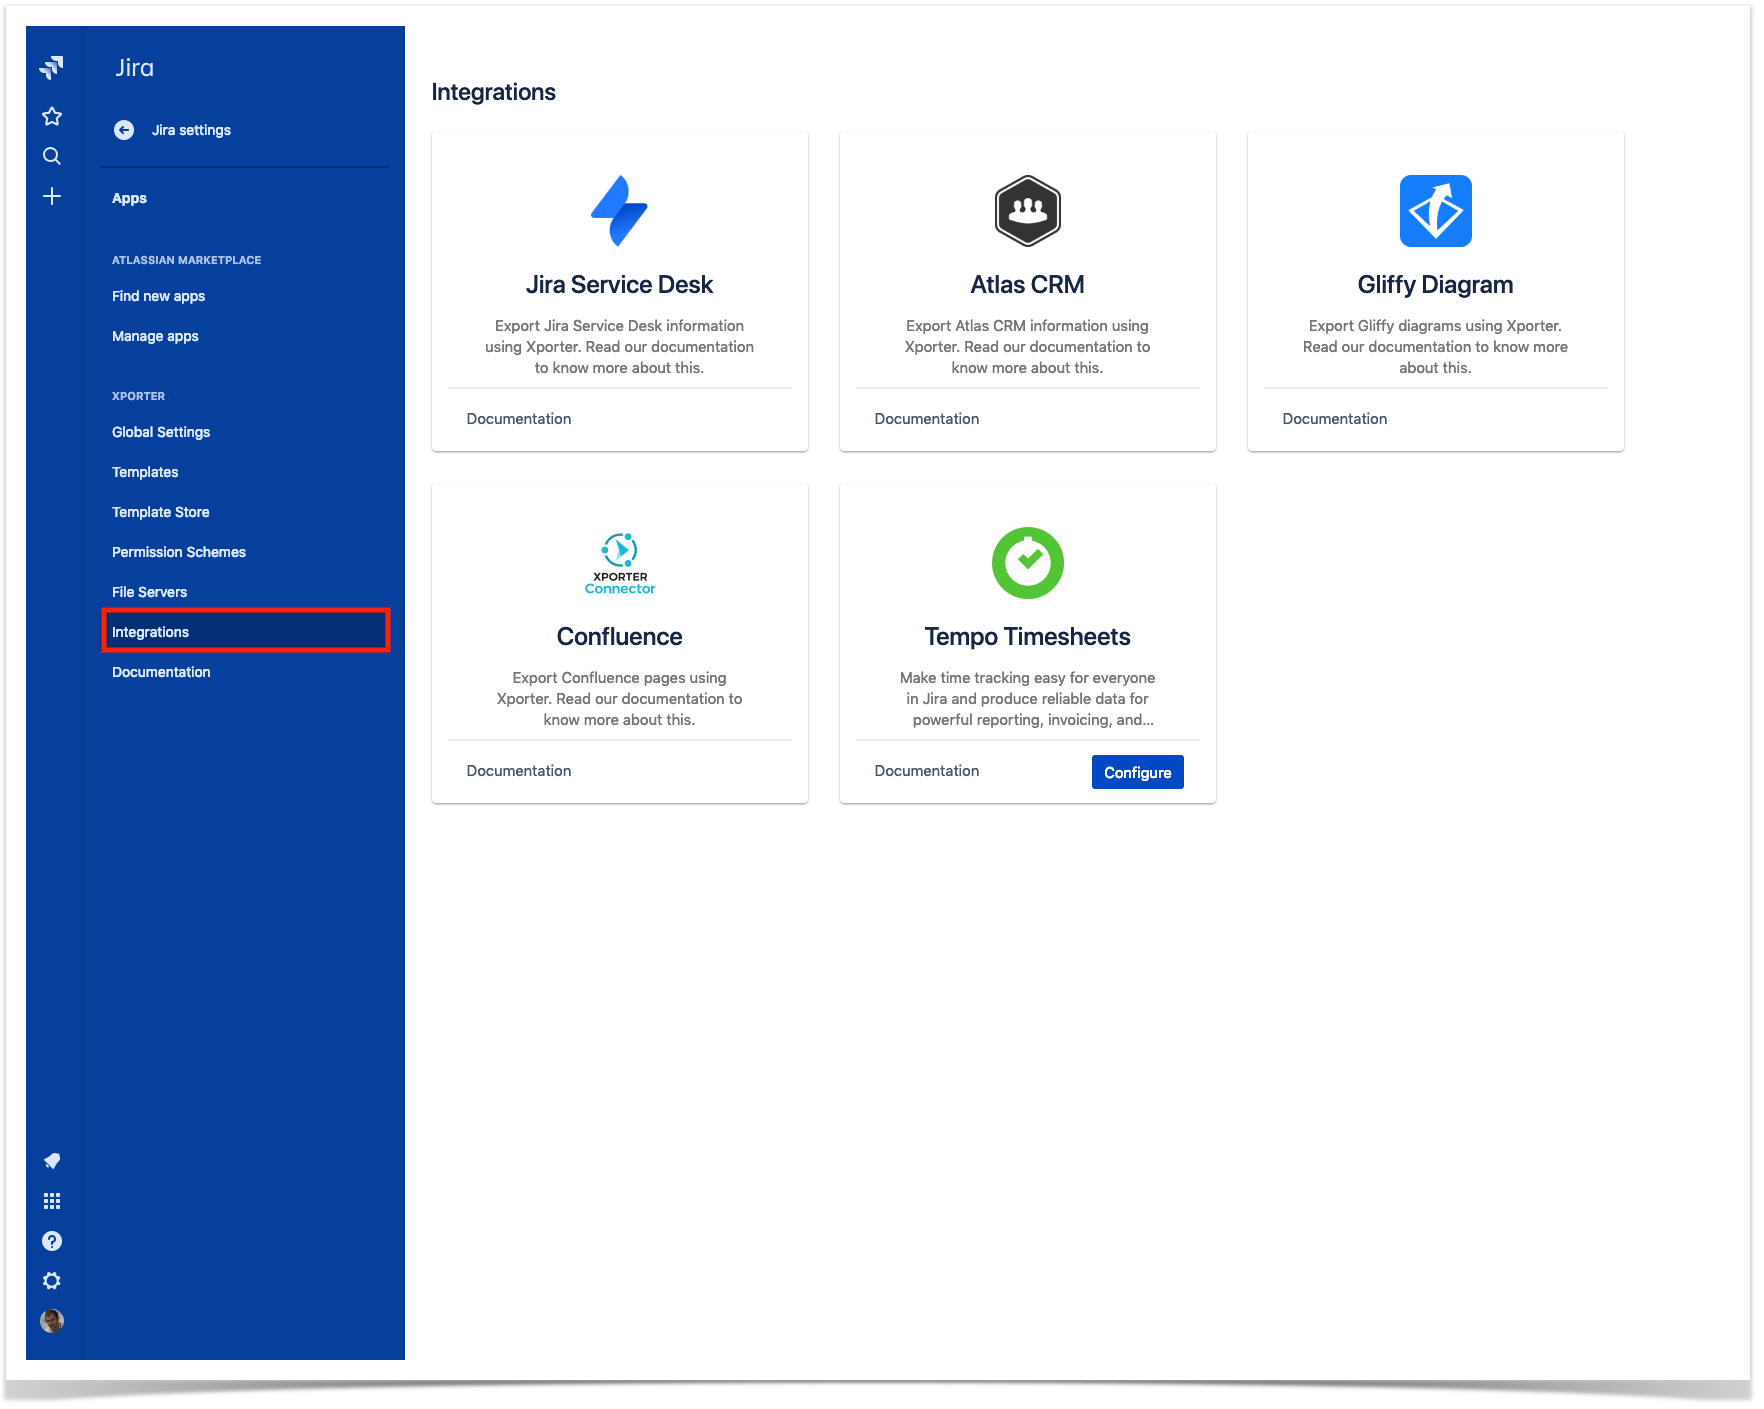
- Click the configure button inside the Tempo Timesheets integration card.
- You're now prompted with a form asking you to insert client id and client secret from Tempo set up. Here, you should paste the codes you copied from step 3 of the Tempo Timesheets set up.

And it's done! From the administrator perspective, everything is set-up. Now your users are ready to allow Xporter to print their Tempo Timesheets work logs using our templates.
Tempo Timesheets Set up (user side)
Now each user needs to authorize Xporter to access their Tempo Timesheets worklogs, if they are present in the template they are using.
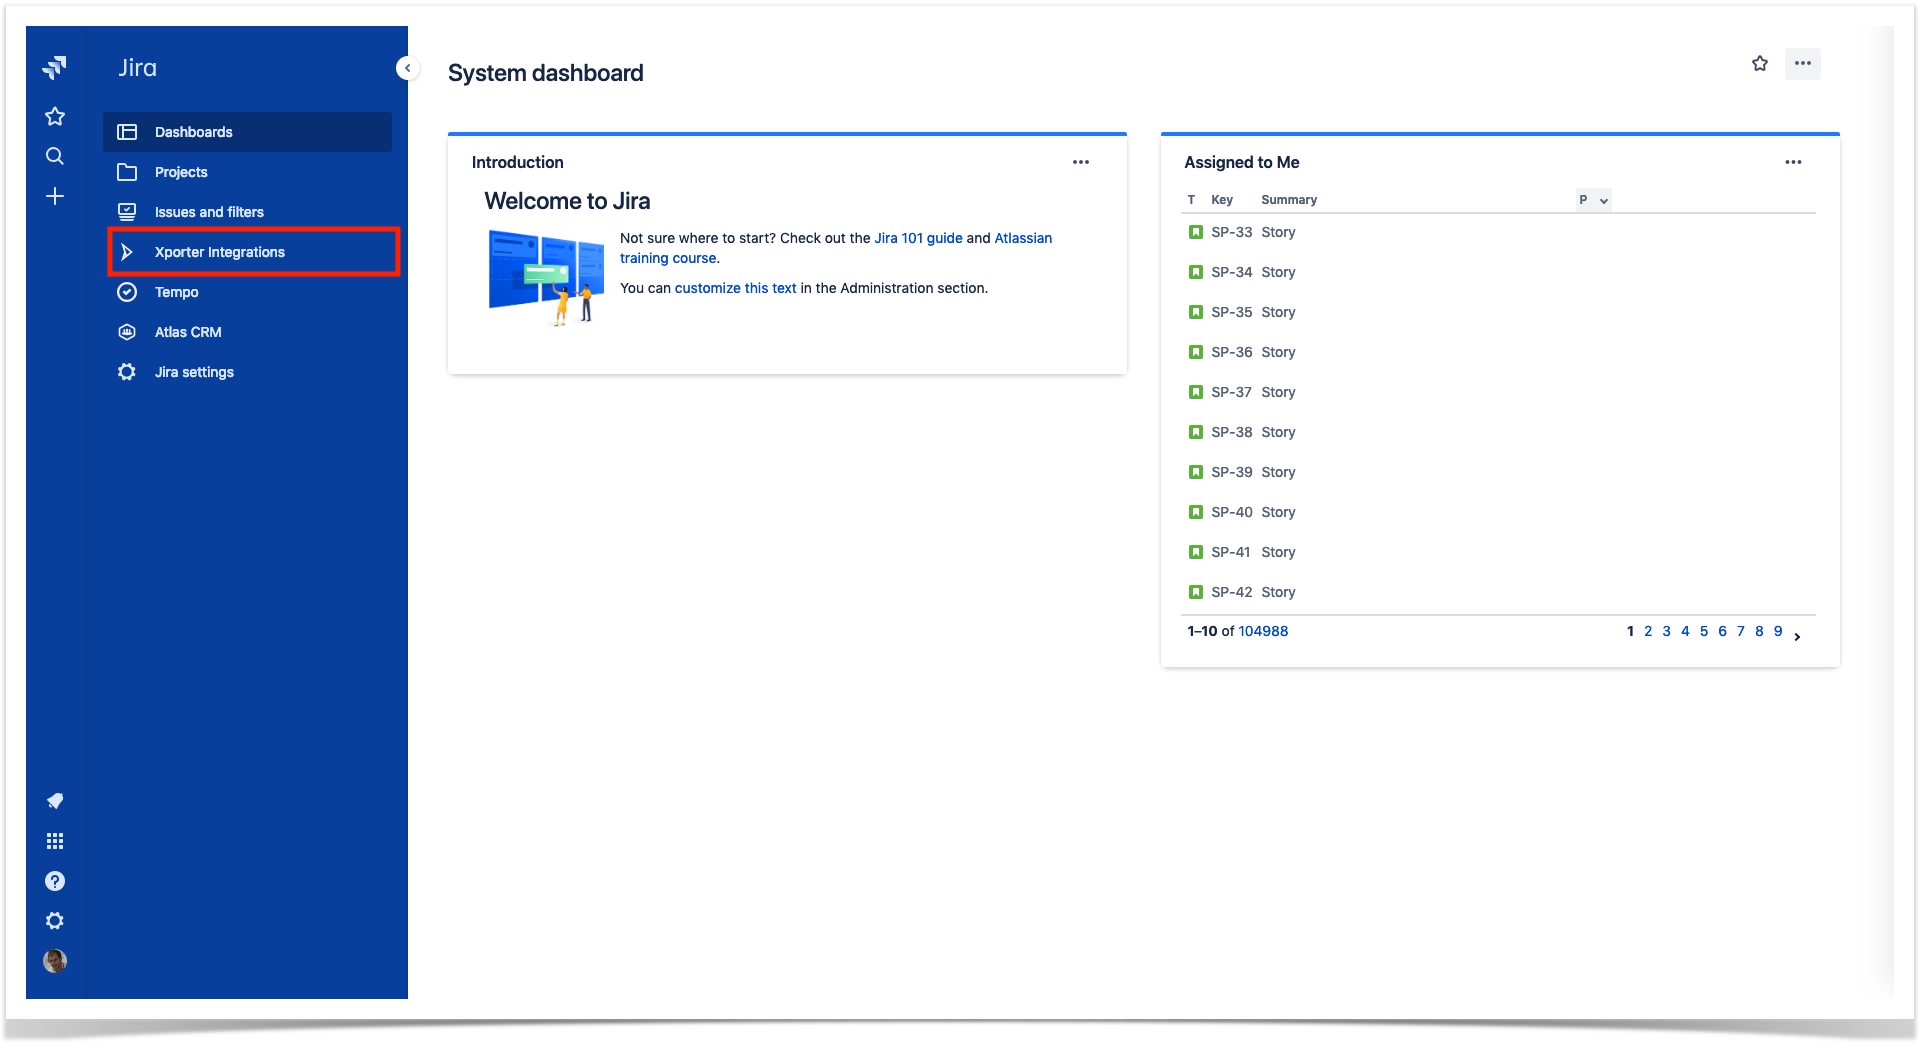
- Navigate to the Jira dashboard and you'll see Xporter Integrations. Click.
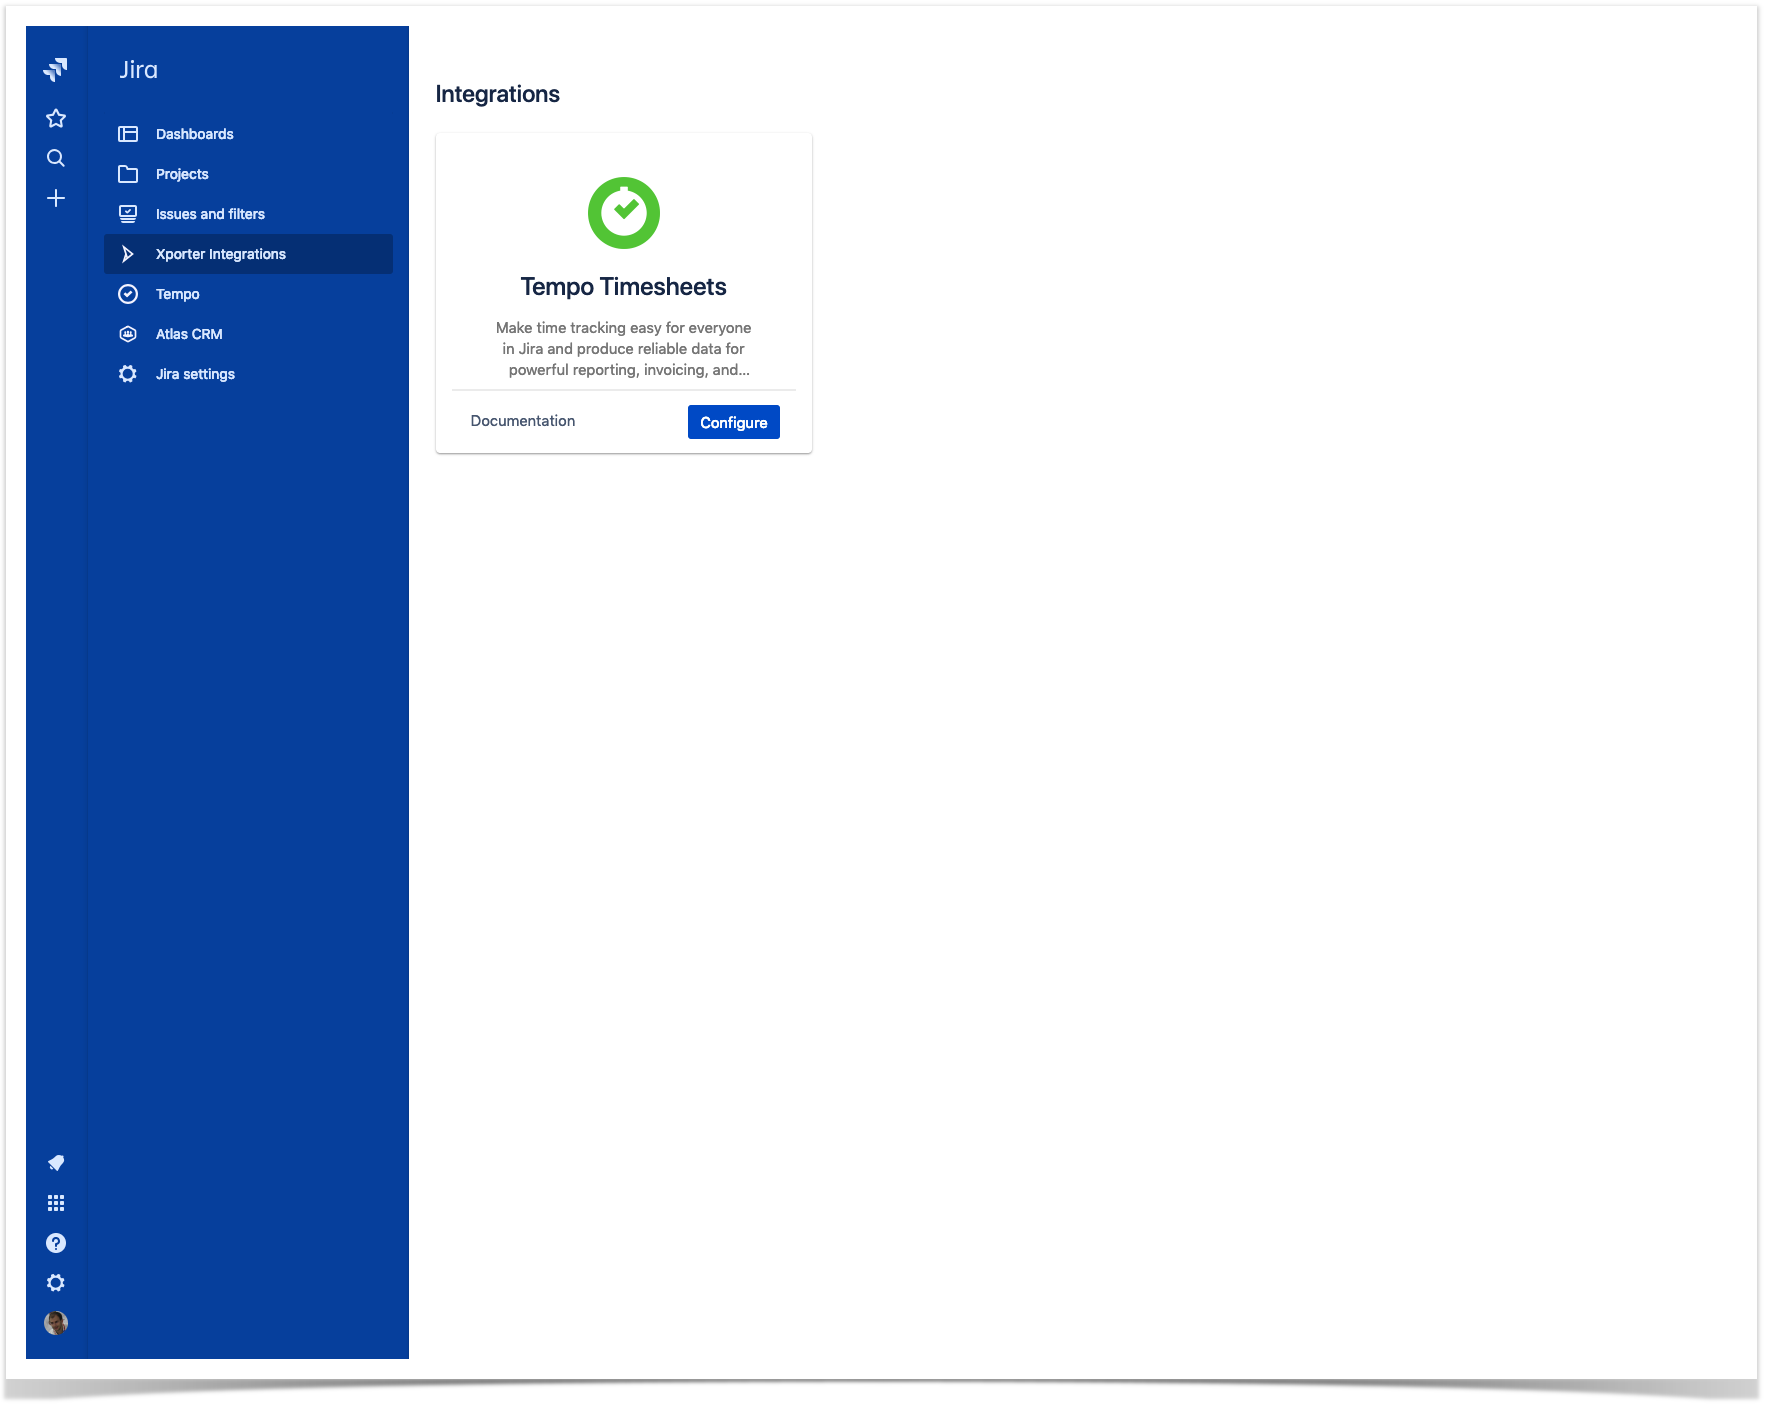
- You should now see a page with all available integrations for you (user) to configure. Click the configure button in the Tempo Timesheets card.
- You are now redirected to a new page asking you to allow the communication between Xporter Cloud and Tempo Timesheets.
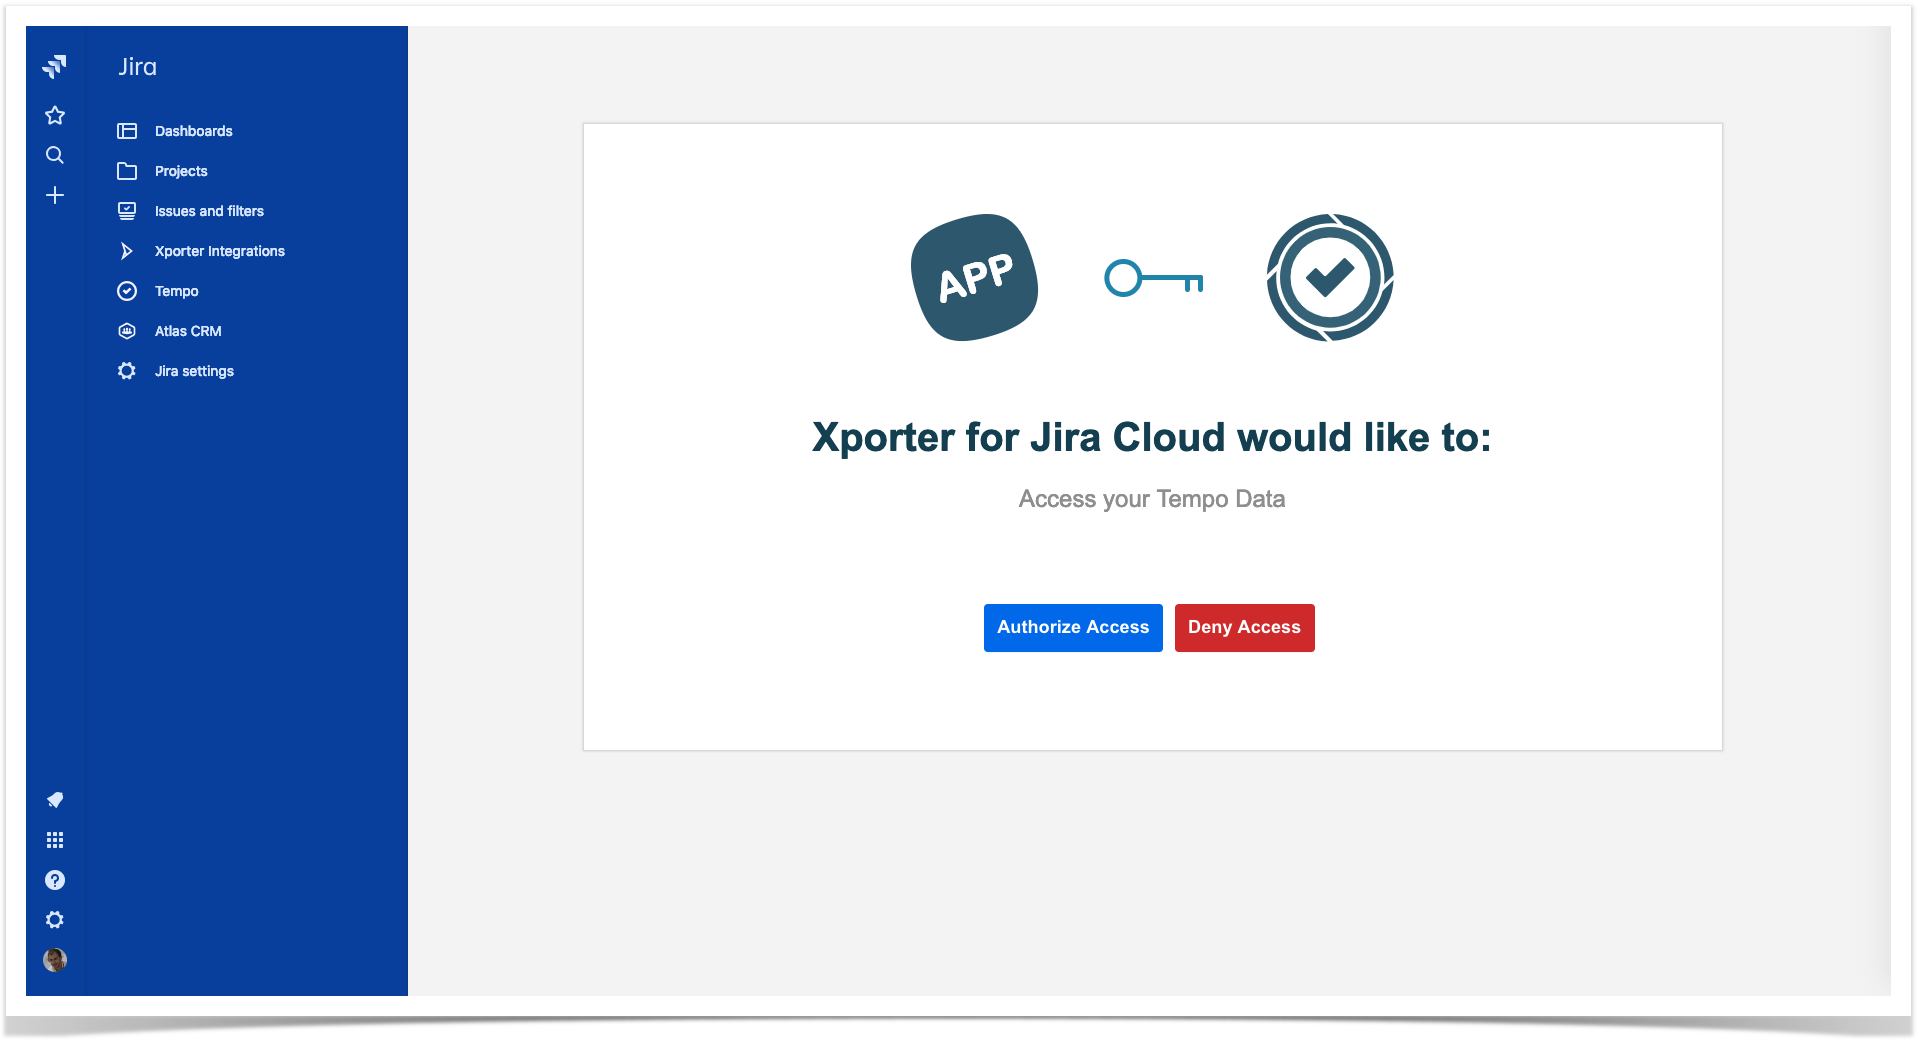
After allowing, you'll be redirected back to the list of Xporter Cloud integrations.
Congratulations! You have successfully integrated Tempo Timesheets with Xporter Cloud. You can now export your worklogs.
Test Tempo Timesheets integration
You can follow this tutorial on how to handle writing worklogs in your templates. Besides all the properties listed in the tutorial (Author, TimeSpent, StartDate, etc) this integration exposes a new property: Billable Seconds. To do that, you simply need to add to your template the following code:
${Worklogs[n].BillableSeconds}
If you have any questions, or if you have trouble configuring the Xporter Cloud integration, please do not hesitate to ask for support here.