...
- From the Jira dashboard, open Tempo Timesheets settings.
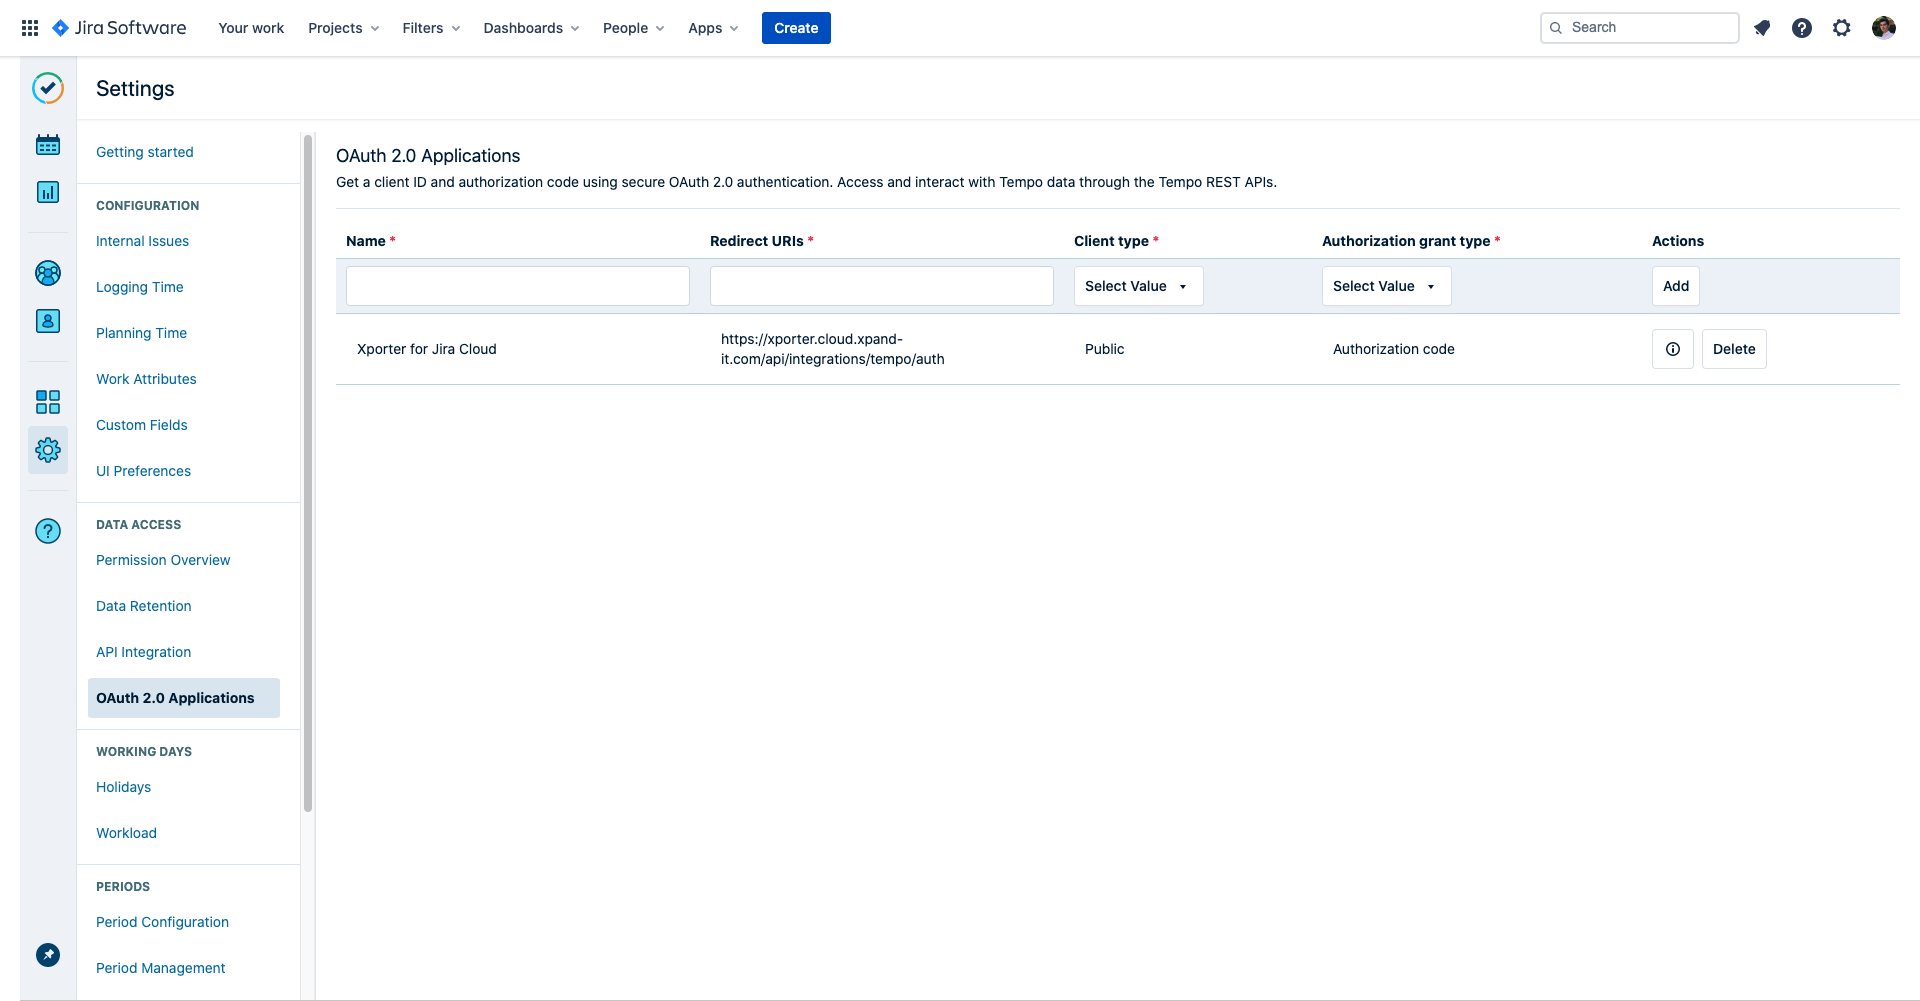
- Under the DEVELOPER TOOLS you need to add a new OAuth 2.0 Application. Fill text boxes with the following values:
- Name: Xporter for Jira Cloud
- Redirect URIs: https://xporter.cloud.xpand-itgetxporter.comapp/api/integrations/tempo/auth
- Client Type: Public
- Authorization grant type: Authorization code
- Click Add.
- Click the information button that will appear with the client id and client secret. Copy that information, you'll need it in the next steps.
- Your Tempo Timesheet app is now ready to serve Xporter with your work logs information. Now let's set up Xporter Cloud.
- Navigate to the Xporter Cloud configuration panel (Settings > Apps > Xporter > Integrations).
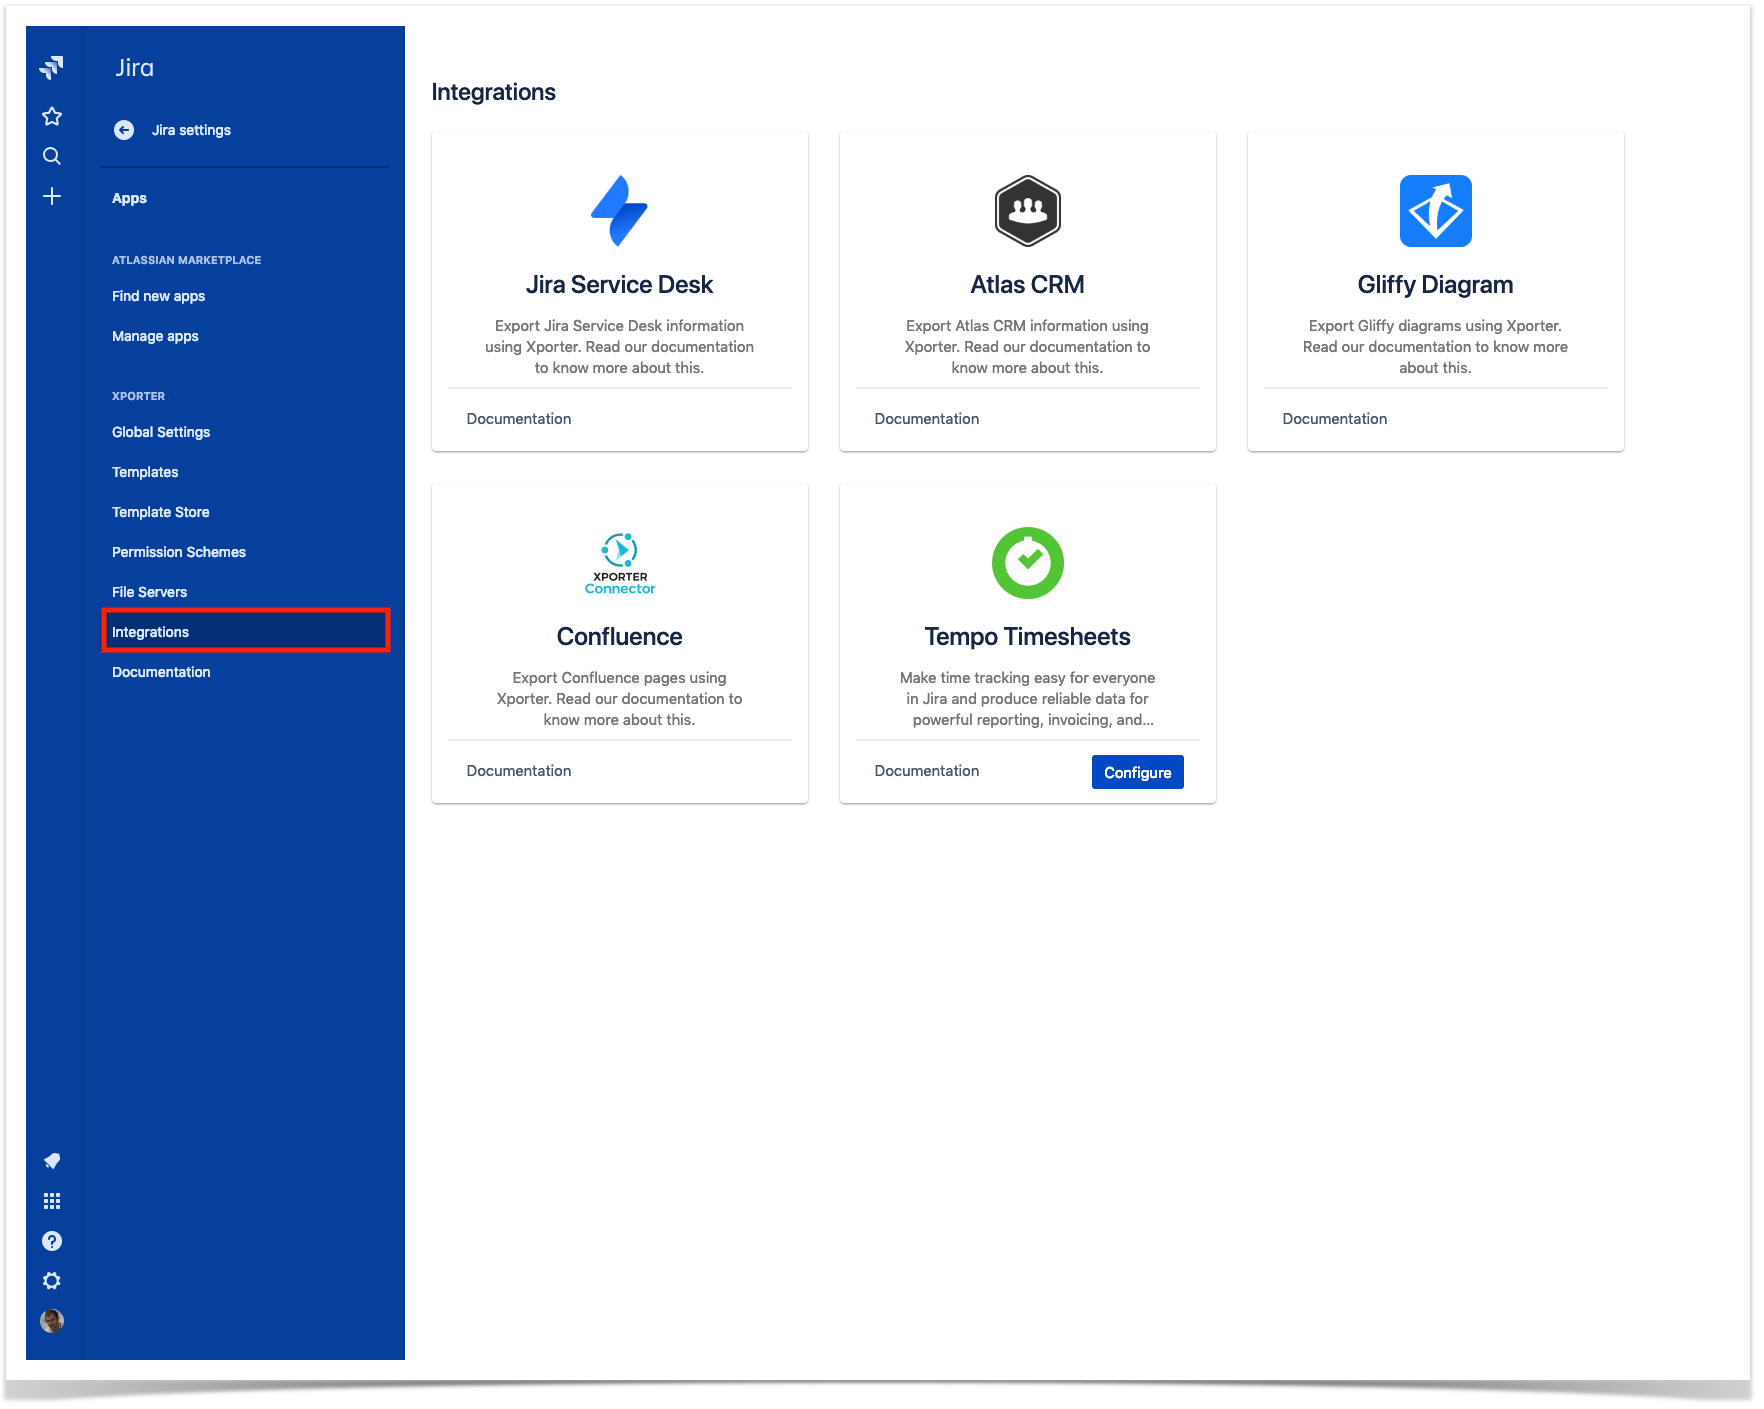
- Click the configure button inside the Tempo Timesheets integration card.
- You're now prompted with a form asking you to insert client id and client secret from Tempo set up. Here, you should paste the codes you copied from step 3 of the Tempo Timesheets set up.

And it's done! From the administrator perspective, everything is set-up. Now your users are ready to allow Xporter to print their Tempo Timesheets work logs using our templates.
...